Let's face it, the venerable Redblock engine configuration is about as durable as an engine of that vintage can be. They have proven to be durable and reliable and respond reasonably well to performance modification. They are, however, not made from wear-proof materials or pixie dust and when tired, need rebuilding. The purpose of this thread is to cover the basic principles behind refurbishing a Redblock to "as new" condition. No corners will be cut, this is a proper rebuild.
I have noticed a few common things when working on these engines over the years: 1. Volvo makes some very nice parts and has a good reputation for reliability as a result. 2. Owners often think that because they own a Volvo and they "last forever" they can neglect basic engine maintenance and up-keep. Let's be realistic - whatever engine you pulled from whatever car in the junk yard probably suffered in it's last days, I don't advocate power washer and rattle can rebuilding of anything. Ask yourself when you'd like to do this all again if you won't do it right the first time.
OK, let's get started.
First find a donor car or start with what you've got. If you're rebuilding your own engine, be advised that this will take it off the road for a good long time. This is not a weekend project. In this case, we're starting with a 90's 940 B230FT engine. Rode hard and put away wet (see point #2) added to this injustice was evidence of a manual boost controller and the Junk Yard telling me that it was at the yard due to a "no start" issue. This isn't a great starting point, but it's typical.
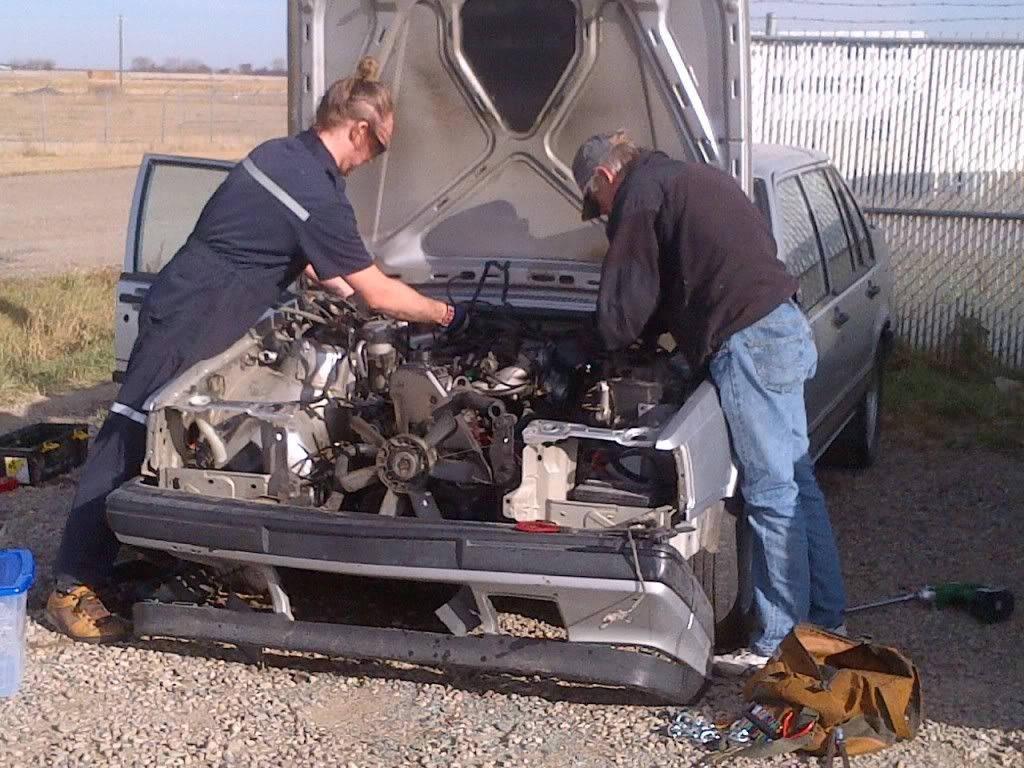
Carefully remove the engine from the car, make sure you take a lot of pictures of where things go as you remove them. Use care when removing the wiring harness as these things either need to be reused in your current installation or they need to be used by the next person. I hate hacked harnesses.
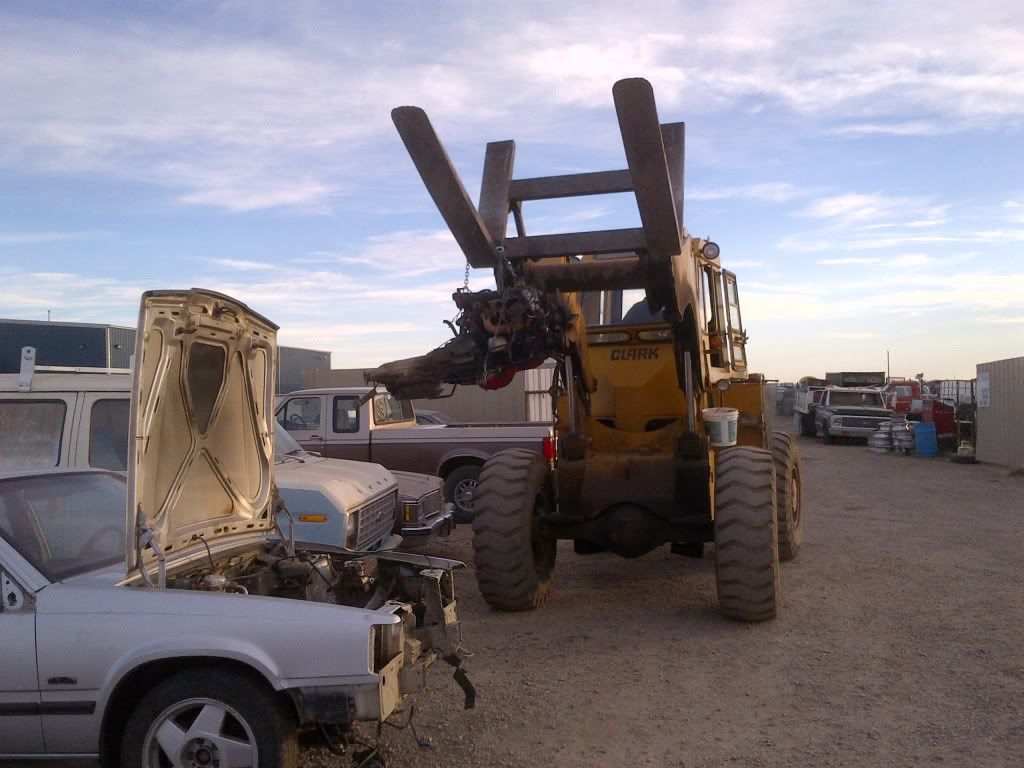
A little help from a big friend.
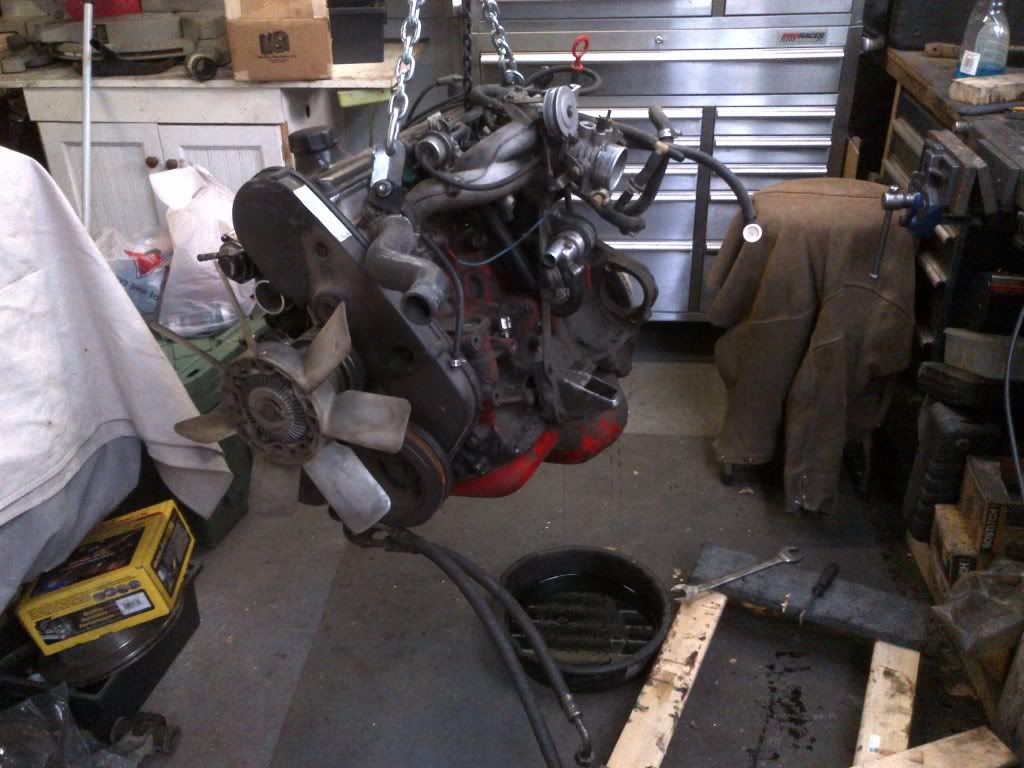
Normally, you now take the engine to a car wash with many cans of engine cleaner and a few brushes and some clothes you don't mind getting dirty...in this case, I was imposing on a friend to help, so didn't want to wear out my welcome and just took the dirty lump home.
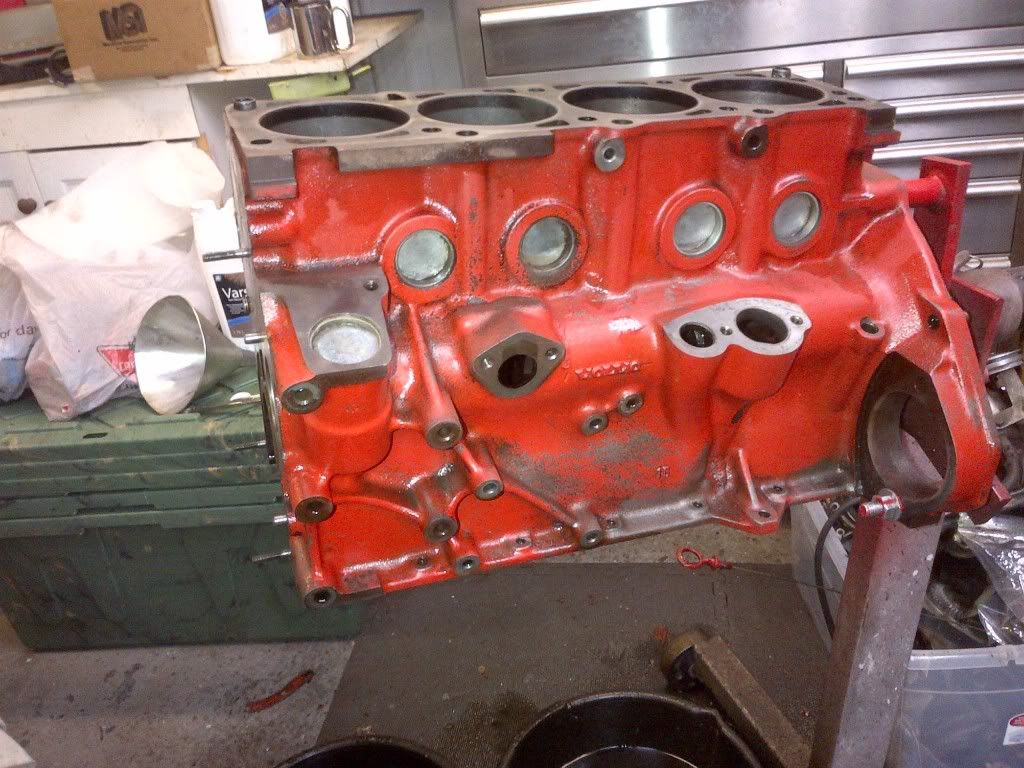
Here's the start. Clean this mess. Carefully. Take pictures.
Strip the engine down and see what you've got. It isn't exactly Christmas, but it is fun. I found a popped head gasket and a ruined head. Volvoshredder (Greg) came to the rescue with a head from his parts stash - not worth welding it up - see other threads concerning the head. When you take things apart, get some SNACK SIZED ZIP LOCK BAGS - BAG AND LABEL EVERYTHING. Medium and larger sizes of bags are used only occasionally. TAKE PICTURES

.
At this point you either measure the block or take it to the machine shop and have them do it for you and advise you on what parts you need to order. Please see my push rod build thread for how to do this. This engine only needed first oversize pistons - all else was to spec, so standard size main and rod bearings will fit the crank perfectly. At this point, I'd like to say that I've rarely had to go undersized on the main bearings. If the engine oil has been changed at least once in the life of the engine, they will be fine and they are always straight - so check the main line, but I've never line bored a Volvo block.
Please don't take dirty parts to the machine shop...they don't like working with crap anymore than you do. It's a matter of respect. I usually clean pre and post delivery as well as pre-assembly.
Fast-forward - you've bought a thousand dollars of new parts and probably dropped about that much at the machine shop to get the block and head refurbished. Now, what I'm going to show you next involves a performance build, which is relatively meaningless in the grand scheme of things.
So you're home from the machine shop, while I've covered what comes next in the push rod thread, it bears repeating here. You need to clean everything. I've found a desert worth of sand in the bolt holes of my cylinder heads, gunk in all my threaded holes, and oil galleries (despite a promise that they were scrubbed) that were disgusting. The key to longevity for an engine is keeping it clean from the start.
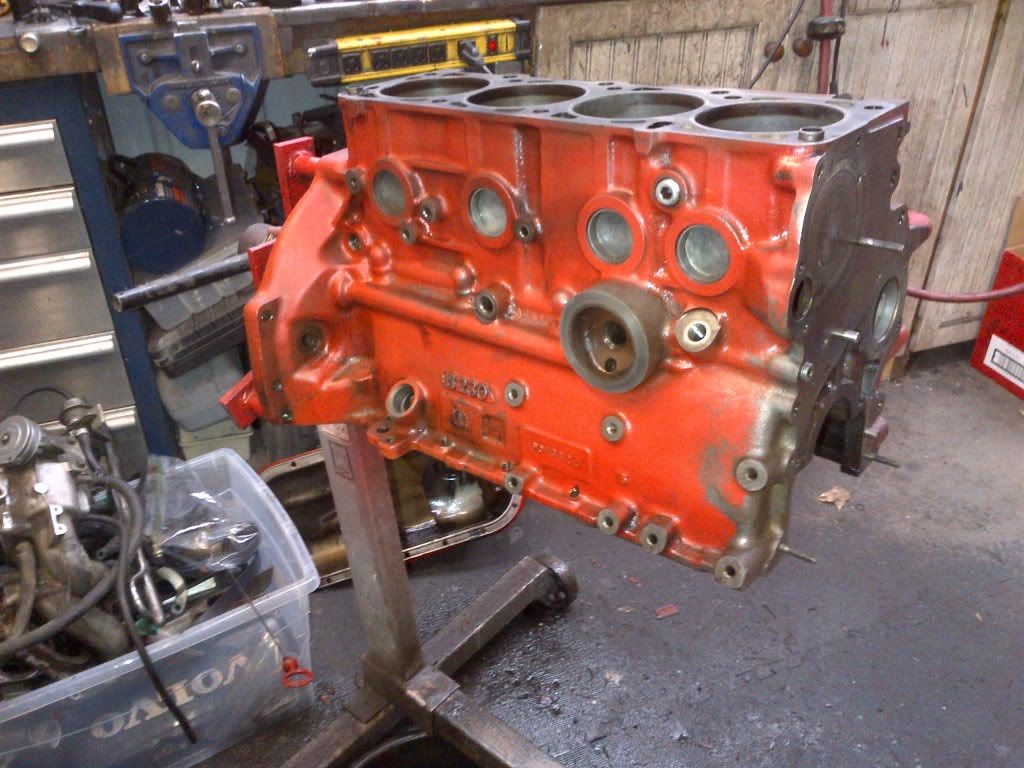
I polish the surface of blocks as a "signature" or sign of insanity. It's fine to simply remove all the old paint using a wire brush. Be very careful of all MACHINED SURFACES - mask them with duct tape during this process. Once done you're here.
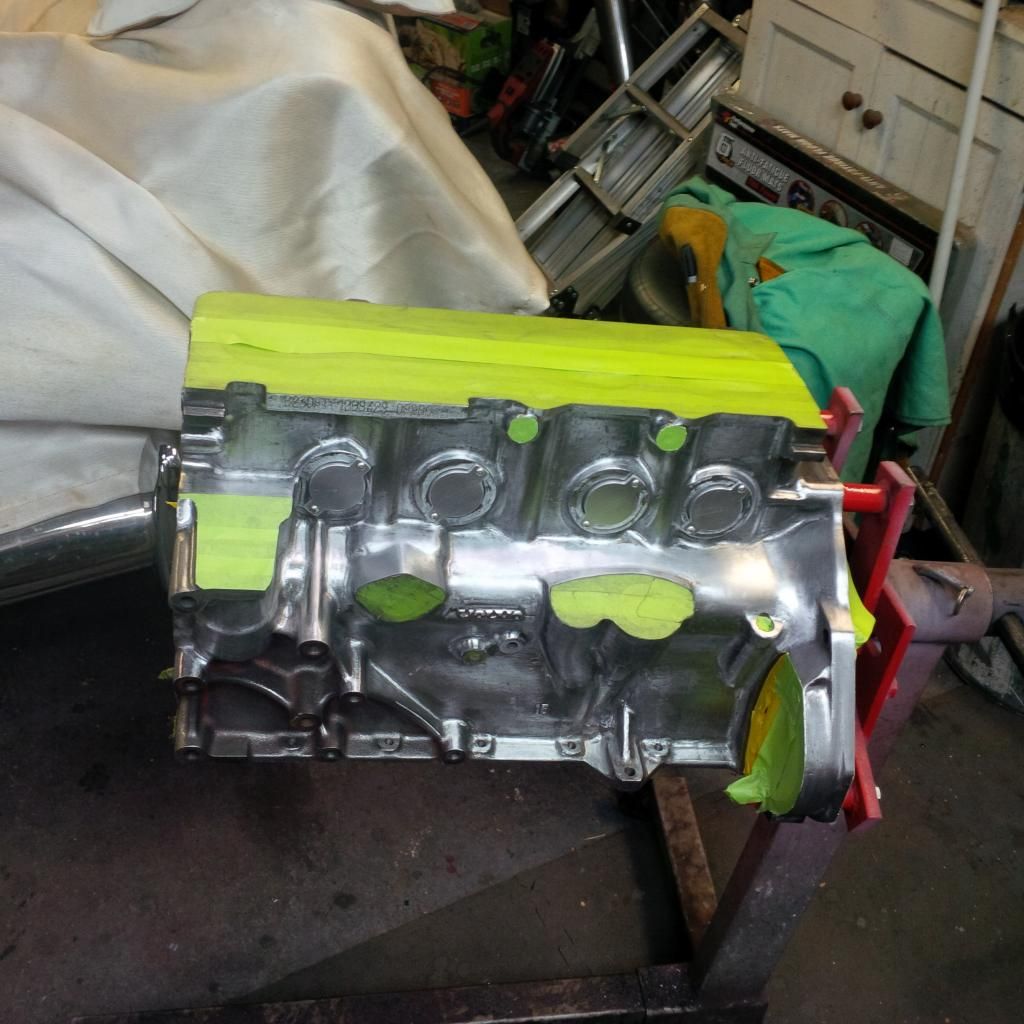
Note that the masking at this point is to stop me from hitting the machined surfaces and will be changed for painting. This engine has received new core plugs and they have been JB Welded in place (as covered in the other thread) - as this is a turbo engine, I've installed fancy caps to help keep them in place under pressure.
Paint the block. Do whatever you like. I use the following process for excellent results. Two full wet coats of epoxy primer and two coats of single stage urethane automotive paint. It holds out great and looks fantastic. Rattle cans work as well. This engine isn't going to be red, but imagine that it could be.
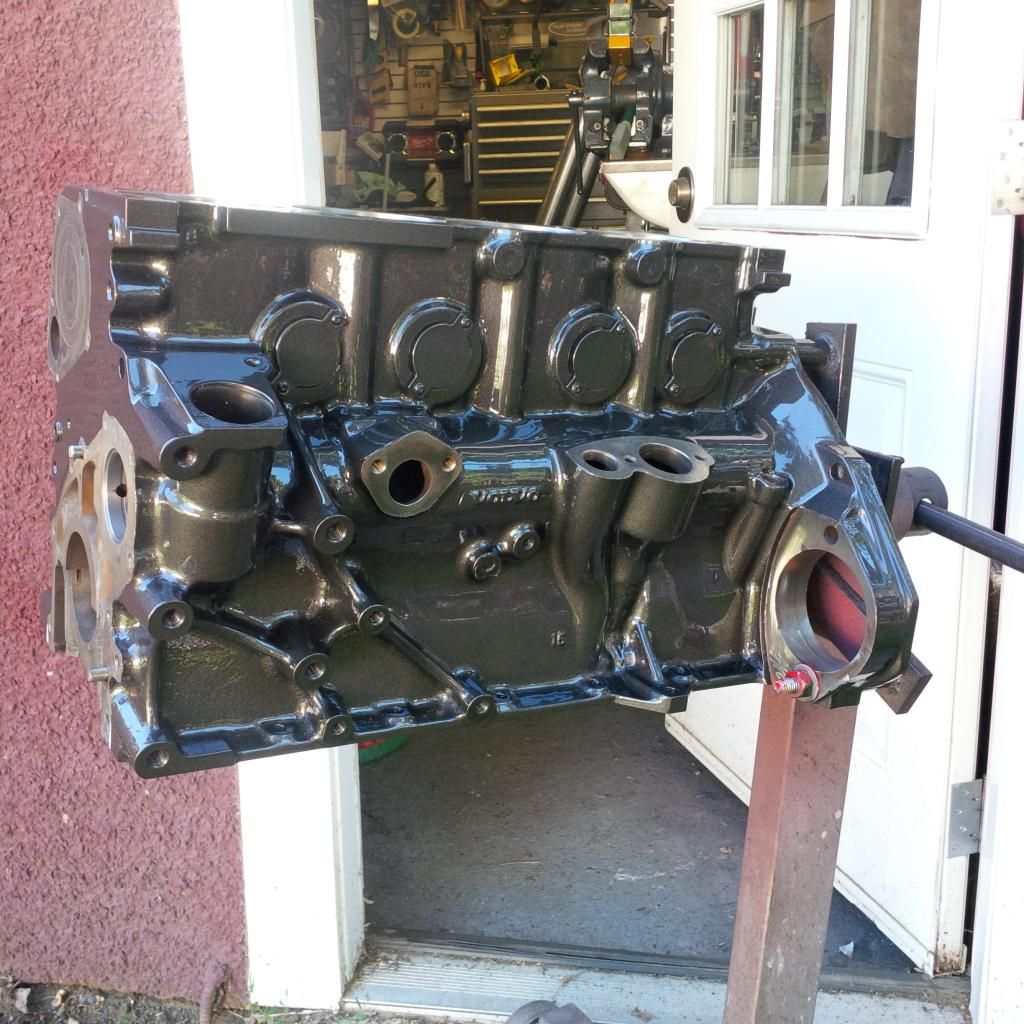
Note the differences in masked areas.
The next step is where the fun begins. Putting it all together.


