Thanks guys, I'm trying hard to push and get it done without half assing anything. I LOVE being able to have a DD and project car. When I bagged my Sonoma it was a DD so some nights if it got too late things got rushed so I could make it to work the next morning.
Not anymore. Having a separate project car means if I don't have something I need and the stores are all closed...oh well, tomorrow is ok, and I continue on with something else instead of getting hung up and getting frustrated.
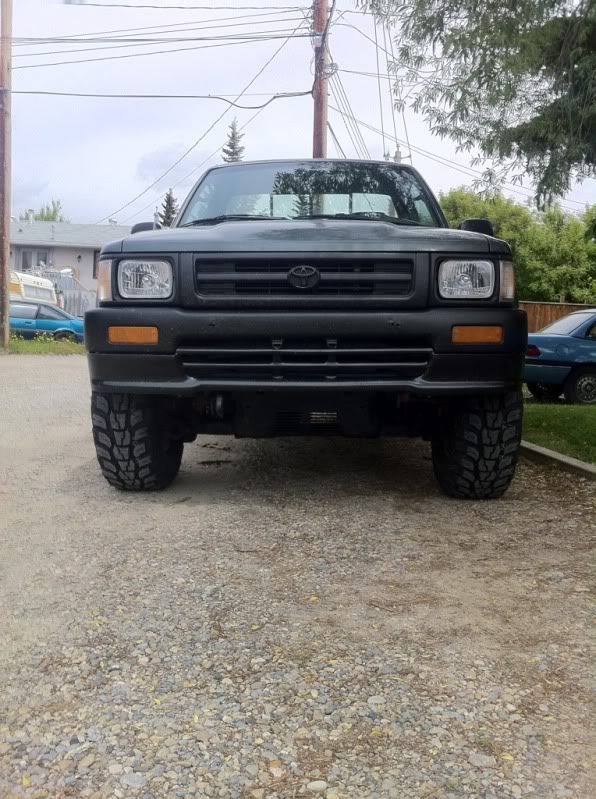
I picked this up as I needed something more "parts friendly". 93 4x4 5 spd w/ 22RE. Installed HID's and some 31.5's. It came with a header already on it so that was also a nice bonus. Second to Volvo wagons, I do love my Toyota pick ups.
Anyway, enough about that.
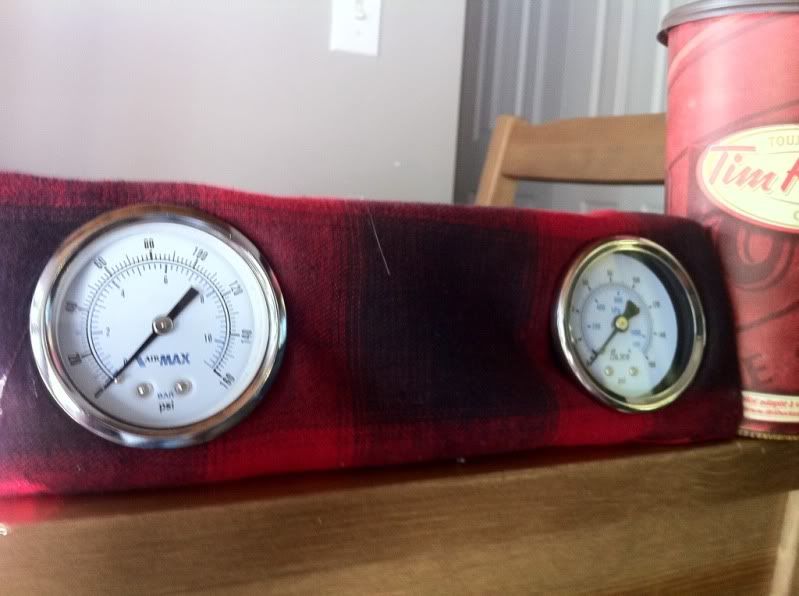
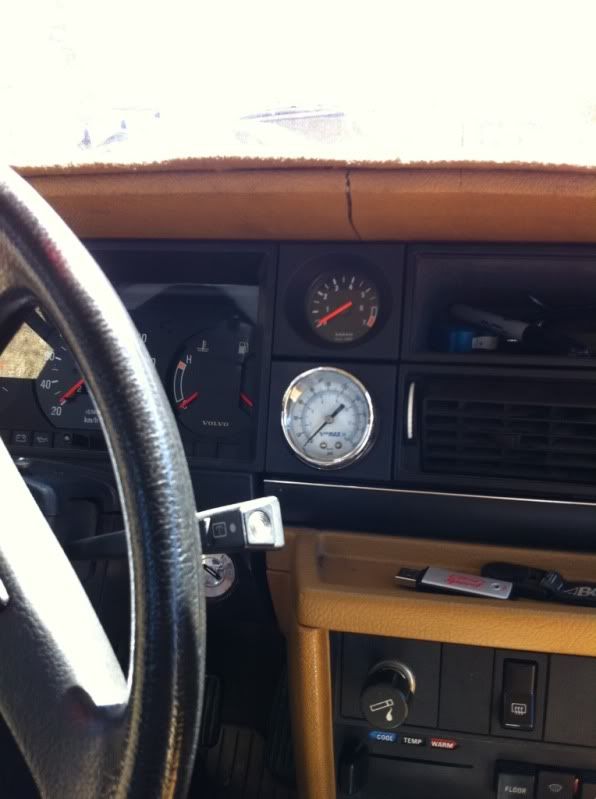
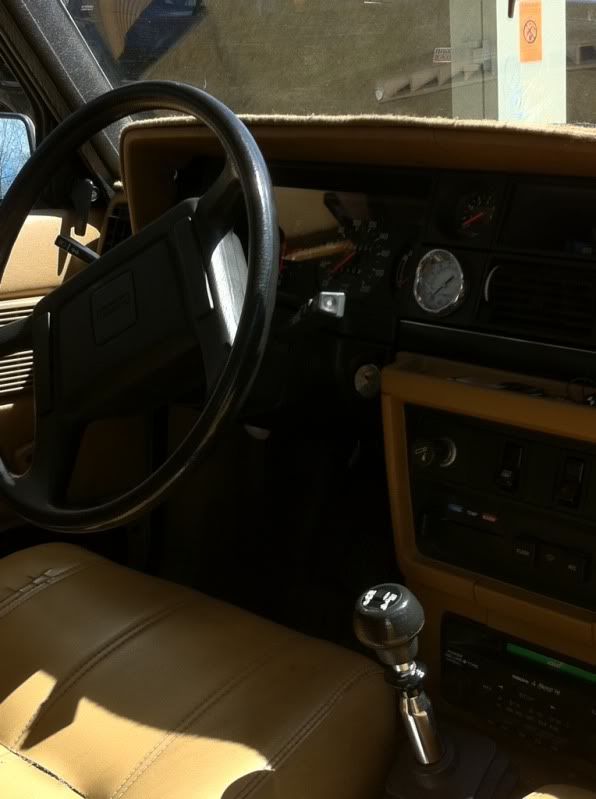
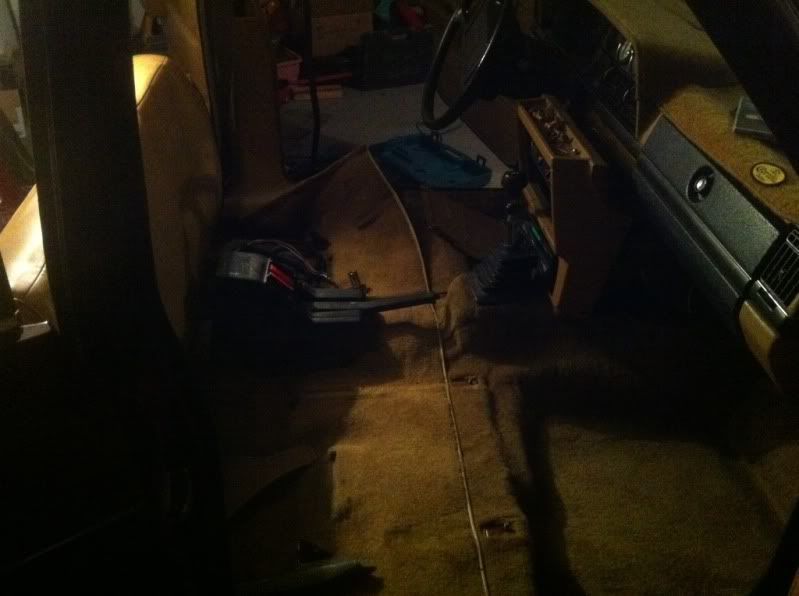
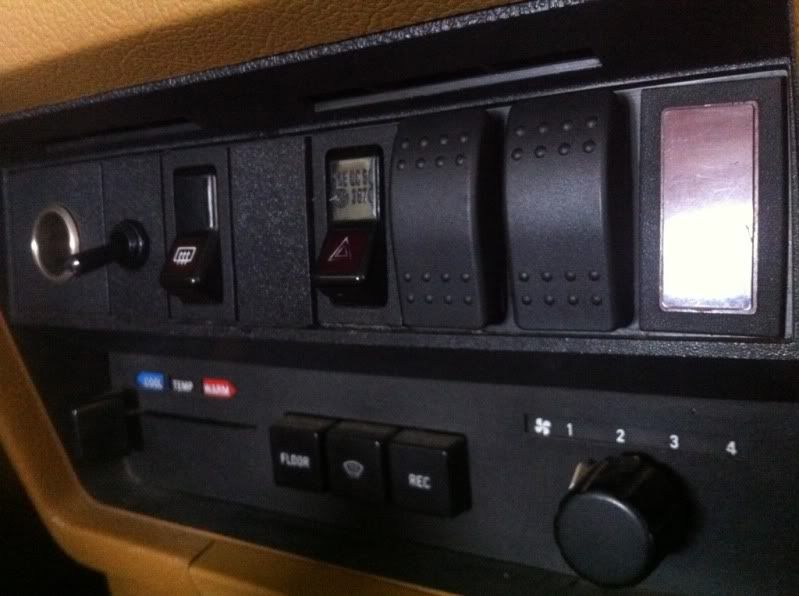
Today I mounted my switches, got some nice feeling rocker switches and feel really quick to tap to help bring it to the ground nicely without just slamming it. I shouldn't have to worry because I'm running 3/8" line and the bags I'll end up using have a 1/4" port. It'll air up and down slow but I don't really want it to be hopping or anything gay. I wired in the pressure switch and relay for the A/C's clutch as well. Running the wires and air line was probably the most time consuming thing of all. Glad it's over lol. Everytime I removed something there was a mess. While the dash was apart I built a gauge pod too.
Started like this:
Ended up using parts from 3 different Volvo dashes to make it work lol
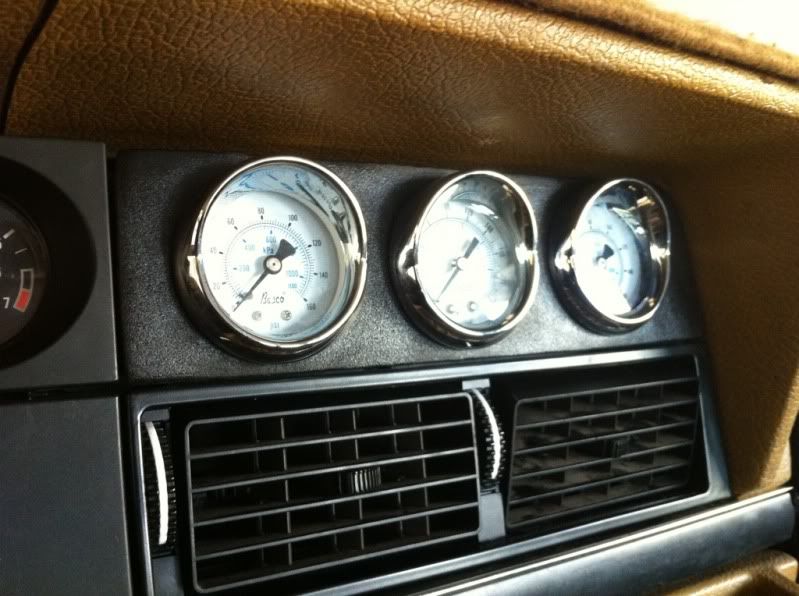
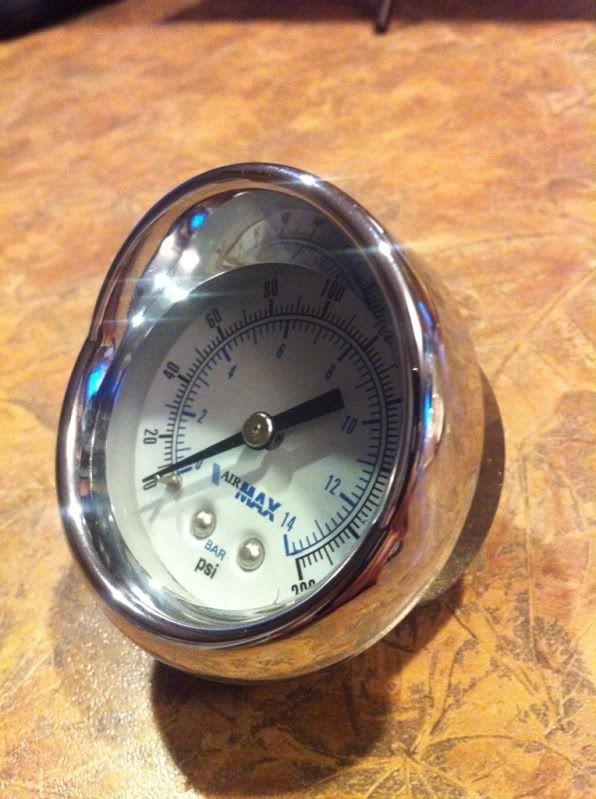
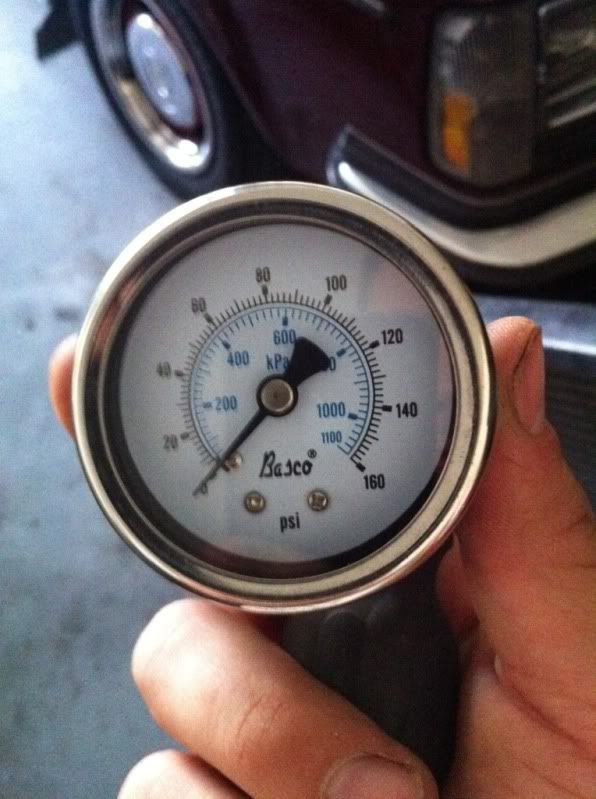
Air pressure for the front bags - Tank pressure - Rear bag pressure.
YUM
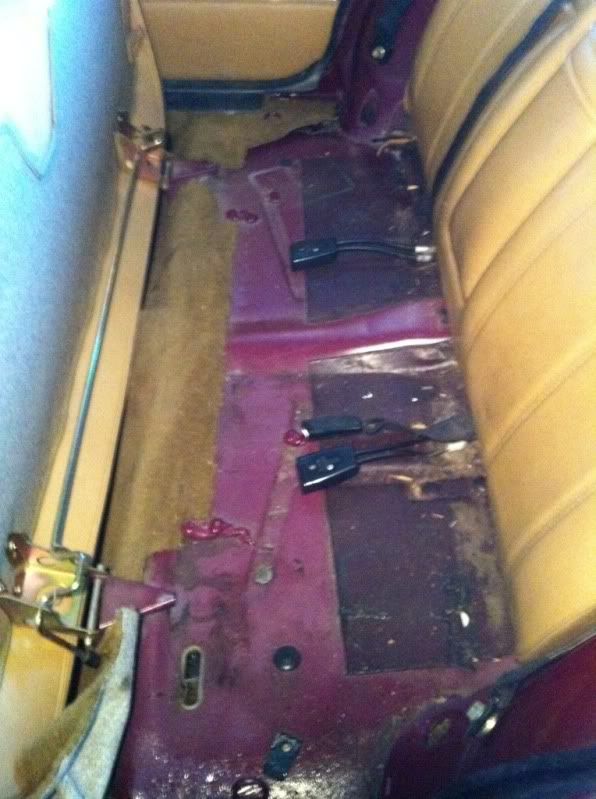
This **** was EVERYWHERE. Don't know what it is.
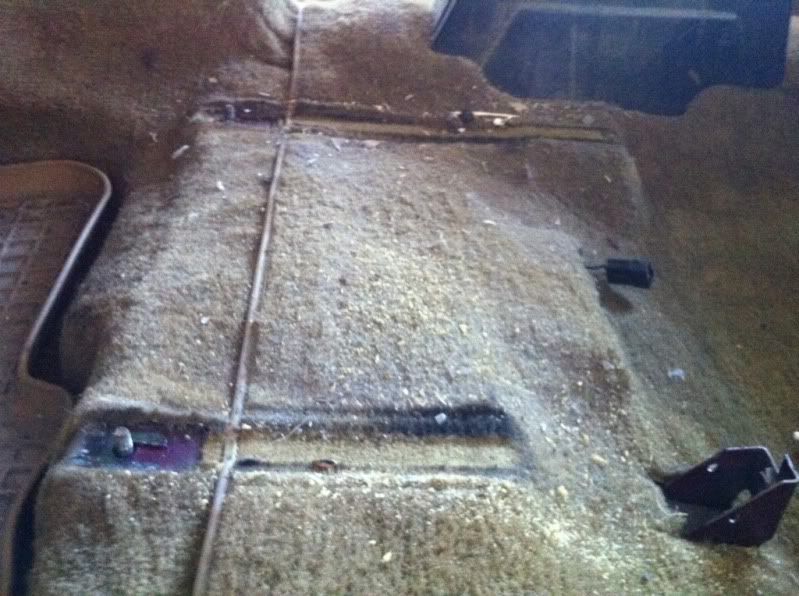
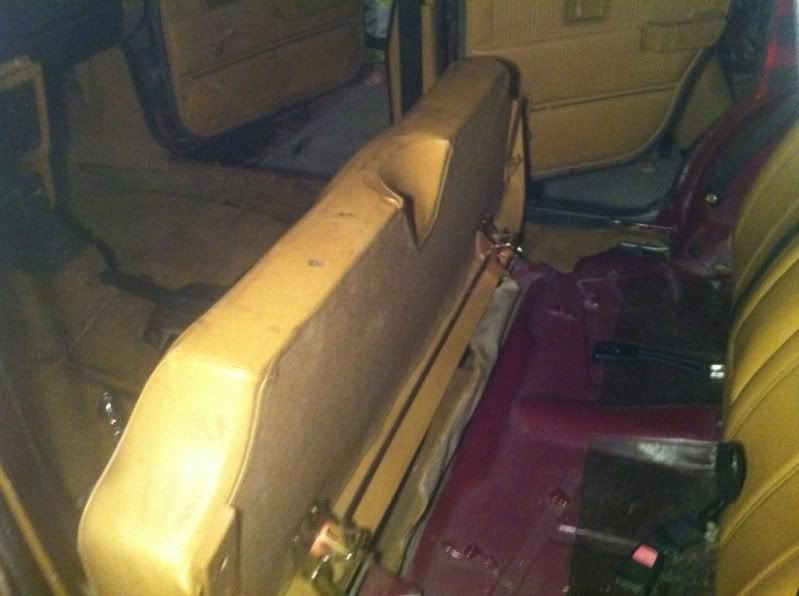
Switches
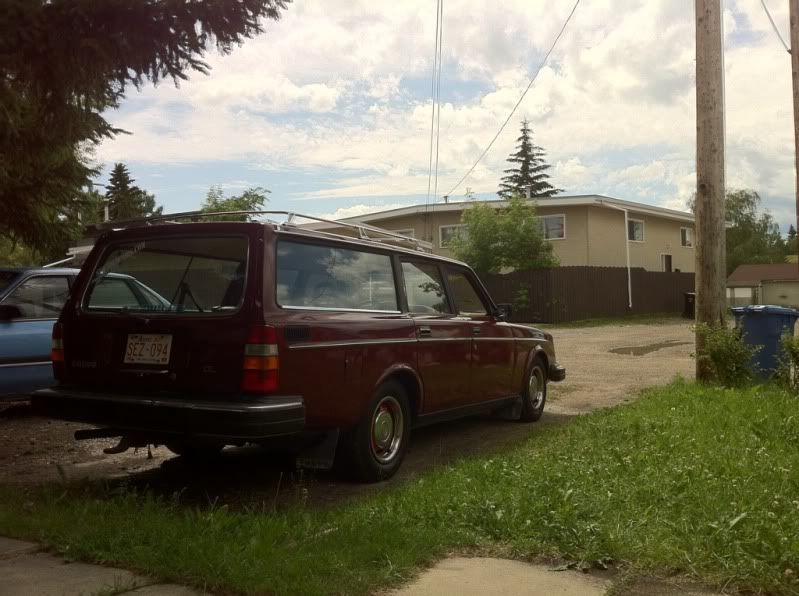
Well, when I bought the car it was intended to be a winter beater for $500. It wasn't until a few months after that I was sitting in the garage looking at it and thinking it would look pretty good on the ground. I then SOLD my GMC Sonoma that I had just finished bagging and 5.7L Vortec swapping. Upon the first look at the car i could see that it needed a power steering rack. What better time than before a 9 hour road trip to BC. And so I finally got around to doing it and it wasn't even that bad. Peanuts really.
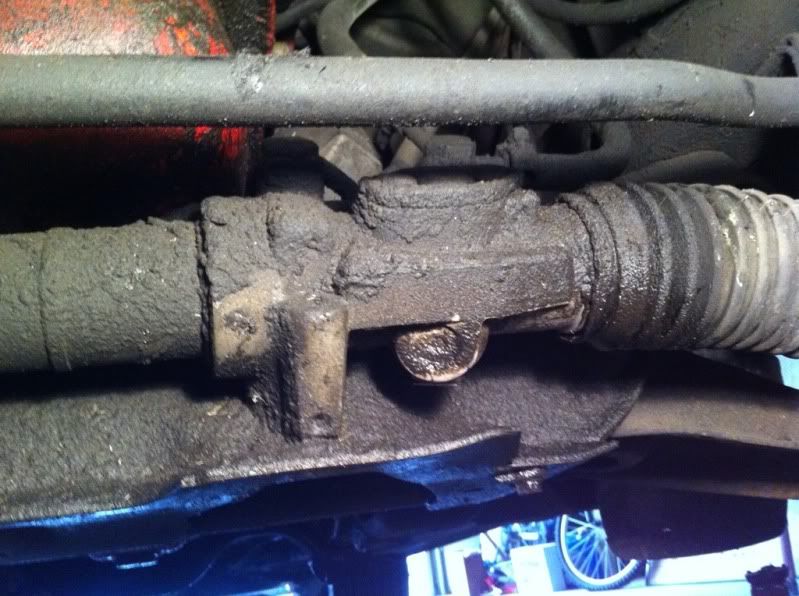
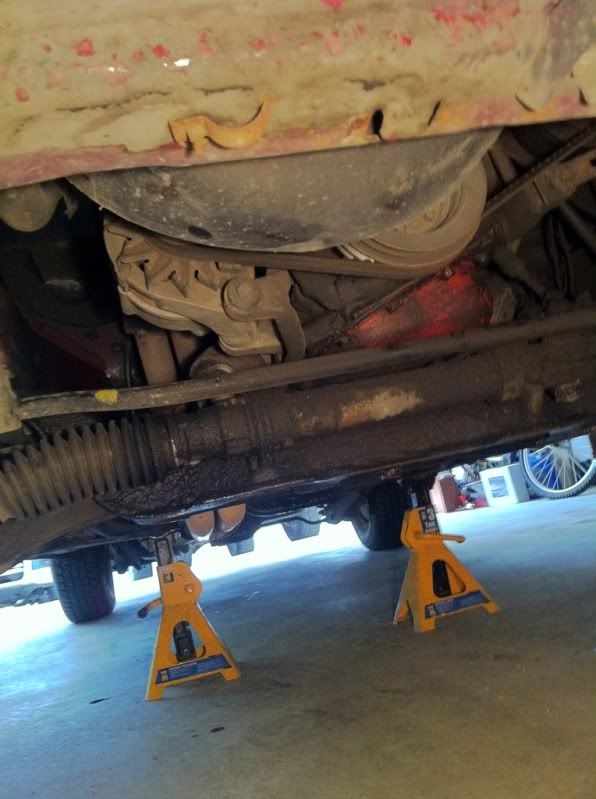
Disgusting really. I couldn't stand looking at it in that state any longer. My passion for the Lolvo has risen to a new level. I find myself CONSTANTLY thinking about it, planning out where my air lines are going to go, what parts I'll need and what parts can be painted? and what color?
Obsessed? Yup. You betcha.
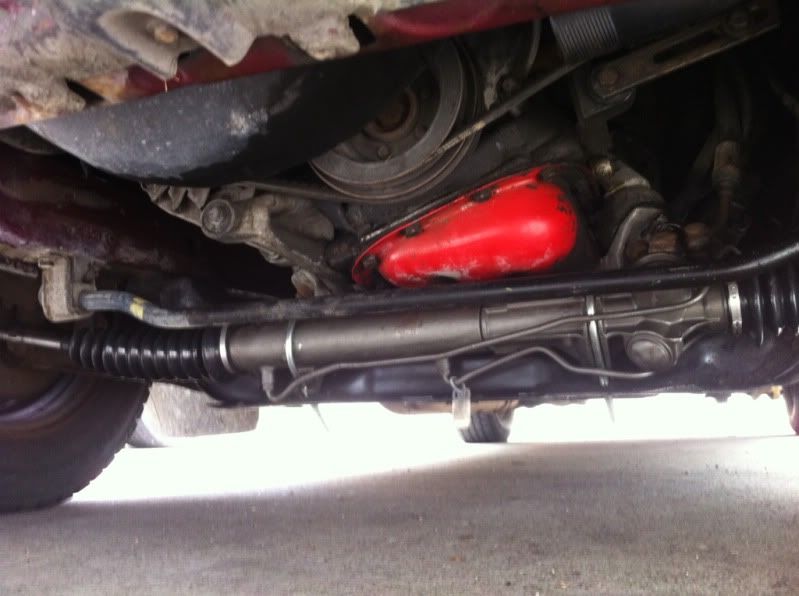
I haven't gotten around to doing the oil pan gasket yet. I'm still very unsure of what I will end up doing for a motor. I have a few pipe dreams that include ITB's. I'm quite a stranger to tuning though so I will most likely keep it a dirty hippie power plant for the time being.
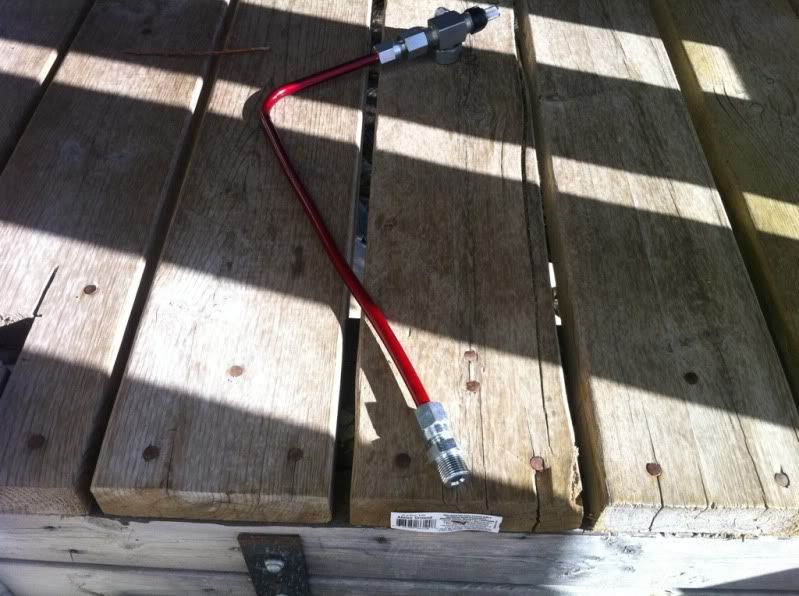
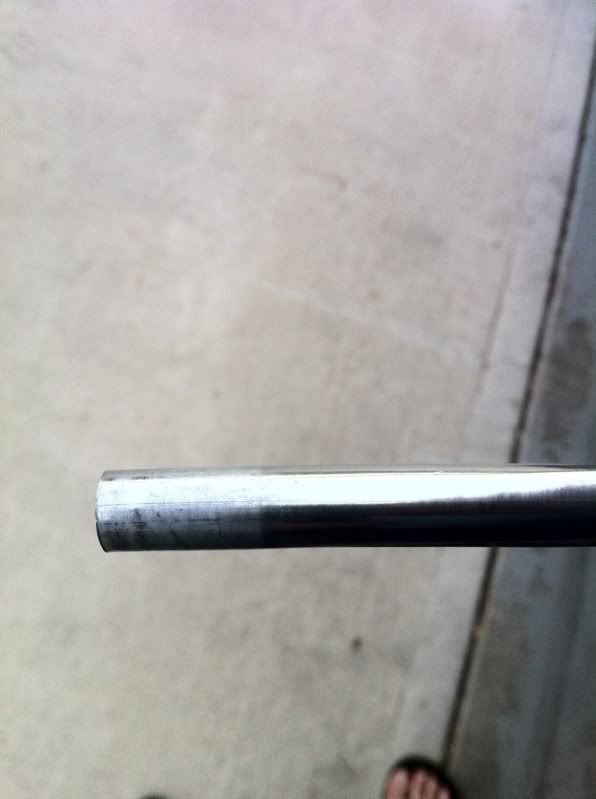
Next I polished more of the steel air line. All it is, is plain 3/8" steel line that comes in a 25 ft roll (got mine at Napa for next to nothing like $13).
Next I straightened out a chunk and put it in the chuck of the drill and used a piece of scotch brite held against it. Then used Mothers metal polish. What you get is cheap stainless look-a-like lines.

Before on the left, after on the right.
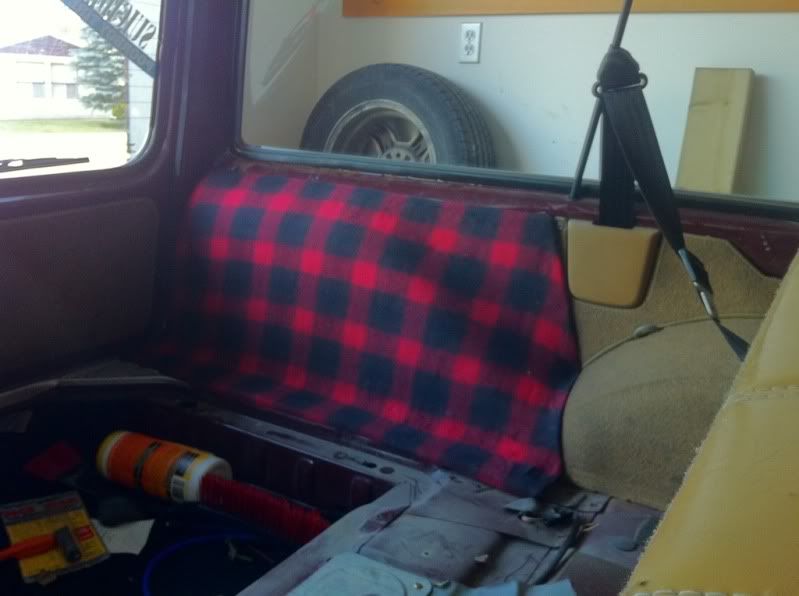
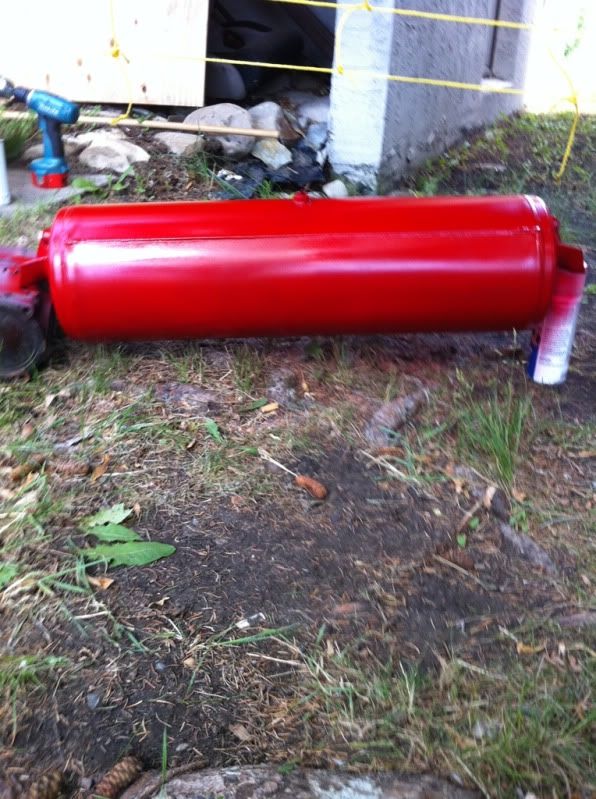
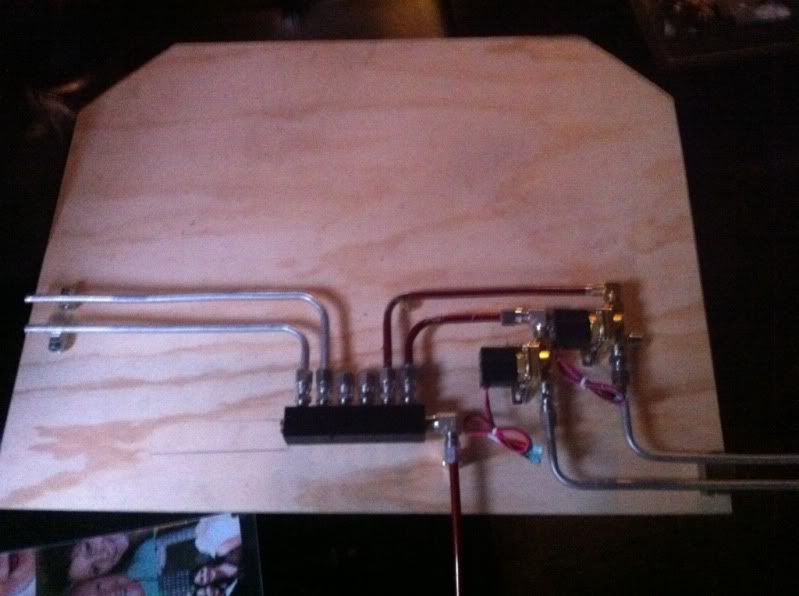
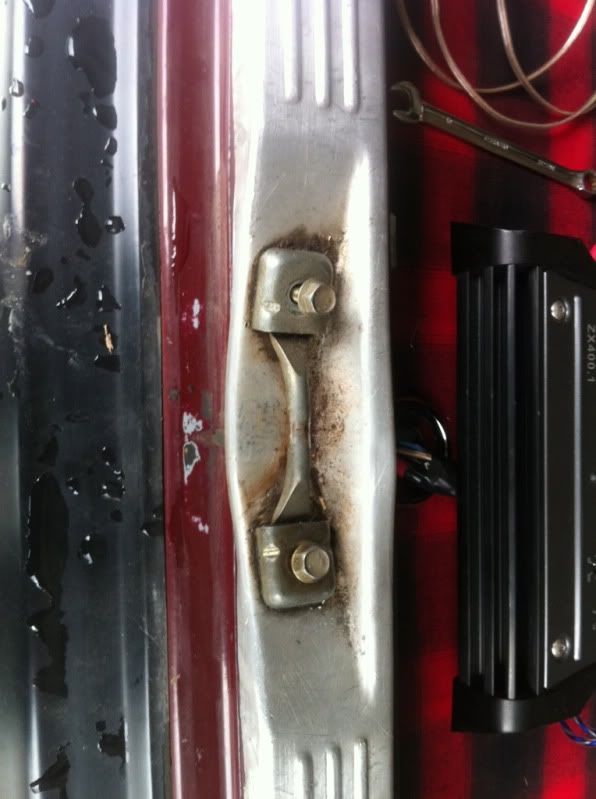
Then tackled the sub floor with fists of furry. Torqued down all the fittings (easier said that done with these guys), trimmed the manifold bracket and painted it red. Removed the hatch latch and took a wire wheel, scotch brite, and more metal polish to it.
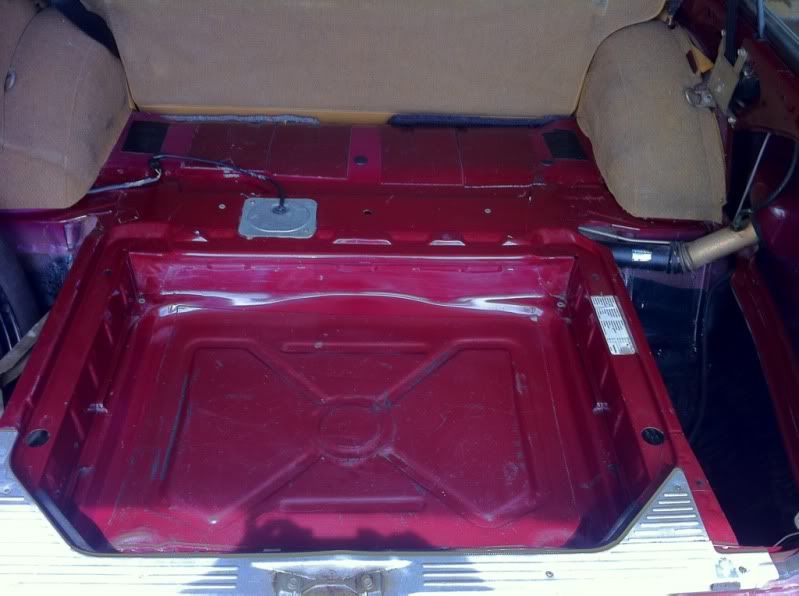
Yuck.
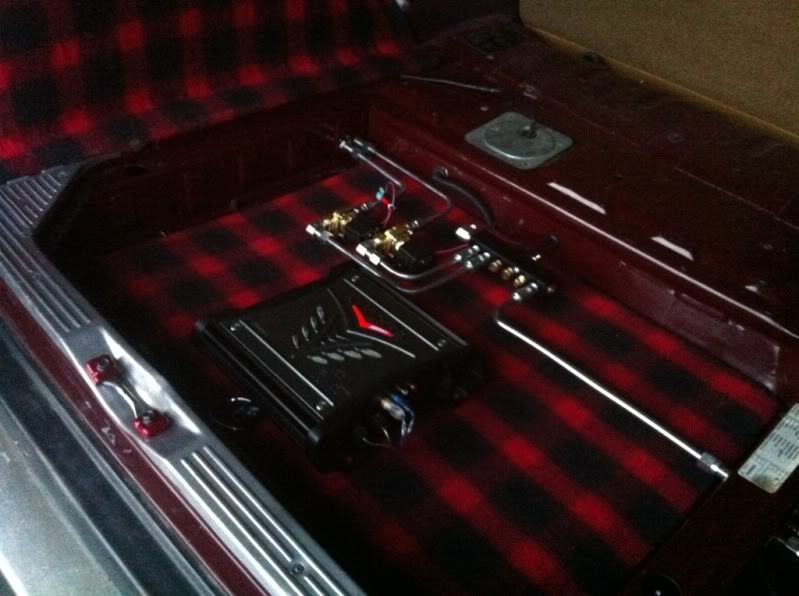
Had to buy another manifold and the cheapest was blue. Figured I could hide it. The air fitting will be used for tires, air tools in a pinch and whatever else that can be used with air.
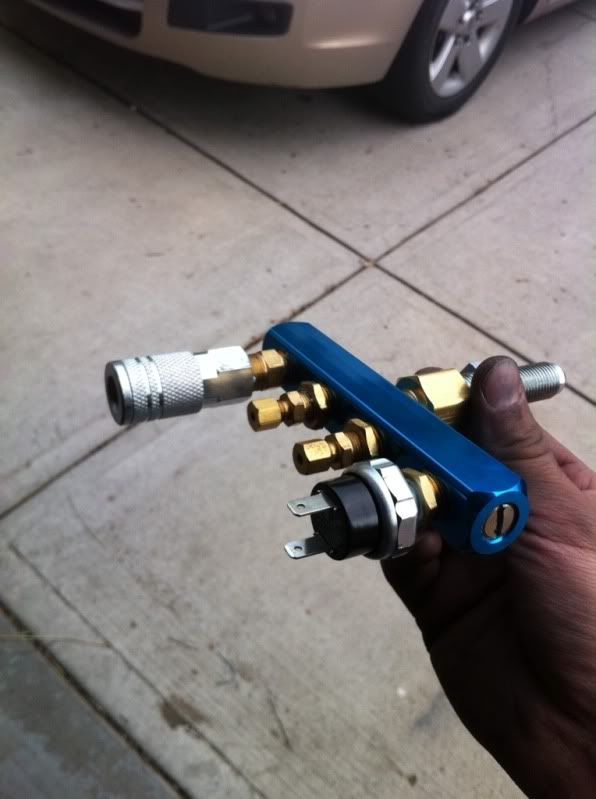
$6 for that guy...

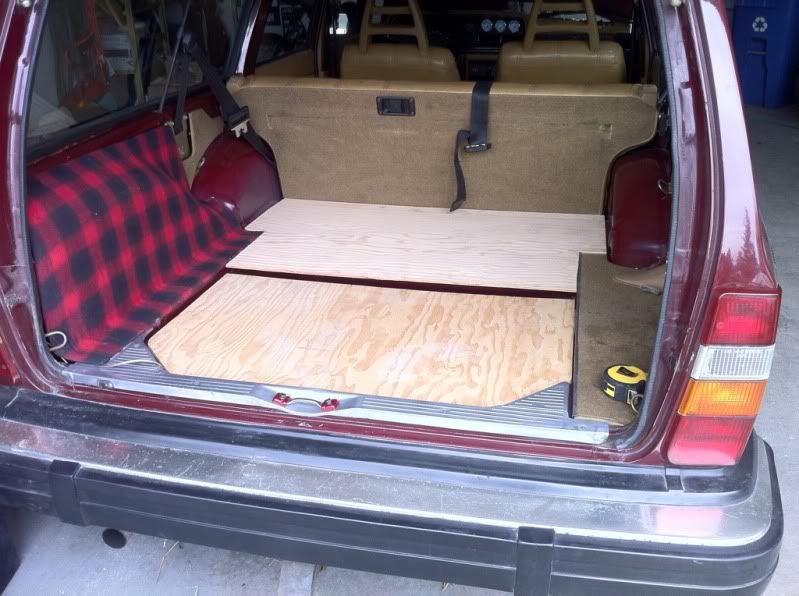
installed:
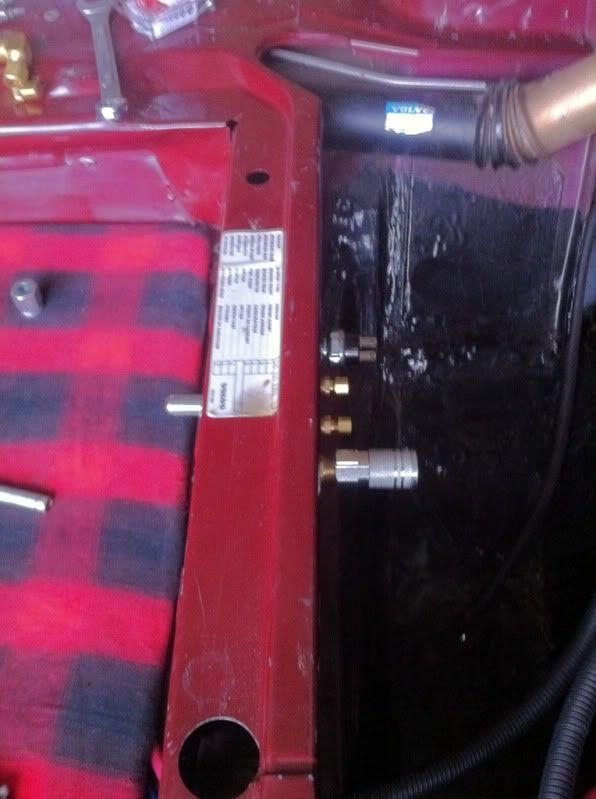
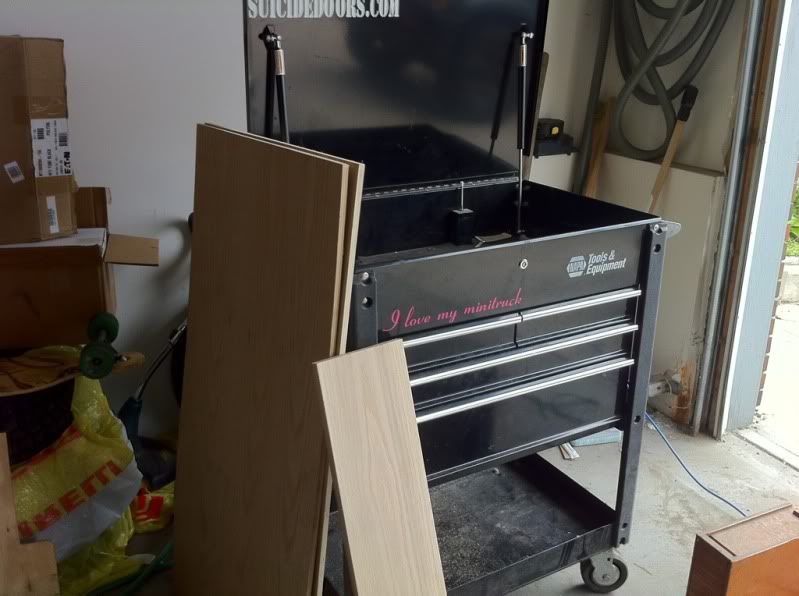
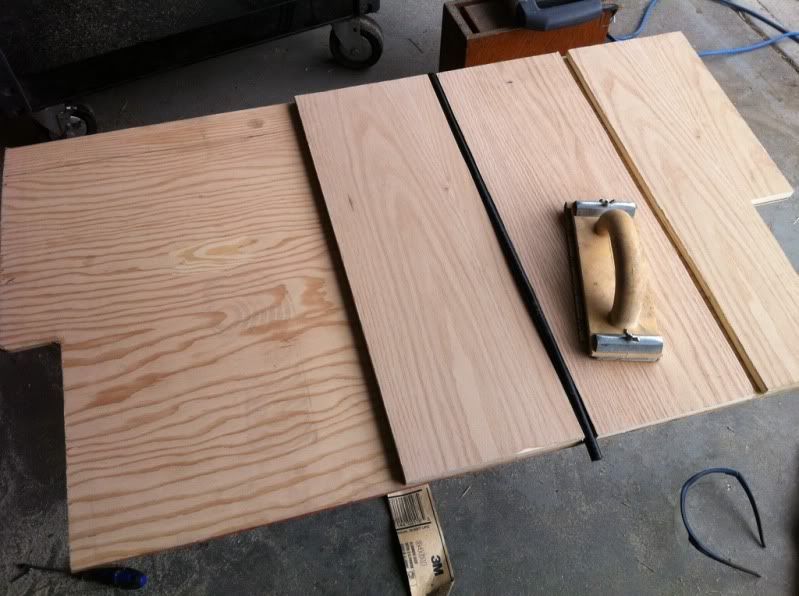
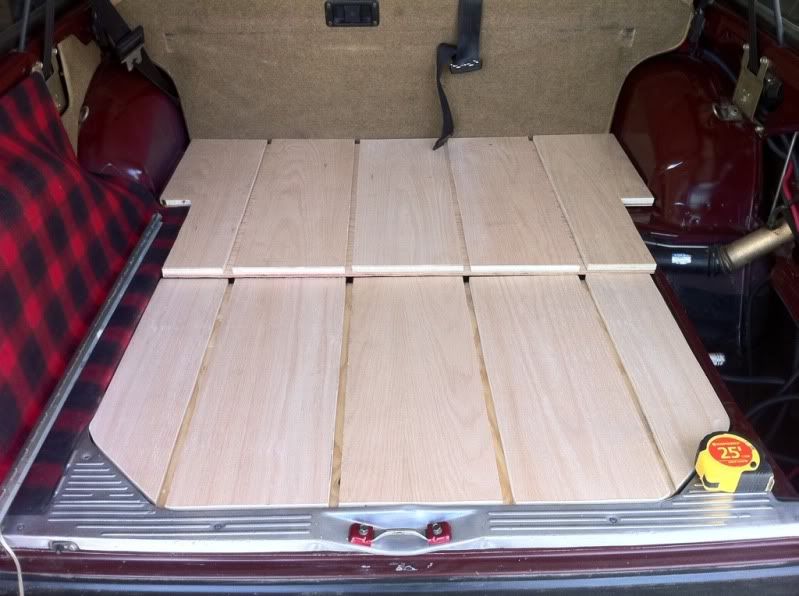
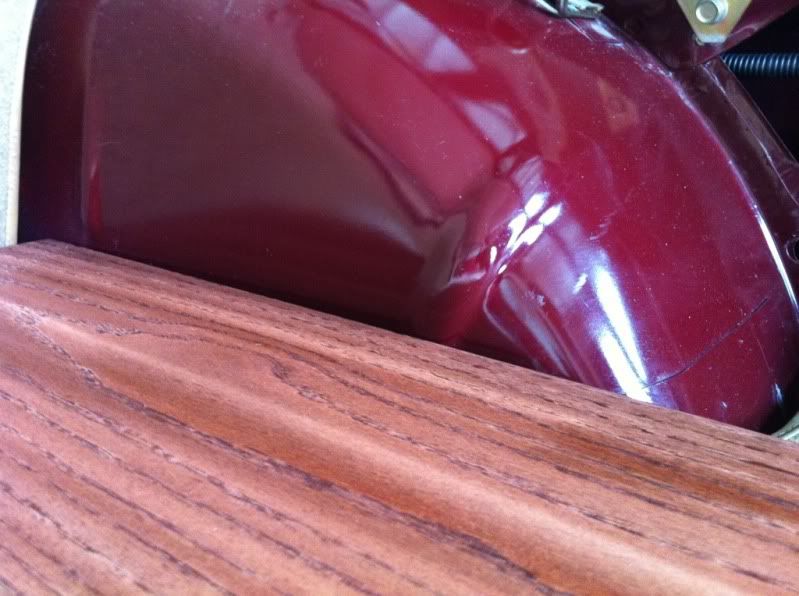
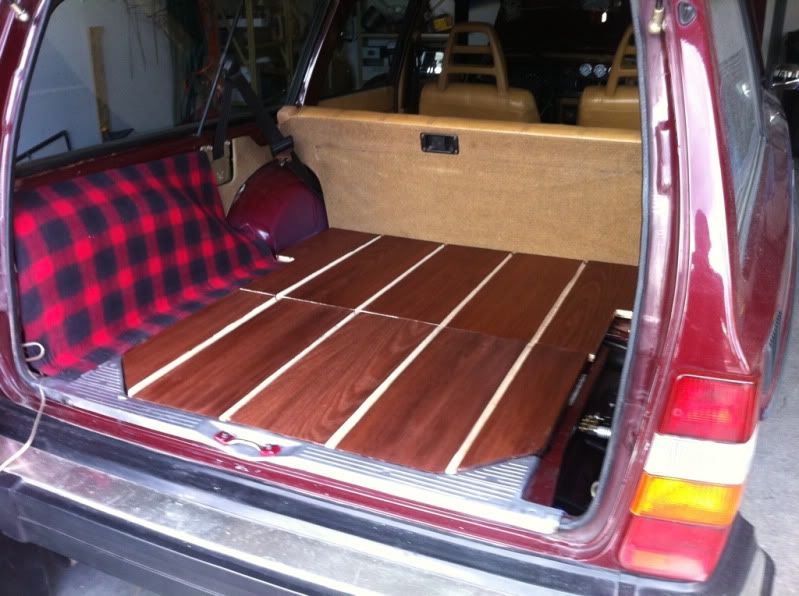
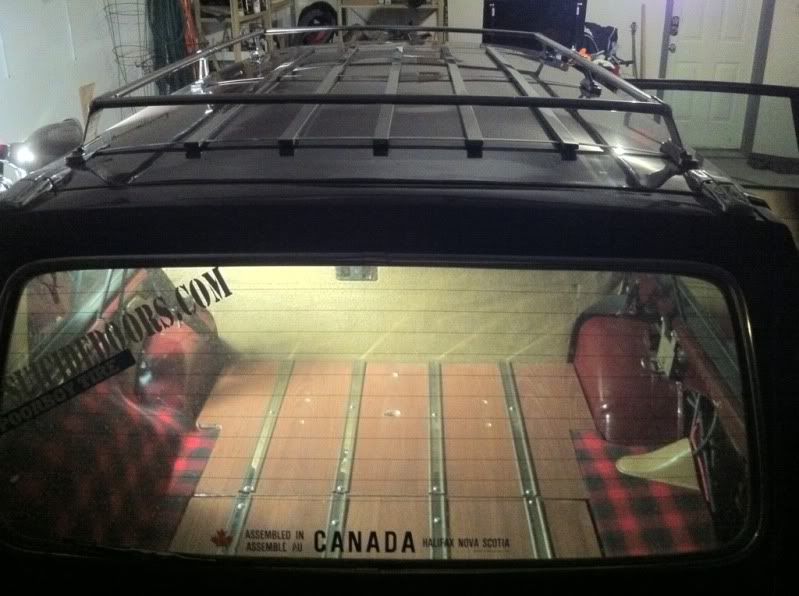
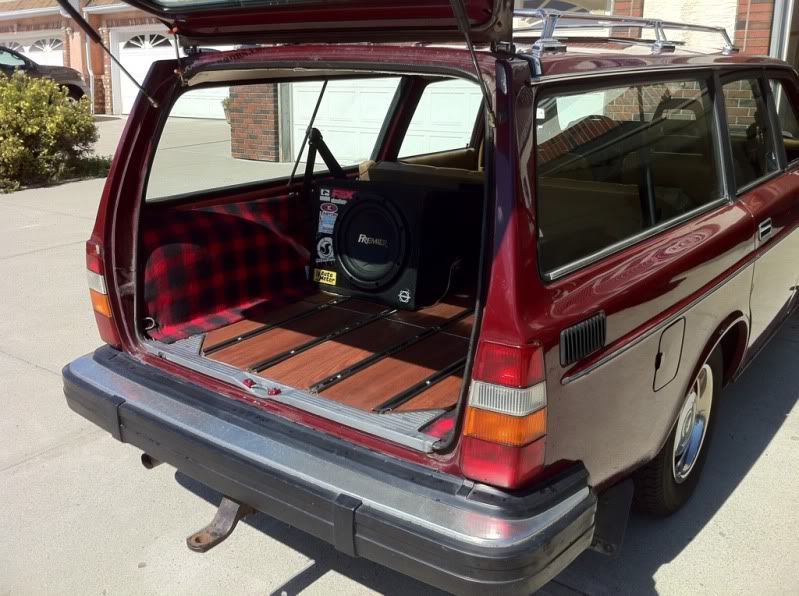
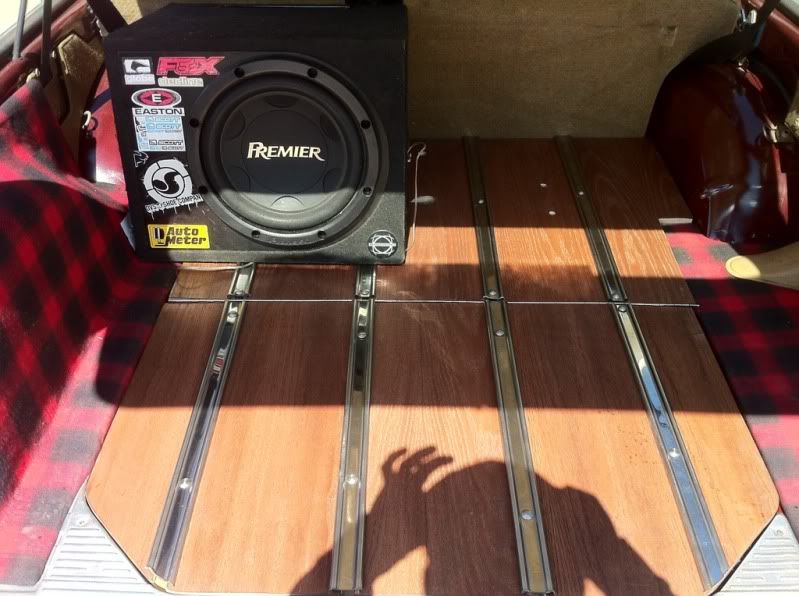
That's it for today. I have a few panels left to wrap in plaid and the wood still needs to be purchased for the hardwood install which will be next. The I'll be dusting off the welder and grinder and figuring some **** out. ANY info on that white bagged 240 wagon would be of great help if anyone has seen it. The rear suspension looks very tight for space but I'm pretty sure I can make it work.

