Change font size
It is currently Thu Jun 20, 2024 5:58 am


Post a new topicPost a reply Page 32 of 54   [ 801 posts ]
Go to page Previous  1 ... 29, 30, 31, 32, 33, 34, 35 ... 54  Next
Author Message
 Post subject: Re: Project Canuck - 1966 Canadian Build Thread ... Finally
PostPosted: Mon Oct 26, 2015 8:07 pm 
Haha, I just built a W24 Octo-Turbo, now what?!
User avatar

Joined: Wed Jun 14, 2006 4:19 pm
Posts: 3131
Location: Lethbridge, AB
Correction - the crank is the lighter part...so feeling better about that at least.

Recheck - it's the heavier crank...dammit. Why do I end up with the Mutt parts all the time. I've got an RN block and what looks like an N bottom end. Shit.

_________________
Coburn Performance - OCD comes naturally.


Top
 Profile  
 
 Post subject: Re: Project Canuck - 1966 Canadian Build Thread ... Finally
PostPosted: Wed Oct 28, 2015 1:28 pm 
Haha, I just built a W24 Octo-Turbo, now what?!
User avatar

Joined: Wed Dec 21, 2005 8:40 pm
Posts: 3492
Location: Calgary, Ab
Meh, the lighter crank only provides a fraction of the flywheel in the engine, and even that only affects 1st gear acceleration to any kind of degree. Consider it traction control!


Top
 Profile  
 
 Post subject: Re: Project Canuck - 1966 Canadian Build Thread ... Finally
PostPosted: Wed Jan 13, 2016 10:10 am 
Haha, I just built a W24 Octo-Turbo, now what?!
User avatar

Joined: Wed Jun 14, 2006 4:19 pm
Posts: 3131
Location: Lethbridge, AB
Just need to park this somewhere. I was rolling around under the car holding a few fuel pumps the other day and worked out a few things. First of all, there is no way the 240 fuel pump/filter arrangement will fit anywhere other than under the drivers floor - and it isn't going there. So that idea is scrapped. The second issue is there is no way to gravity feed the big racing Bosch 044 pump from the tank...even with the sump etc as I have to get a line up over the suspension and that is no longer trivial with all the arms and junk in the way.

So here's what I've worked out. I've got a spare, lightly used K-Jet fuel pump and an unknown LH 2.4 fuel pump. I think I'll feed the supply from the tank to the K-Jet pump through a 10 micron filter, just outside the tank. Using this pump (which can do 140 l/hr at 5 bar) to feed the 044. As the K-Jet is not operating against pressure, it should be more than capable of feeding the 044.

Then I'll use a stock Bosch fuel filter after the 044 and put them inline. They sort of want to fit in front of the rear wheel well.

_________________
Coburn Performance - OCD comes naturally.


Top
 Profile  
 
 Post subject: Re: Project Canuck - 1966 Canadian Build Thread ... Finally
PostPosted: Wed Jan 13, 2016 12:07 pm 
Haha, I just built a W24 Octo-Turbo, now what?!
User avatar

Joined: Wed Dec 21, 2005 8:40 pm
Posts: 3492
Location: Calgary, Ab
I will caution you against doing that.

The Kjet pump can and will supply fuel up to 150 psig dead-head pressure. It can supply more fuel than your engine will normally need. What will happen is that the pressure between it and the 044 will end up pretty high, possibly rail pressure, and the differential pressure across the 044 will be zero. This will cause the vanes in the pump to flap around, and best case it will howl like a banshee, worst case it'll self destruct.

My history here comes from a Walbro HP pump in the tank feeding through a Kjet pump: again the Walbro could supply all the fuel the engine needed so the Kjet pump effectively just idled along, howling away. Replaced the Walbro with a low pressure feed pump (as it should be), Kjet pump got happy again.

YMMV, in my case the Walbro was (on paper) a bigger pump than the Kjet, so it may have been feeding more fuel than the Kjet could take. I think the same thing would happen even if the Walbro was smaller, until the Walbro struggled to keep up with the demand from the engine at which point pressure from it would have dropped and the Kjet would have been happier.


Top
 Profile  
 
 Post subject: Re: Project Canuck - 1966 Canadian Build Thread ... Finally
PostPosted: Wed Jan 13, 2016 7:13 pm 
Haha, I just built a W24 Octo-Turbo, now what?!
User avatar

Joined: Wed Jun 14, 2006 4:19 pm
Posts: 3131
Location: Lethbridge, AB
Dammit - I guess I could just run the 044 at the tank outlet and run a small filter between the pump and the tank then run a larger filter in line elsewhere.

_________________
Coburn Performance - OCD comes naturally.


Top
 Profile  
 
 Post subject: Re: Project Canuck - 1966 Canadian Build Thread ... Finally
PostPosted: Wed Jan 13, 2016 11:22 pm 
Haha, I just built a W24 Octo-Turbo, now what?!
User avatar

Joined: Wed Dec 21, 2005 8:40 pm
Posts: 3492
Location: Calgary, Ab
I'm not saying it DEFINITELY won't work, and if it doesn't you can come up with a low pressure pump to feed the 044, I'm sure?


Top
 Profile  
 
 Post subject: Re: Project Canuck - 1966 Canadian Build Thread ... Finally
PostPosted: Thu Jan 14, 2016 6:54 pm 
Haha, I just built a W24 Octo-Turbo, now what?!
User avatar

Joined: Wed Jun 14, 2006 4:19 pm
Posts: 3131
Location: Lethbridge, AB
My thinking was just to linear on this one. The biggest gap that I've got near the fuel tank is right in front of it between the tank and the rear end in between the subframe mounts. So I can come out of the tank, 90 degrees with a hard line into the 044, then loop up and around the subframe and off out front to a big 240 fuel filter. Pump can mount to the crossmember where the rear of the subframe mounts. As I haven't sheeted it yet, I could do nuts inside the rail. I can't see why the sump can't gravity feed the 044 with a baffled tank with a sump feed.

_________________
Coburn Performance - OCD comes naturally.


Top
 Profile  
 
 Post subject: Re: Project Canuck - 1966 Canadian Build Thread ... Finally
PostPosted: Sat Feb 20, 2016 9:21 pm 
Haha, I just built a W24 Octo-Turbo, now what?!
User avatar

Joined: Wed Jun 14, 2006 4:19 pm
Posts: 3131
Location: Lethbridge, AB
Big update time. Matt came down to lend a much needed helping hand this week. We figure this is worth about a month of me playing in the garage...do settle in for a longish post this time. Really thankful that I was able to get the help with this one.

My rather hopeless goal was to get the frame under my car this week. I cut it out on September long weekend...it's now February and I haven't been able to make a lot of progress with working on other projects. Sometimes it just takes that sort of time for me to work out the engineering that is needed for this job - sometimes I just spend too much time building engines and other junk for people!

So I figured that it would be pretty simple to just toss the cross member in the right position and get the frame built over to it. I had forgotten that the drivers floor does need to come out - but the passenger's side is pretty much done. Well, the cross member turned out to be quite the challenge. We measured it all up and found out that the lower control arm mounts are not perfectly level and they are toed in a little. That's not great, but it's only 1/16", so we decided to not loose sleep over it and get the rack installed.

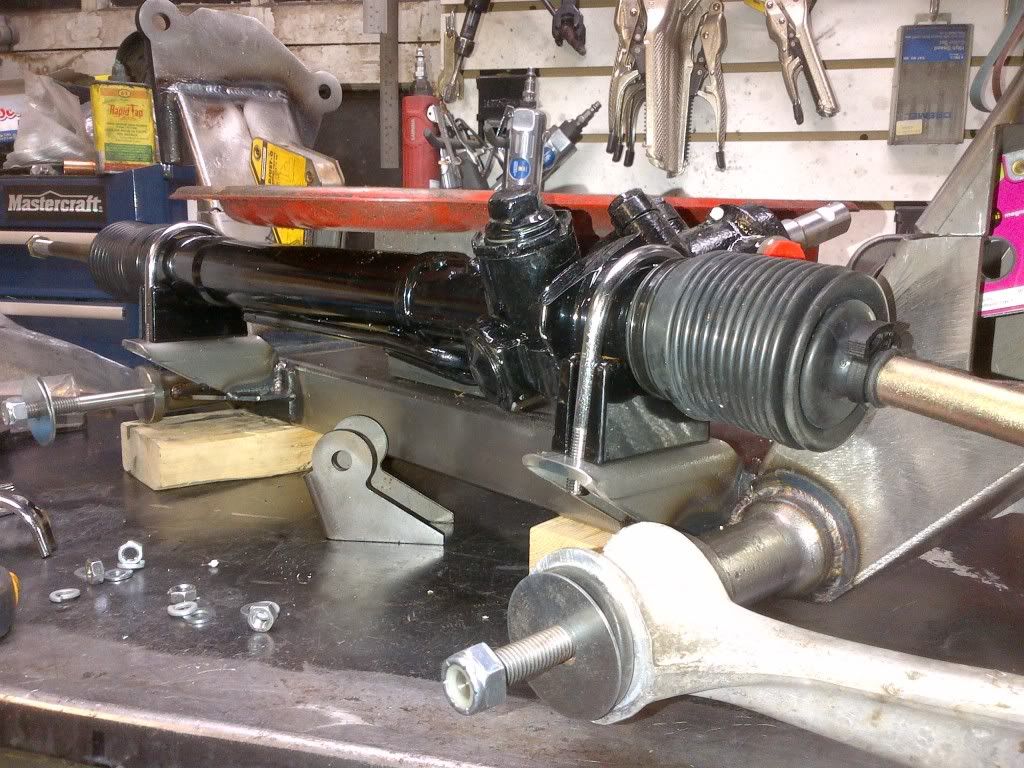
Now installing the rack I thought would be a piece of cake. My race engineering report told me exactly where to put the rack, so other than locating the pivot accurately, how hard could it be. Here's the original rack that will not be used - note that the tie rod is almost at the frame level.
Image

I bought a super-dooper racing rack so I could drop the rack around an inch. This thing is a monster compared to any stock rack I've seen. 2.34 turns lock to lock and a lot of cool options (adjustable road feel and other stuff I don't need). So we work out where it should go based on race engineer Ron Sutton's report.

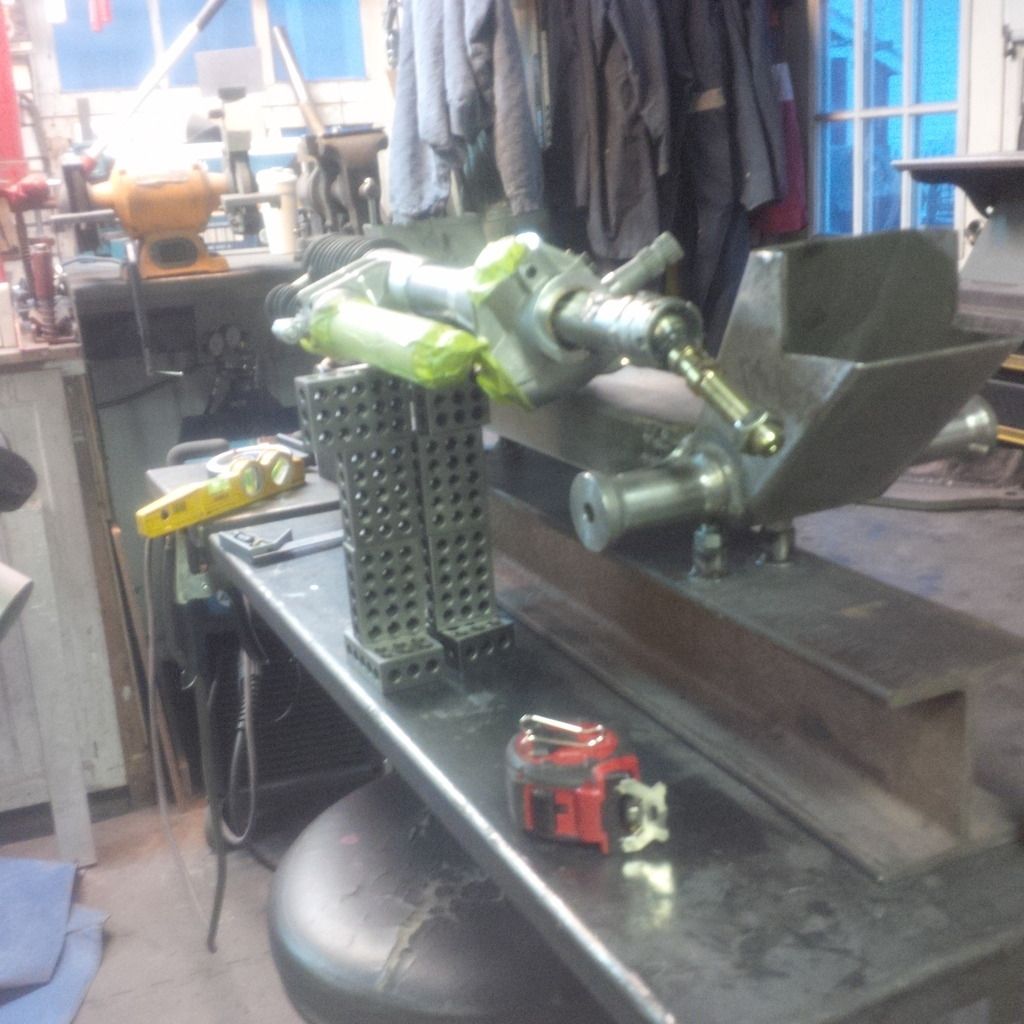
This is the first attempt - we were 1" too high here based on my foggy memory.
Image

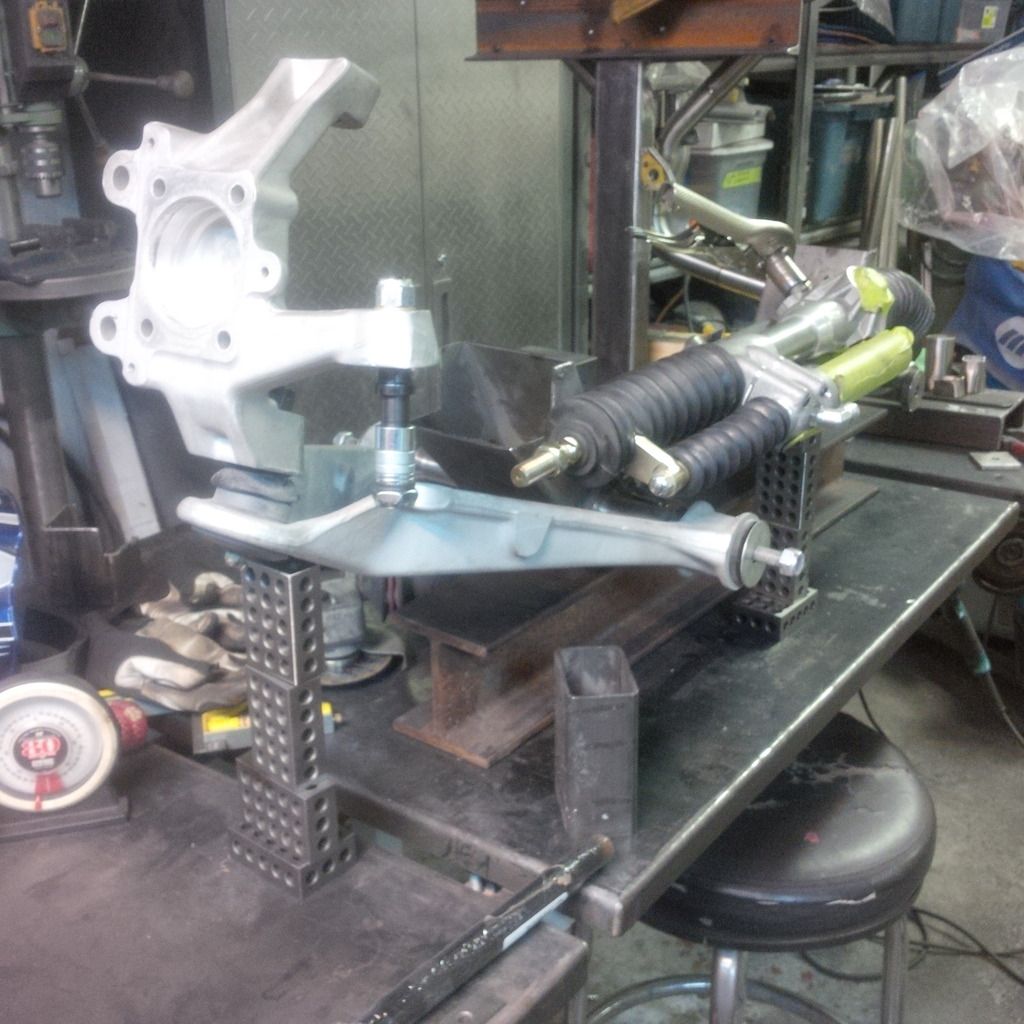
Then we checked clearance at full bump - will that slave cylinder clear the lower control arm?

Yup.
Image

The original way to mount this rack was the way the race guys do it with a simple plate with the two mount holes drilled. Then the plate is angled to take the slave away from pinch points and the thing is welded and trussed up in place. We started to do this and discovered that the long bolts that are needed would hit the cross member. No way to install the plate and install the rack to get optimum Ackerman and the clearance I need for the engine.

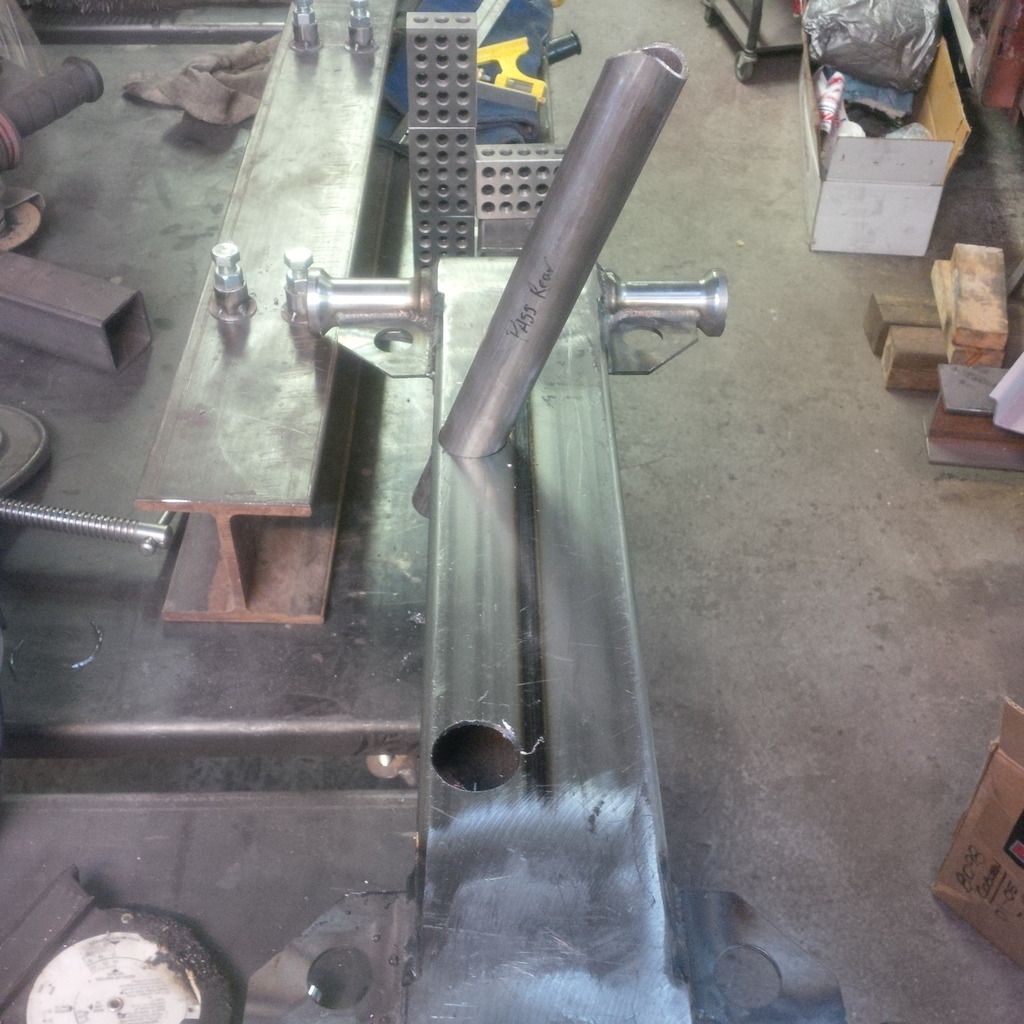
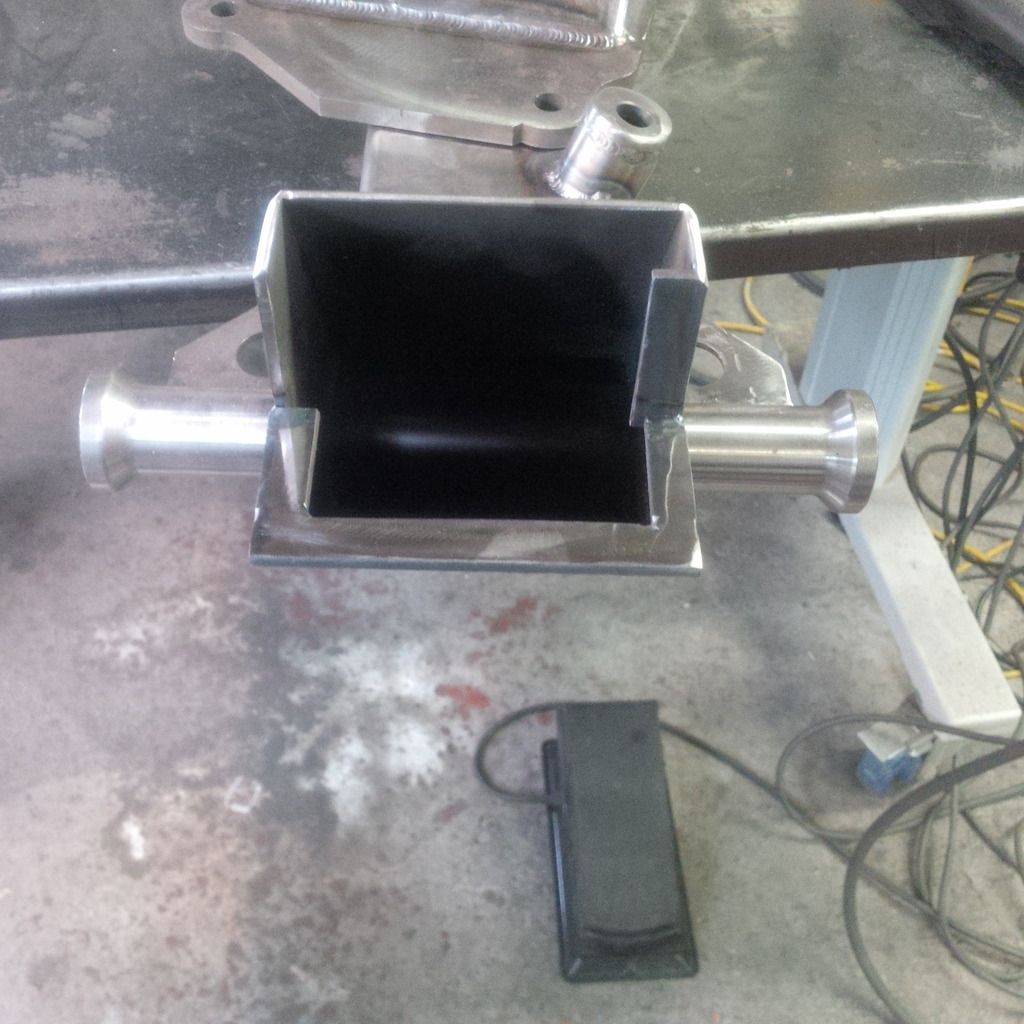
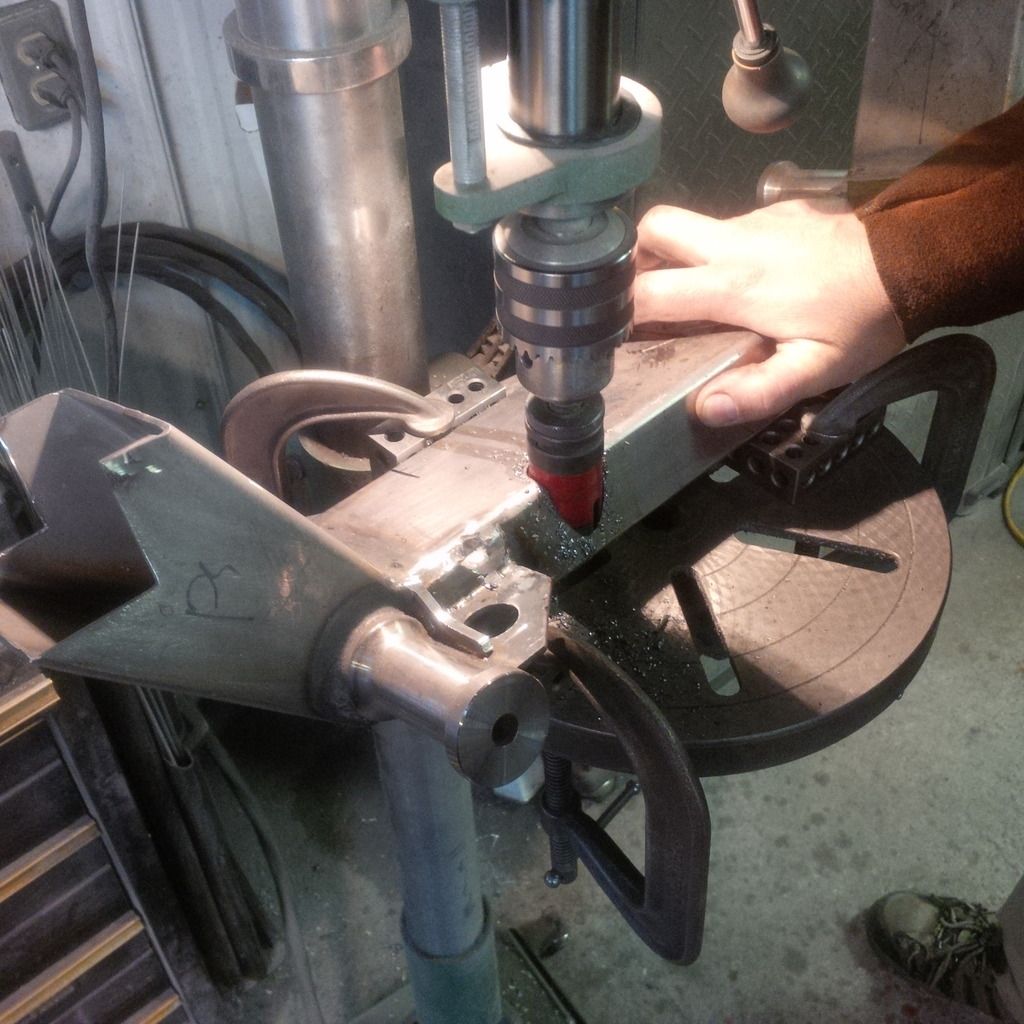
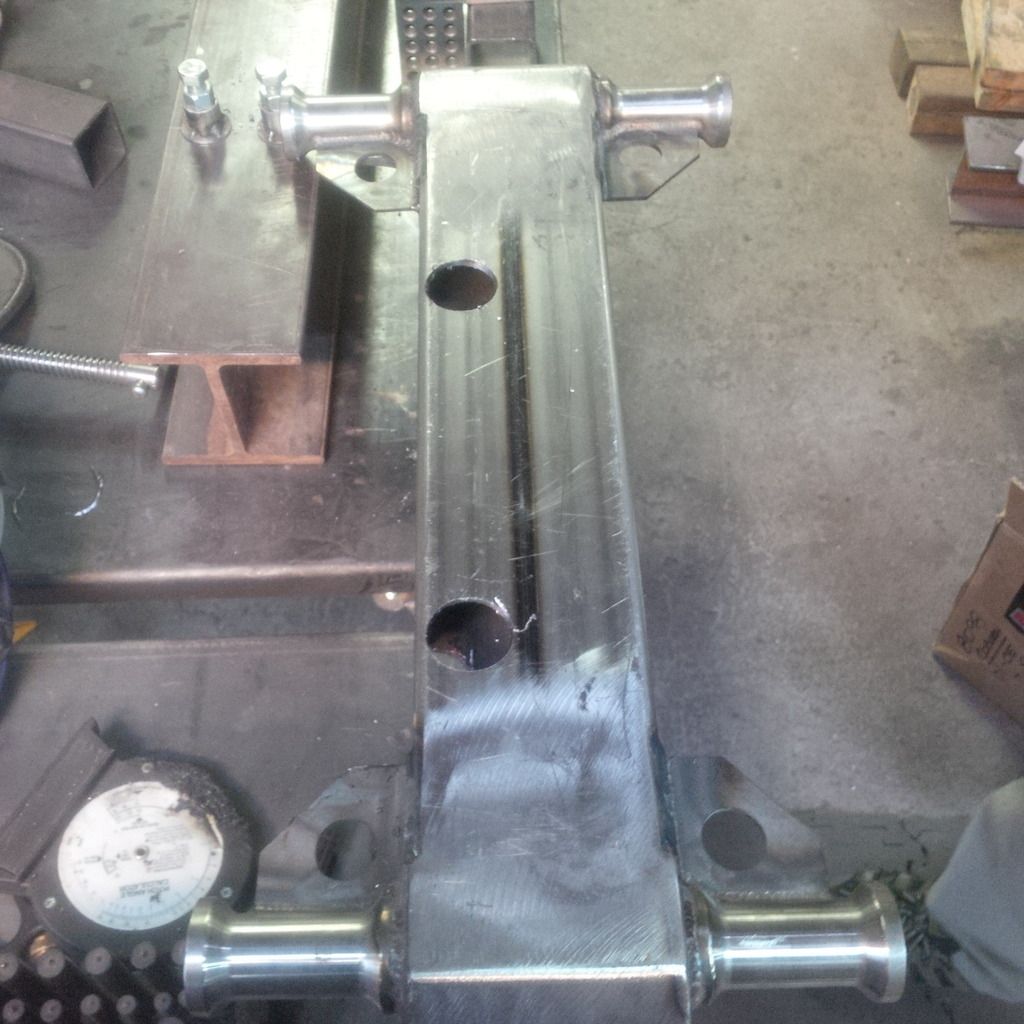
We draw out a few ideas on the white board and come up with the idea to toss some tubes through the frame. Tubes through stuff is always cool. Problem is, we don't have a Bridgeport mill and the ability to accurately drill said holes. I've got a drill press, a hole saw and no fear of building stuff. So here we go.
Image

Not perfect, but not garbage either - we guess the two holes are about 1/16 off perfect. I'll take it.
Image

Tubes work like so.

Image

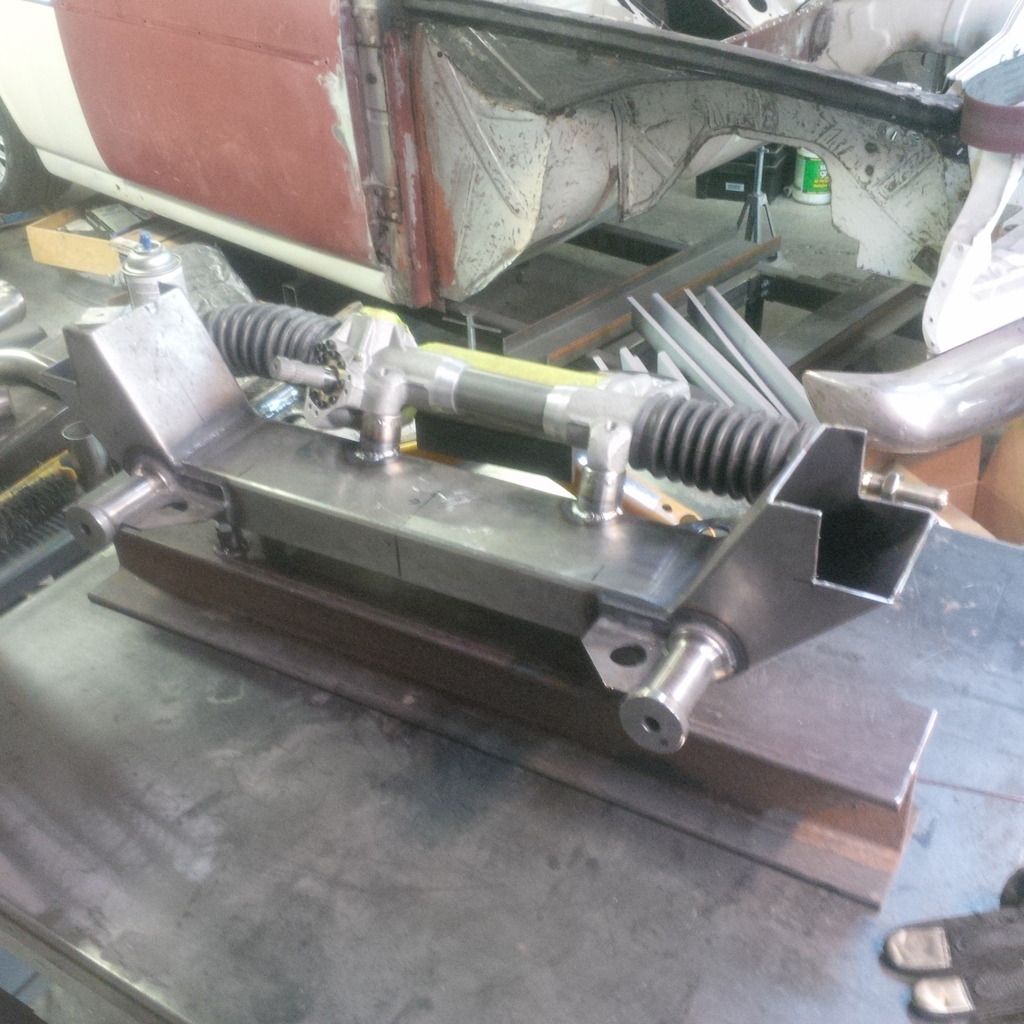
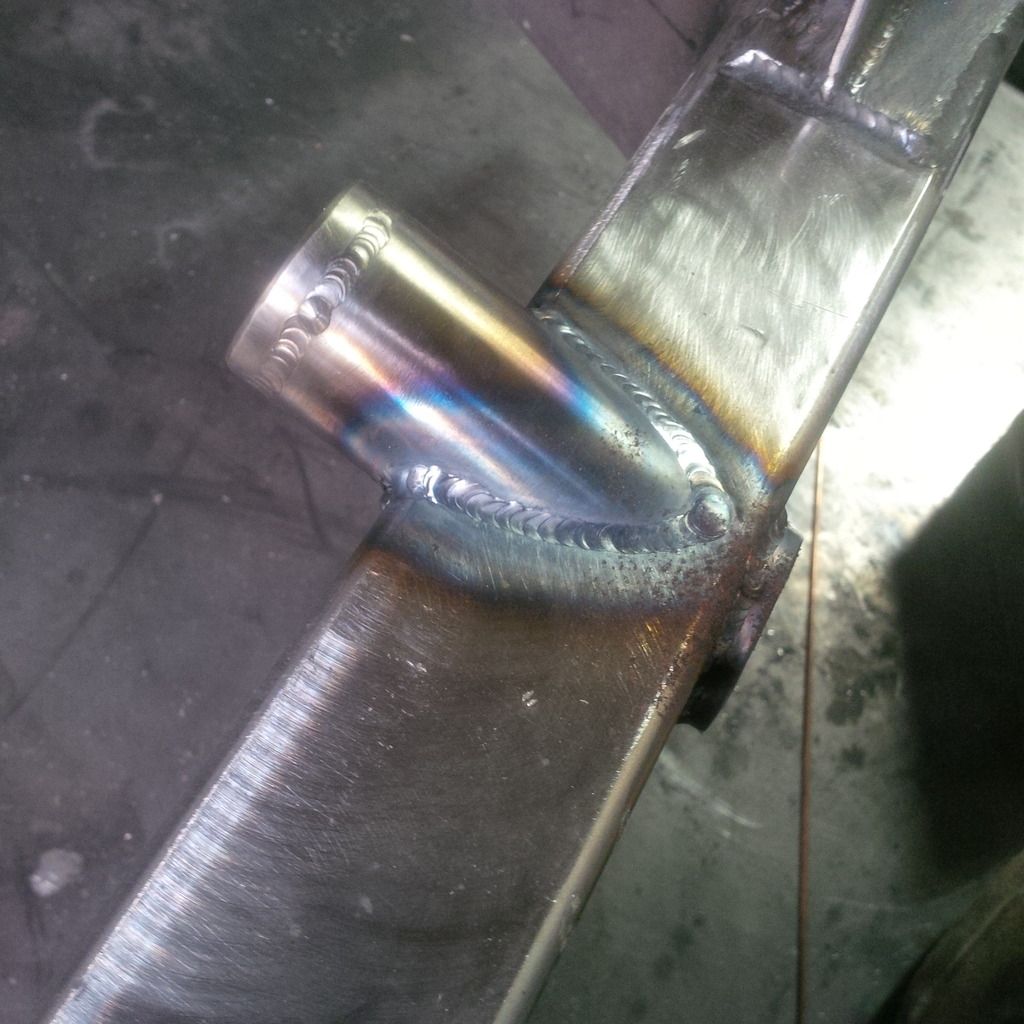
A little while later we have TIG welded tubes with holes that are perfect for the rack and tube stand-offs that are a little imperfect.
Image

Rack mounted and angles sorted out.

Image

That was a ton of work and thinking and talking it through. Team work was vital.

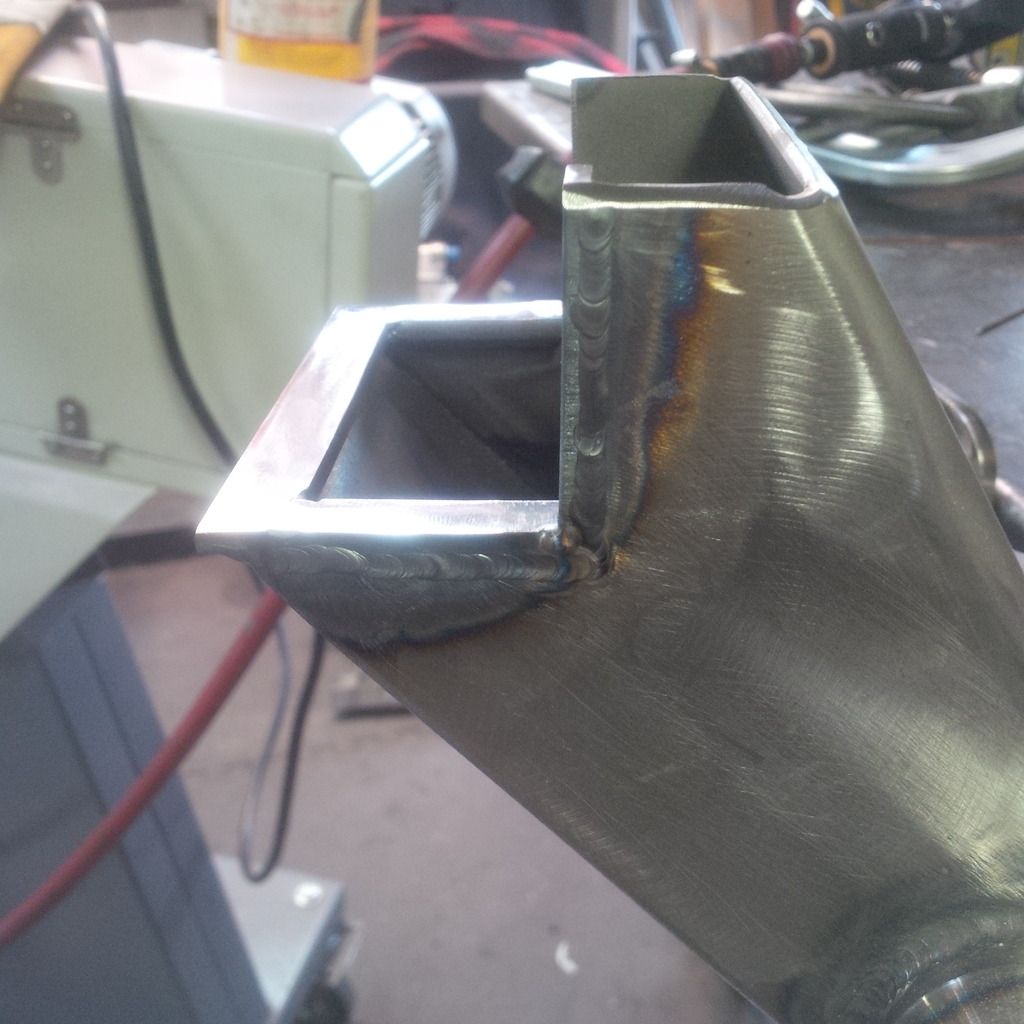
Gratuitous weld picture.
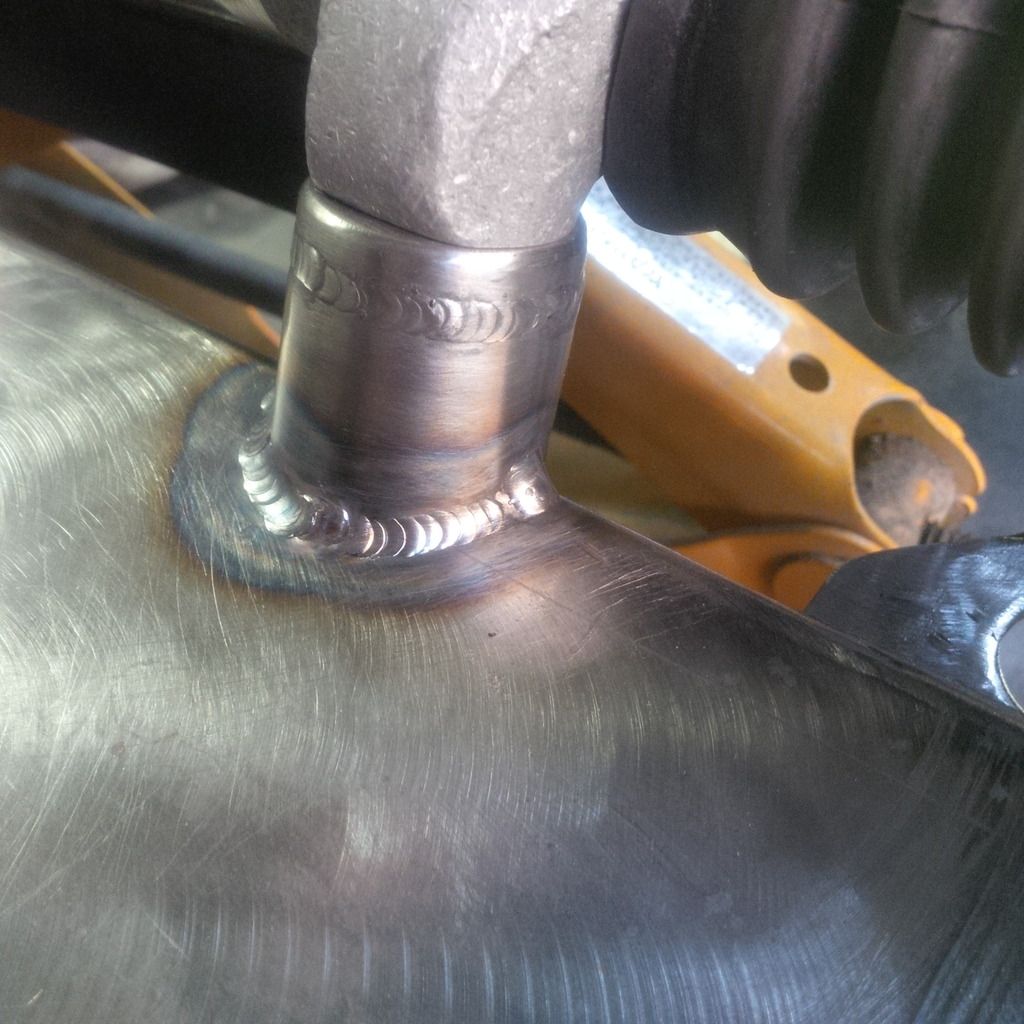
Image

Then we chucked the thing under the car and put some arms on it and uprights and stuff.
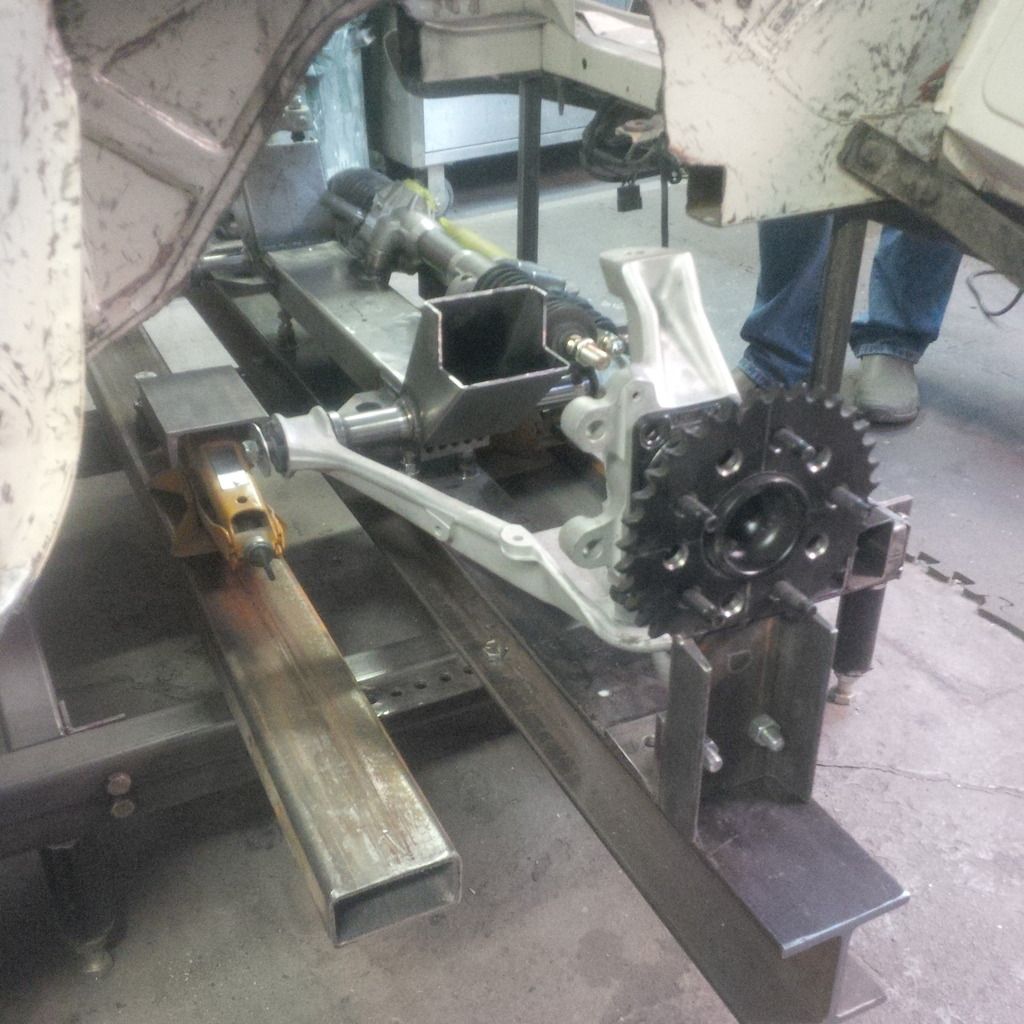
Image

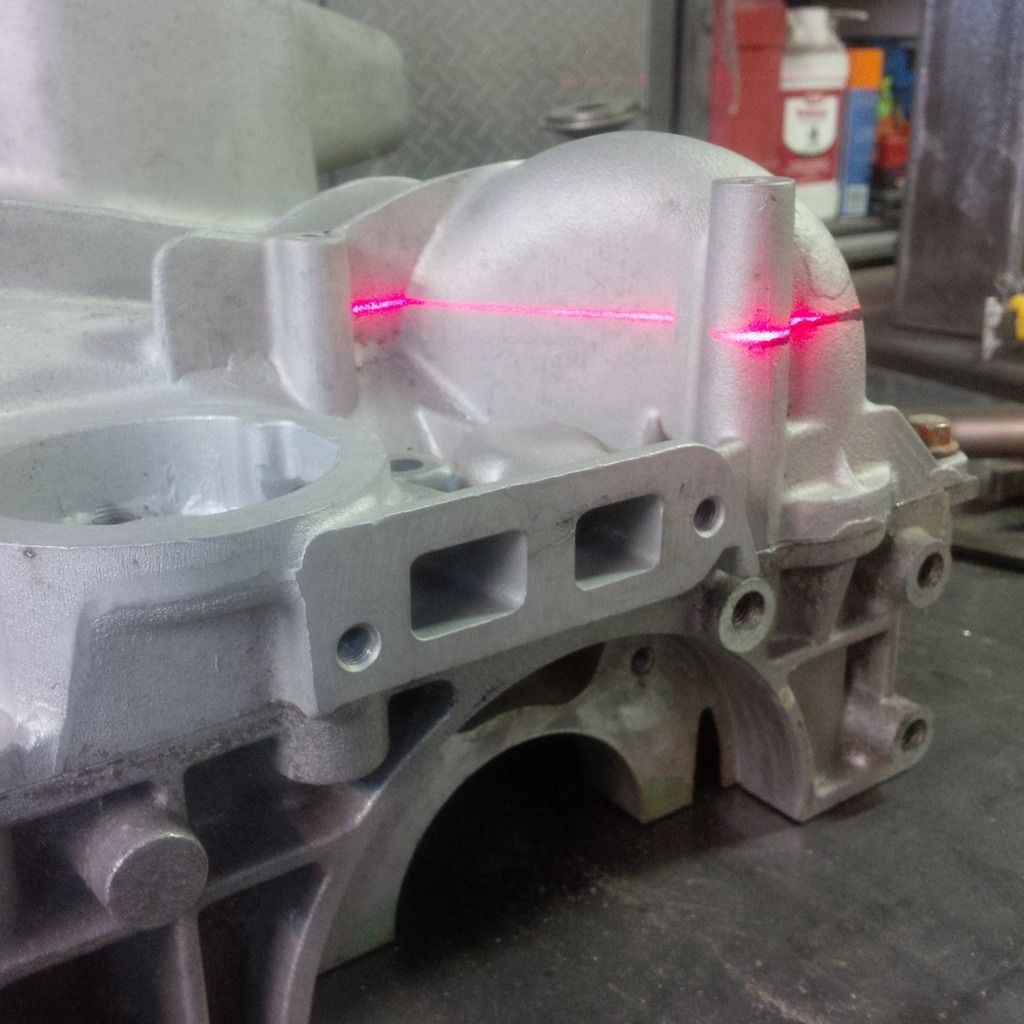
Next up - Frickin laser beams! Note laser line is projected on bottom of the engine intermediate girdle (the pan top) and on the cabinet...perfect at 3".
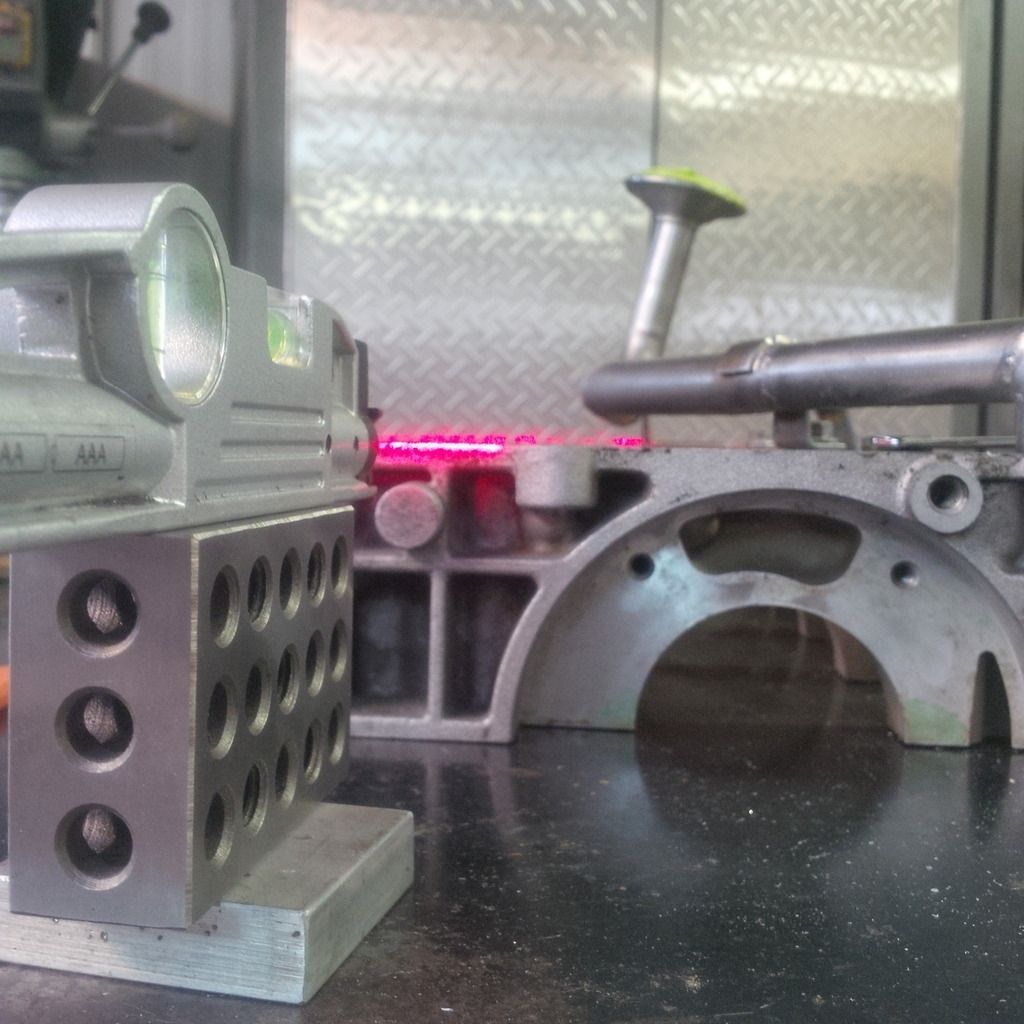
Image

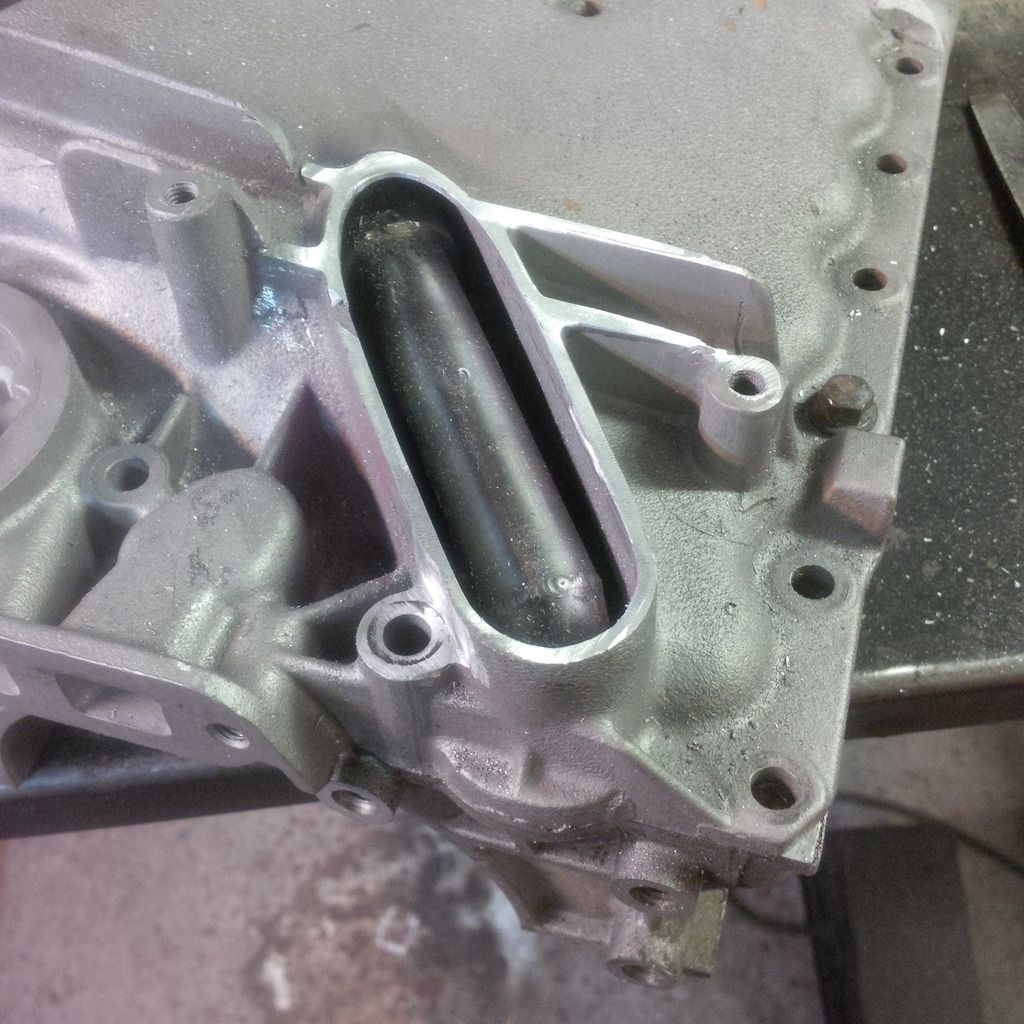
Working out the exact height of the crank shaft centre line. We need this to set the angle of the engine. The stock engine sits at 3 degrees down at the back. I'd like to be as close to this number as possible. We have issues - the pan is not playing nice and the gigantic swan neck feed tube and corresponding swoop in the oil pan are causing almost 8 degrees of tilt to get this to work. That won't do.

So we decide to just cut that stuff off and do it again. I've been working under the assumption that this crank is needed.

Ya, the one going into the front of the pan on your right.
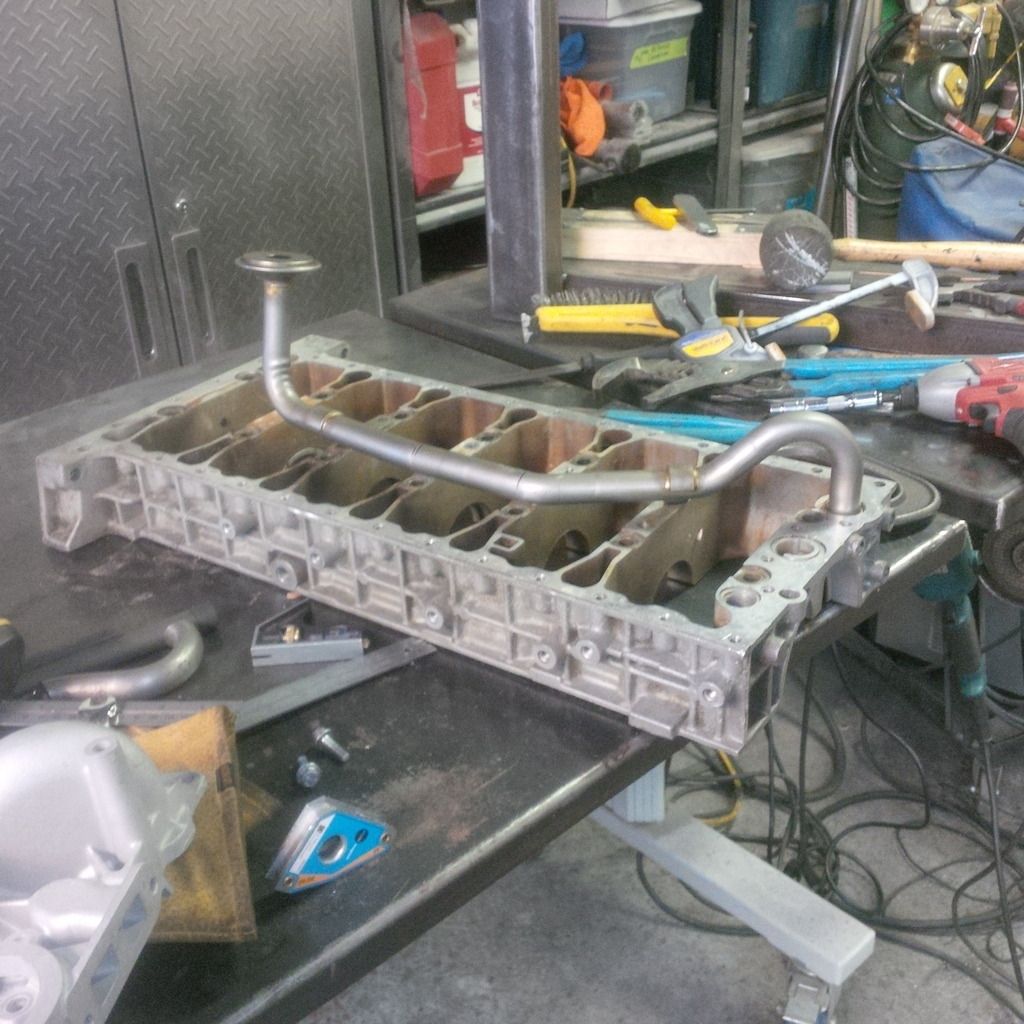
Image

That's the one. I was thinking it would hold a little oil to keep the pump primed. Matt figures it's got nothing to do with that and everything to do with just making the part. Keeping the pan low and bending the tube. If the oil finds it's level like any other fluid and the pump can not hold oil (no reason to believe it would hold pressure when not turning) then with the original tilt towards the rear of the car, the oil would drain out of that tube pretty well. So - off it comes.

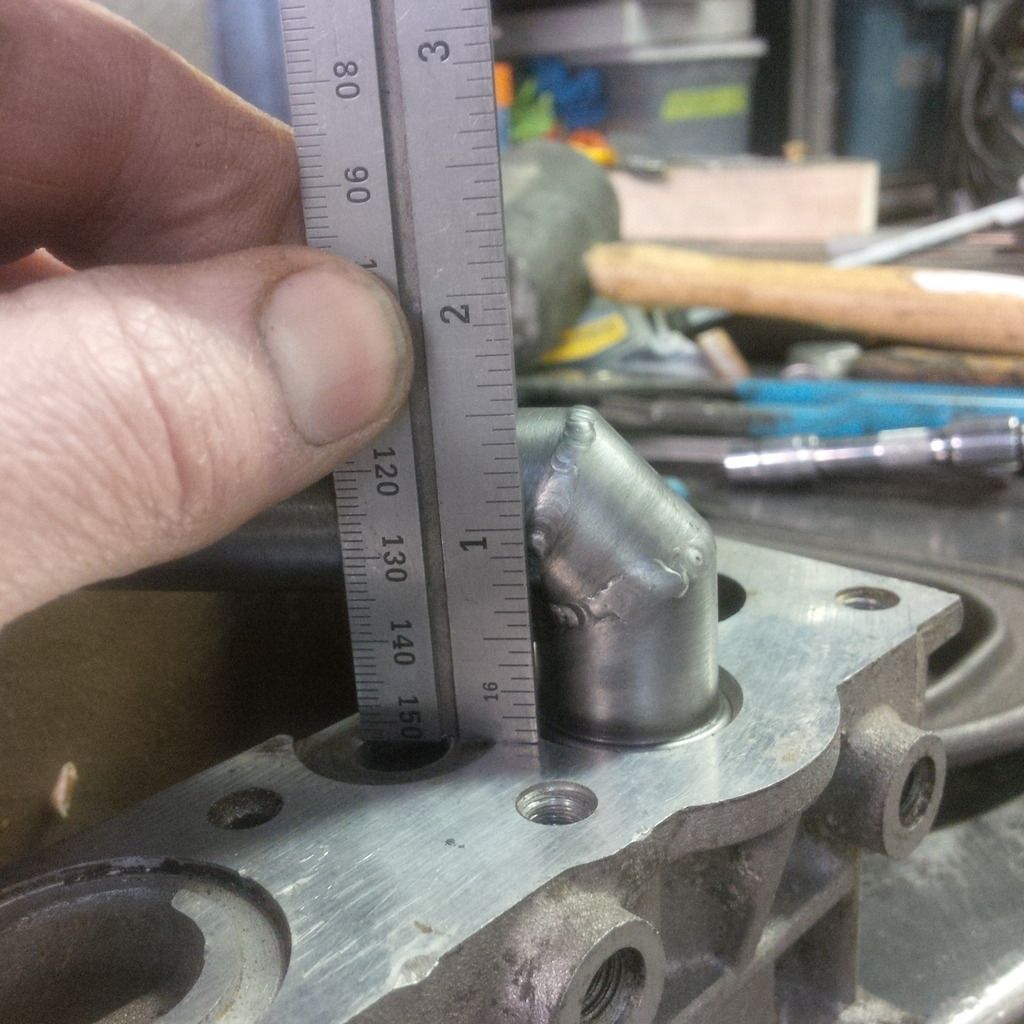
First a few measurements.

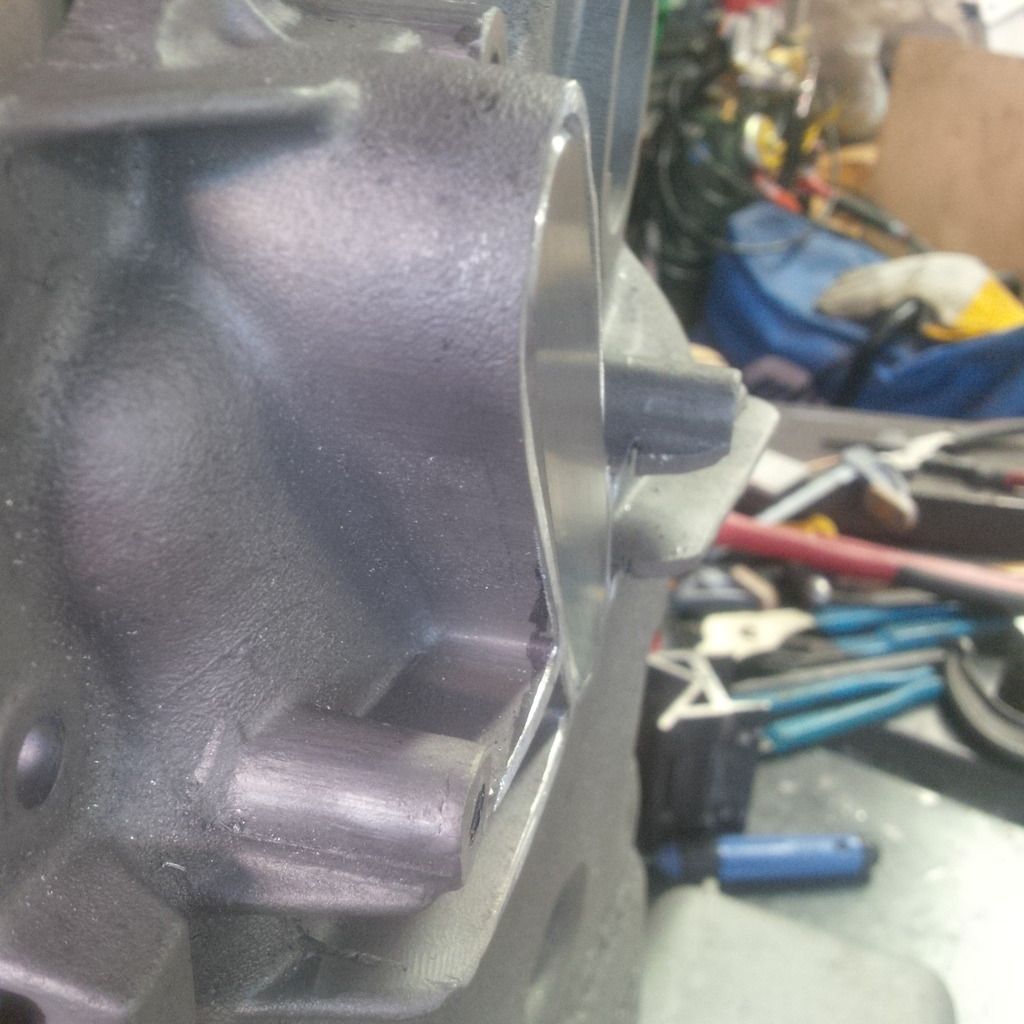
Tube is 2 7/8" above the pan and the pan has clearance around it to be a total of 3 3/8" total. If we could loose that it would help.
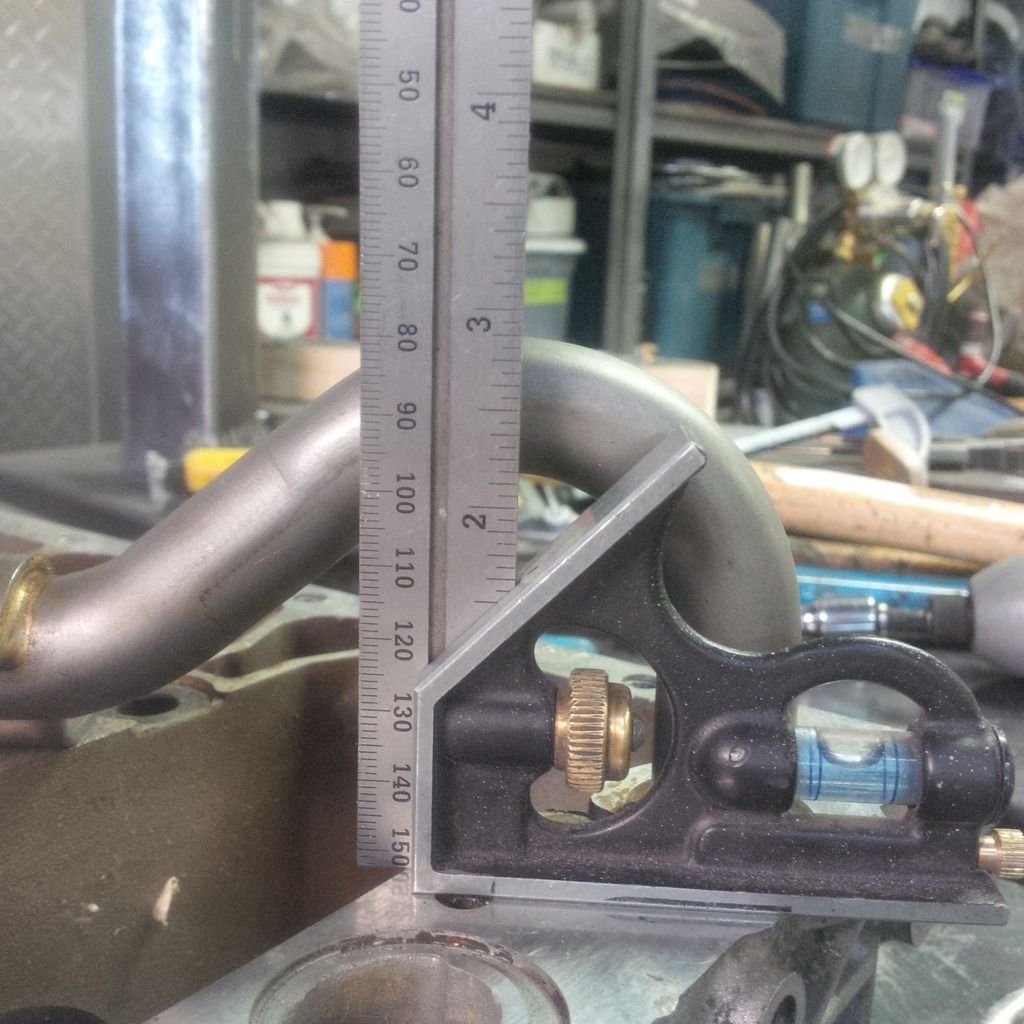
Image

High point on the tube are the clamps - about 1.5" tall. So we could loose 1 3/8" and that's a couple of degrees. At this point I should mention that the tube is metric (22 mm) and I found some in my pile of crap. How random is that. I didn't have to sacrifice my spare pick up tube!

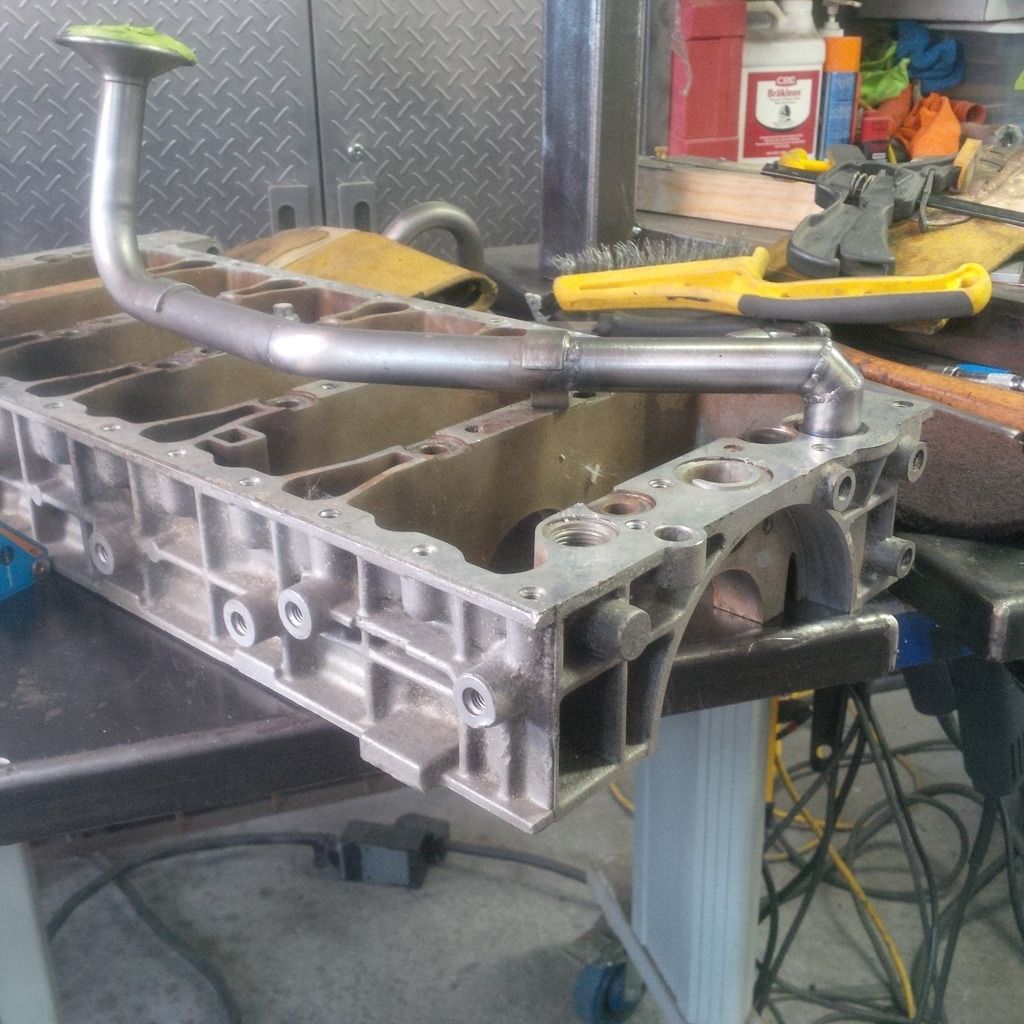
I then made this.
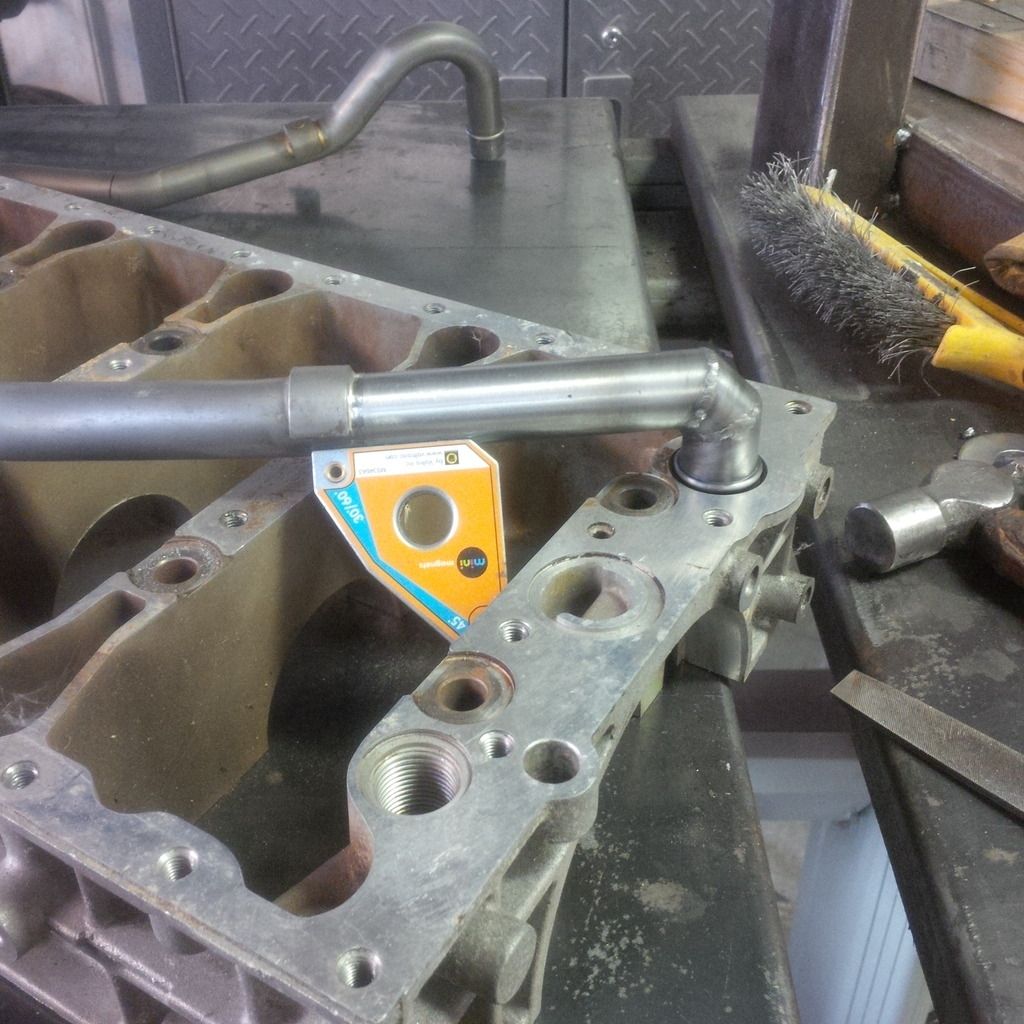
Image

Where is the fit line between these parts?
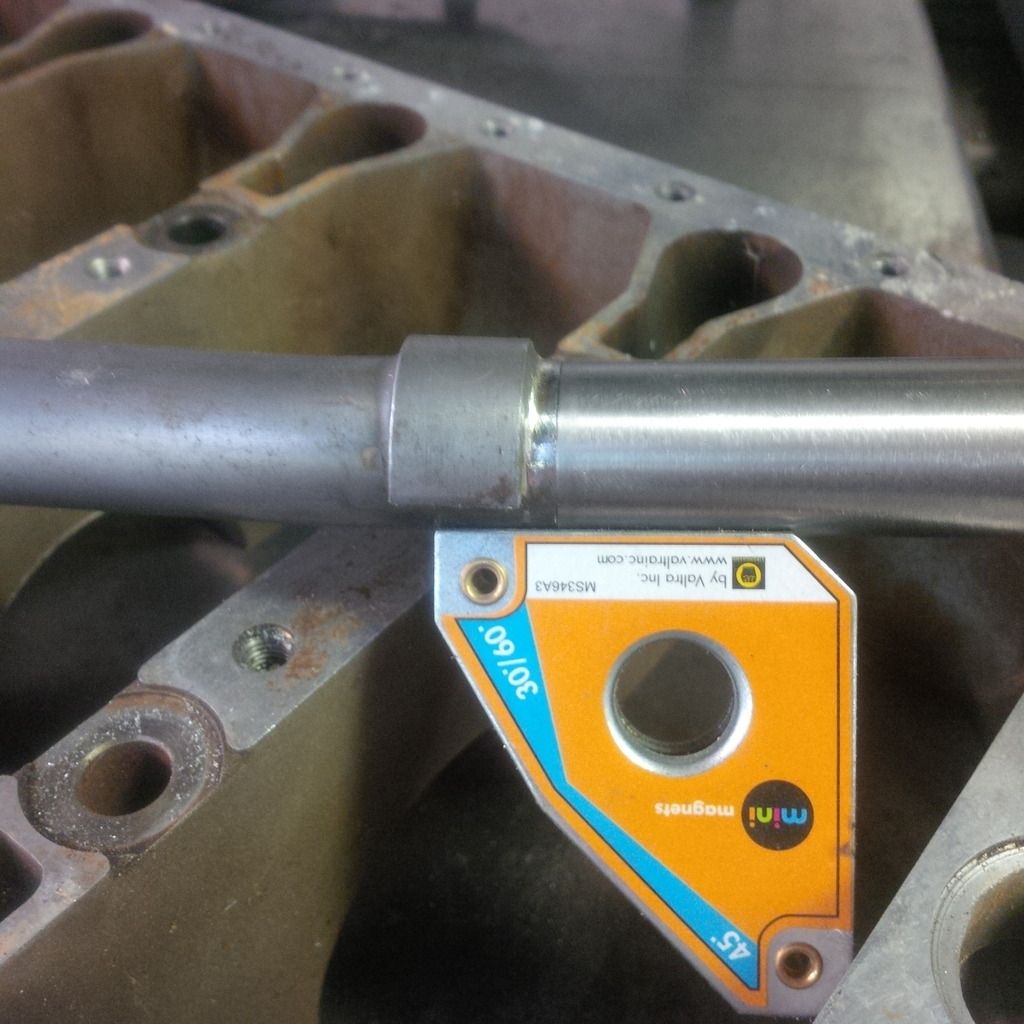
Image

Done.

Image

Doesn't get much better.

Image

Going to loose about this much pan.

Image

Savagery - cut it out with the little sawsall. That tool is a beast.
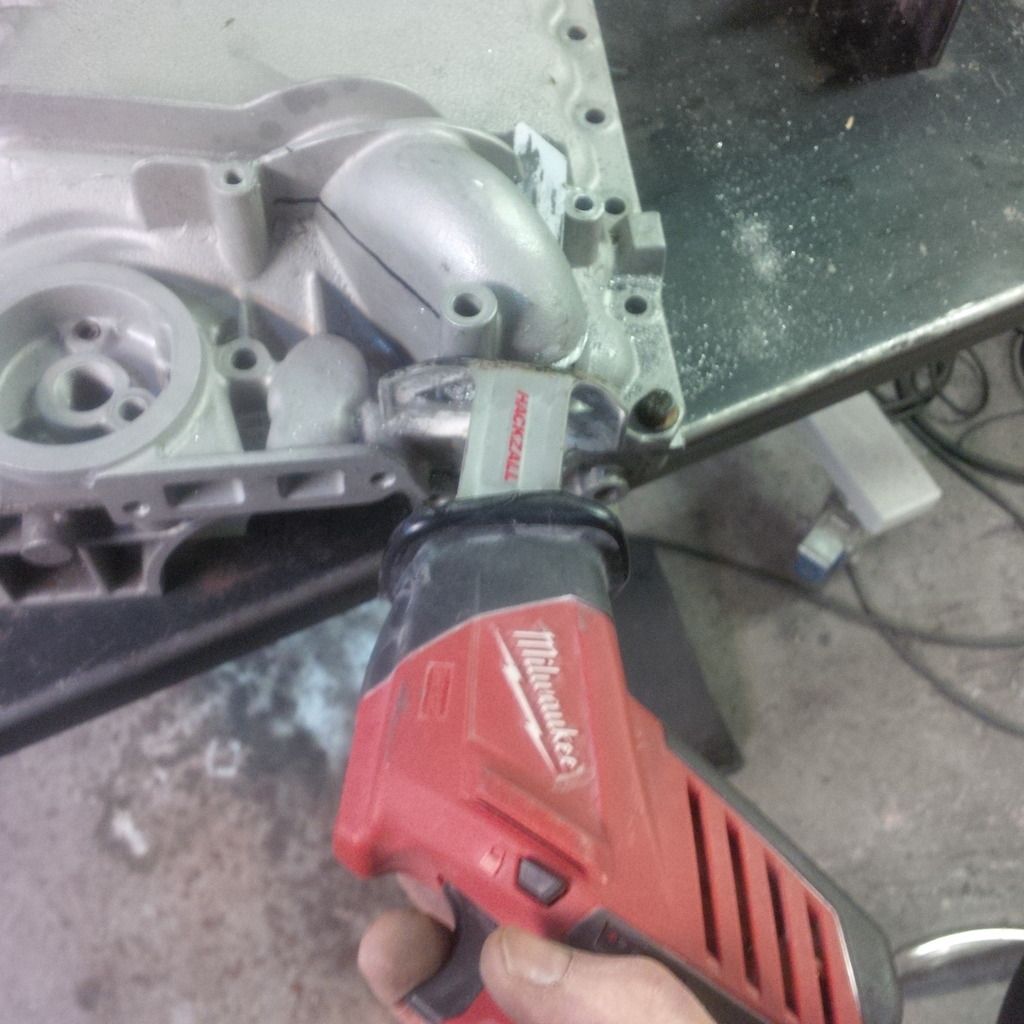
Image

Should have taken the pick-up tube off!
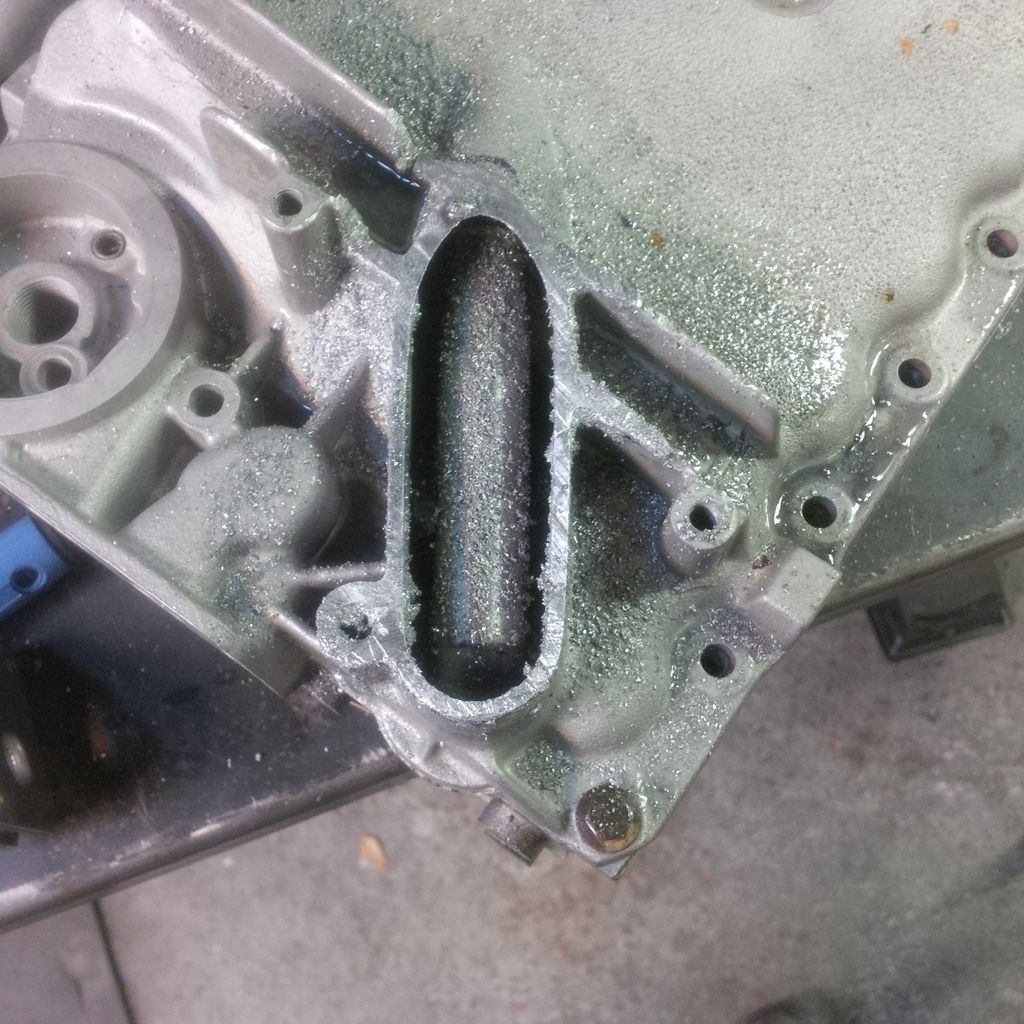
Image

All cleaned out.

Image

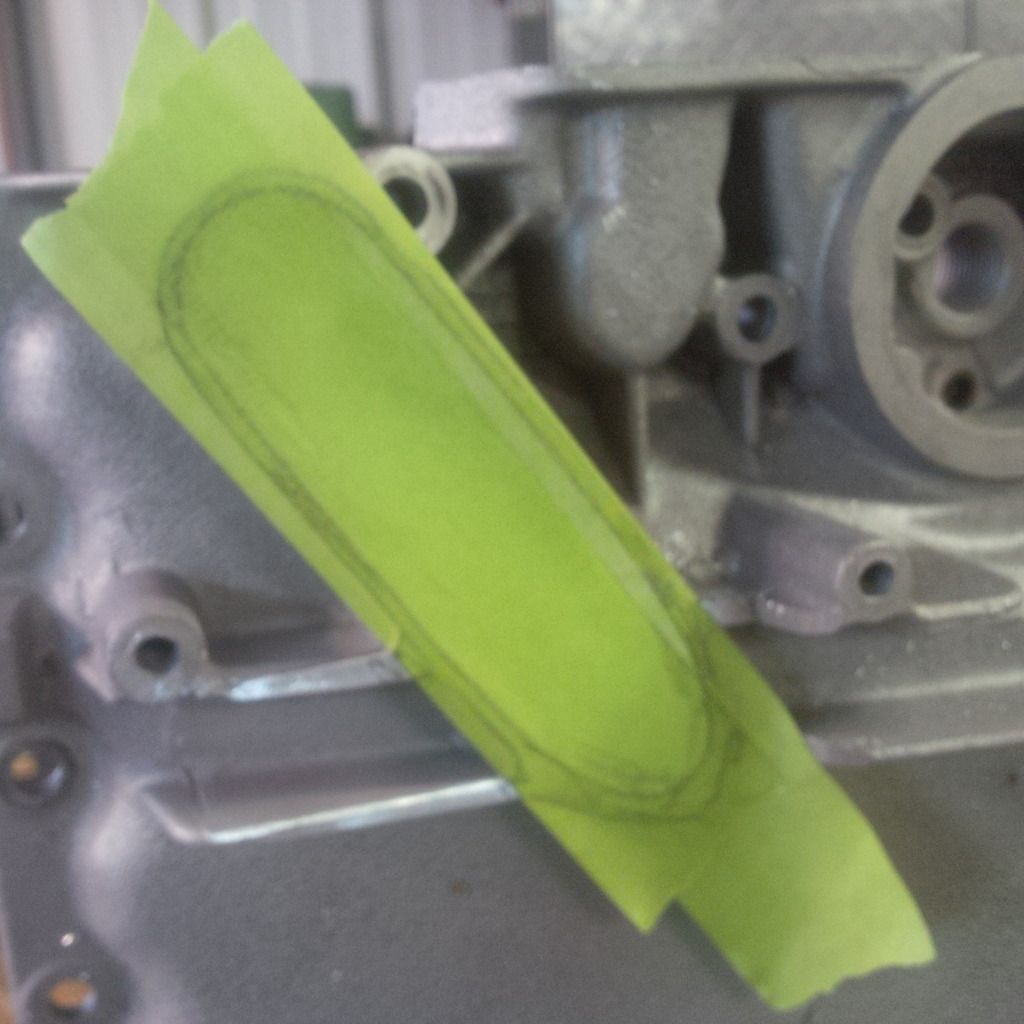
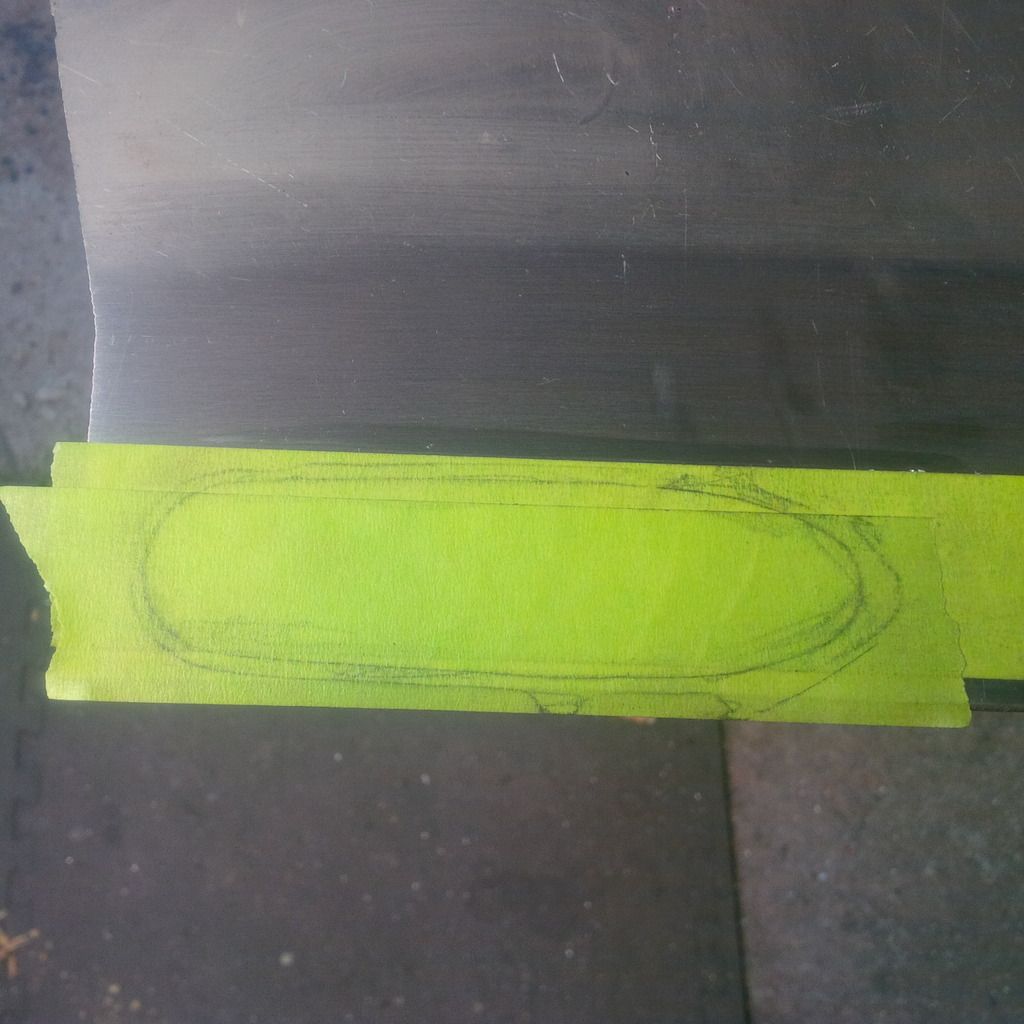
Make a tape pattern.

Image

Put on 6061 plate.

Image

Check fit and file and sand for about 15 minutes to get perfect.
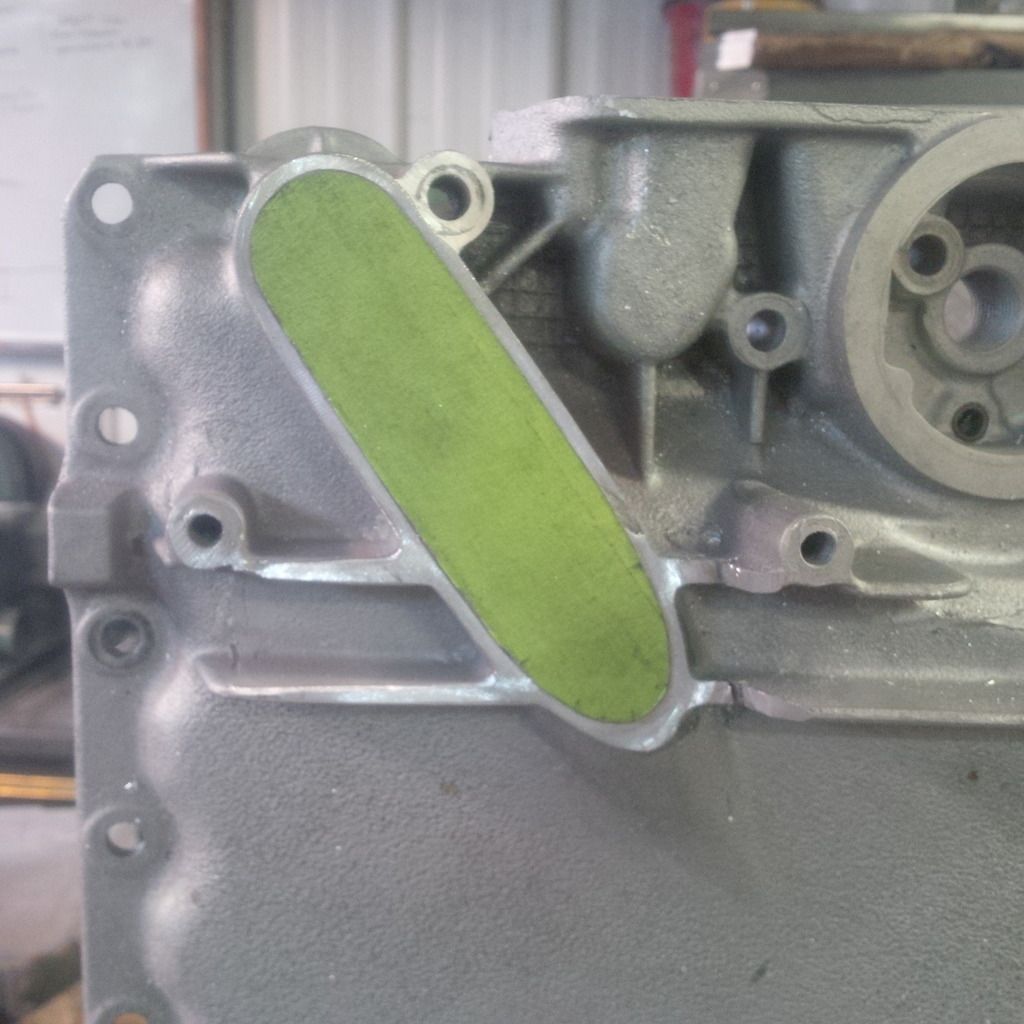
Image

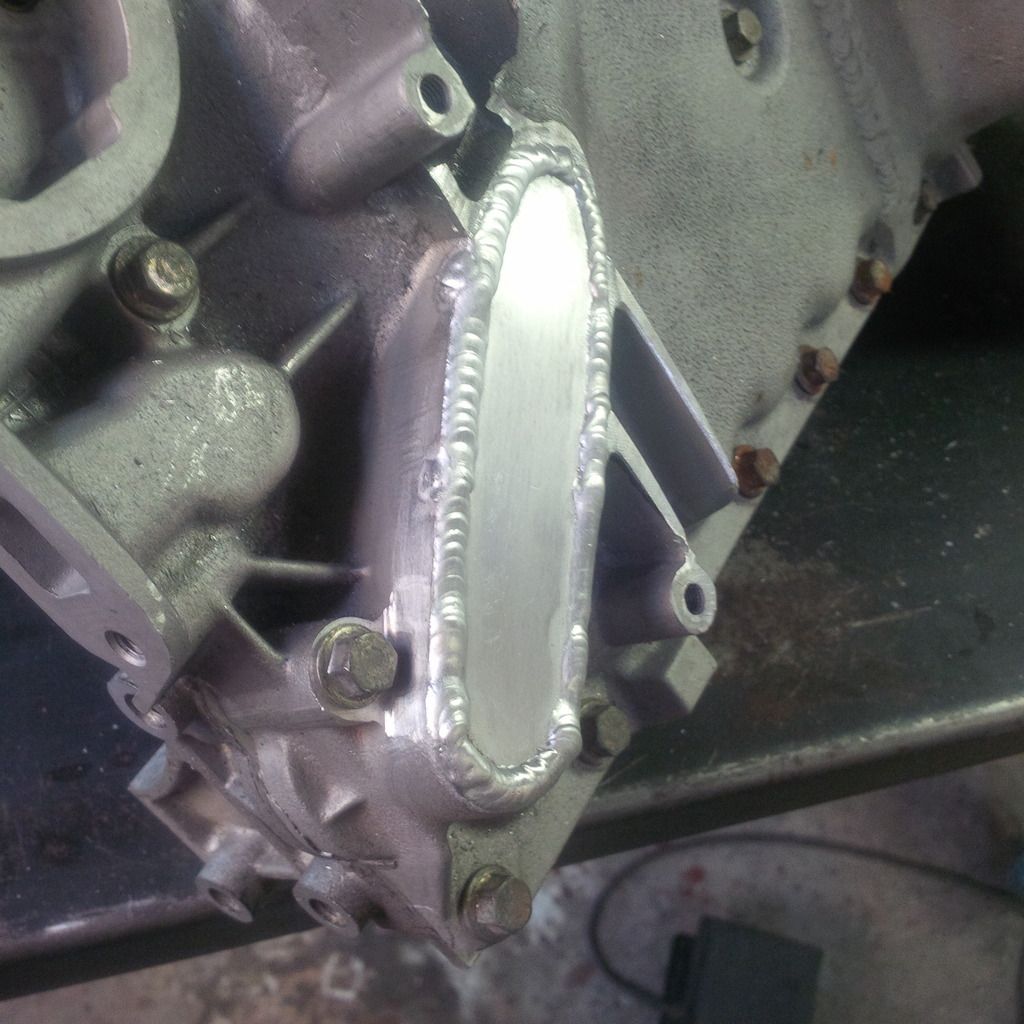
Tight fit - weld prep'ed and ready to go.
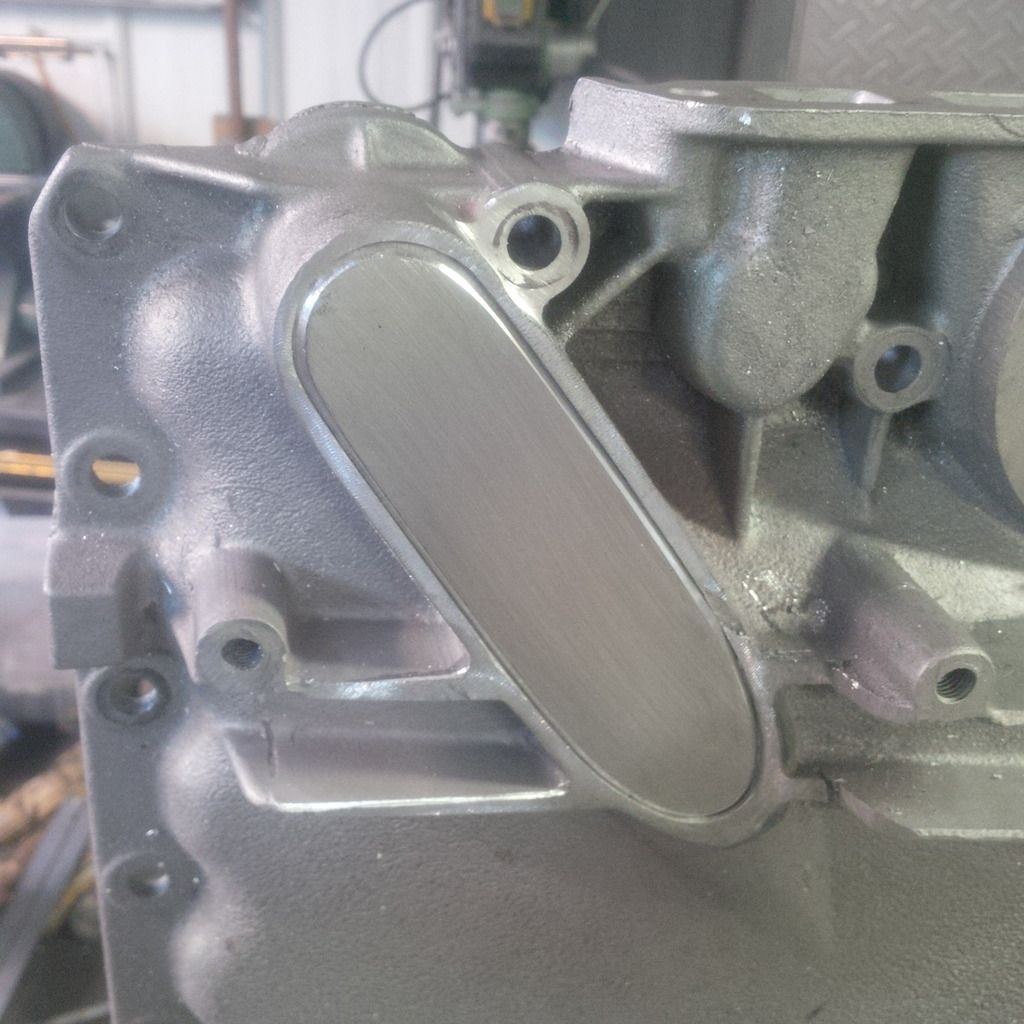
Image

Image

All TIG welded and ready to rock.

Image

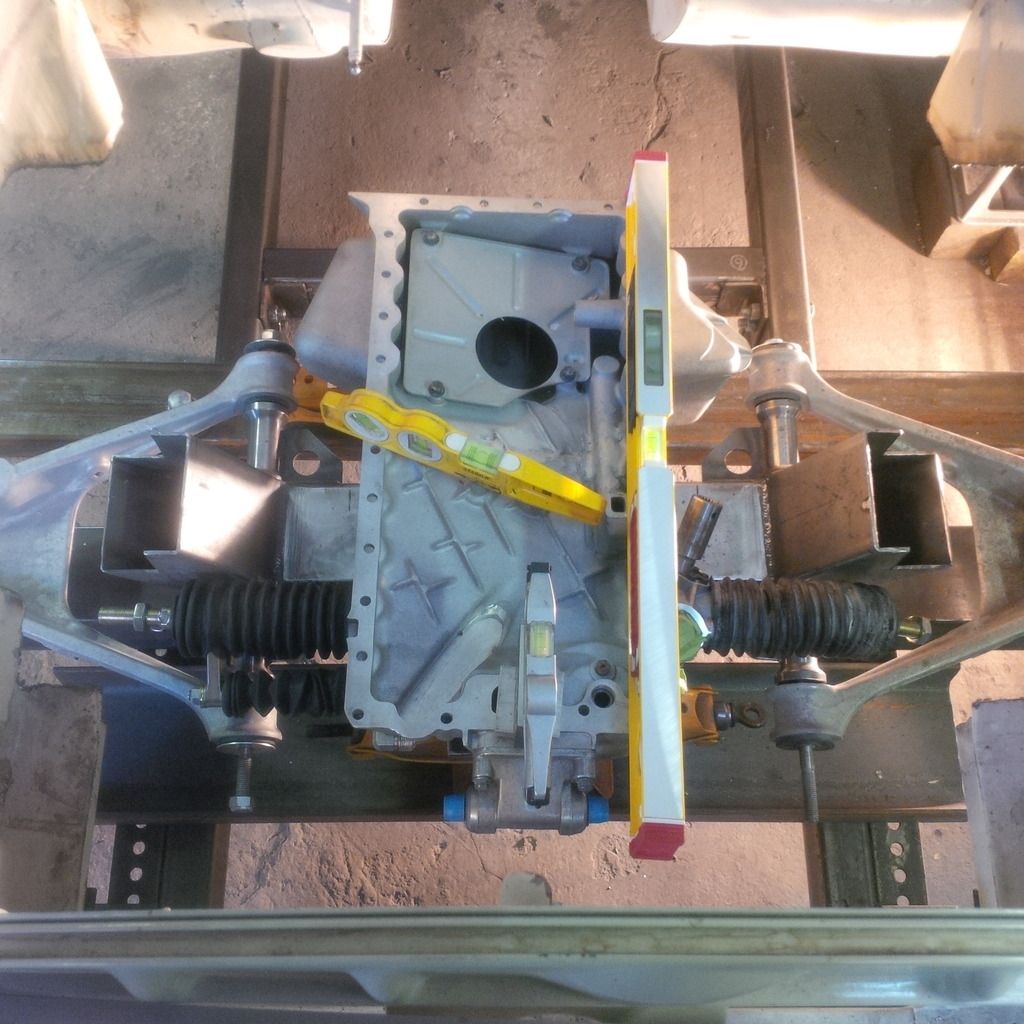
Mocked up again - 5.9 degrees...not bad.
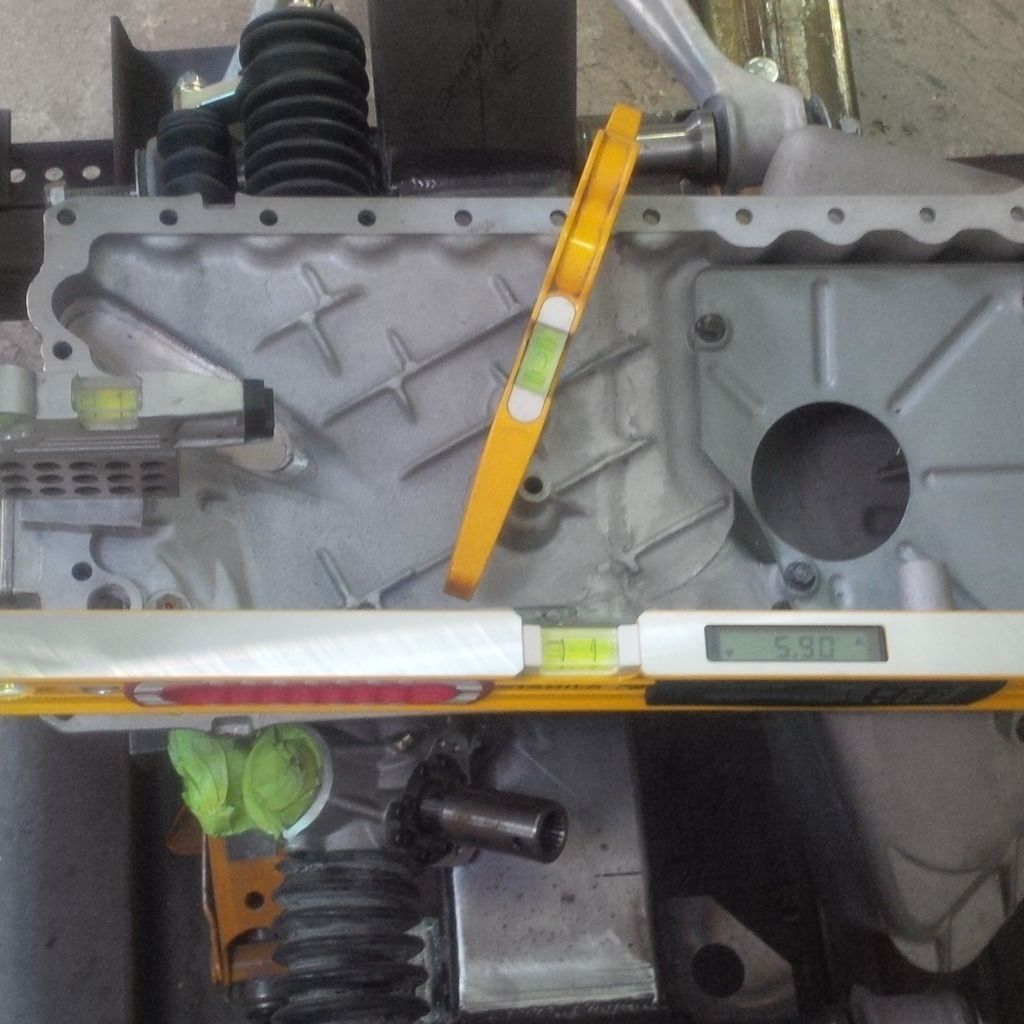
Image

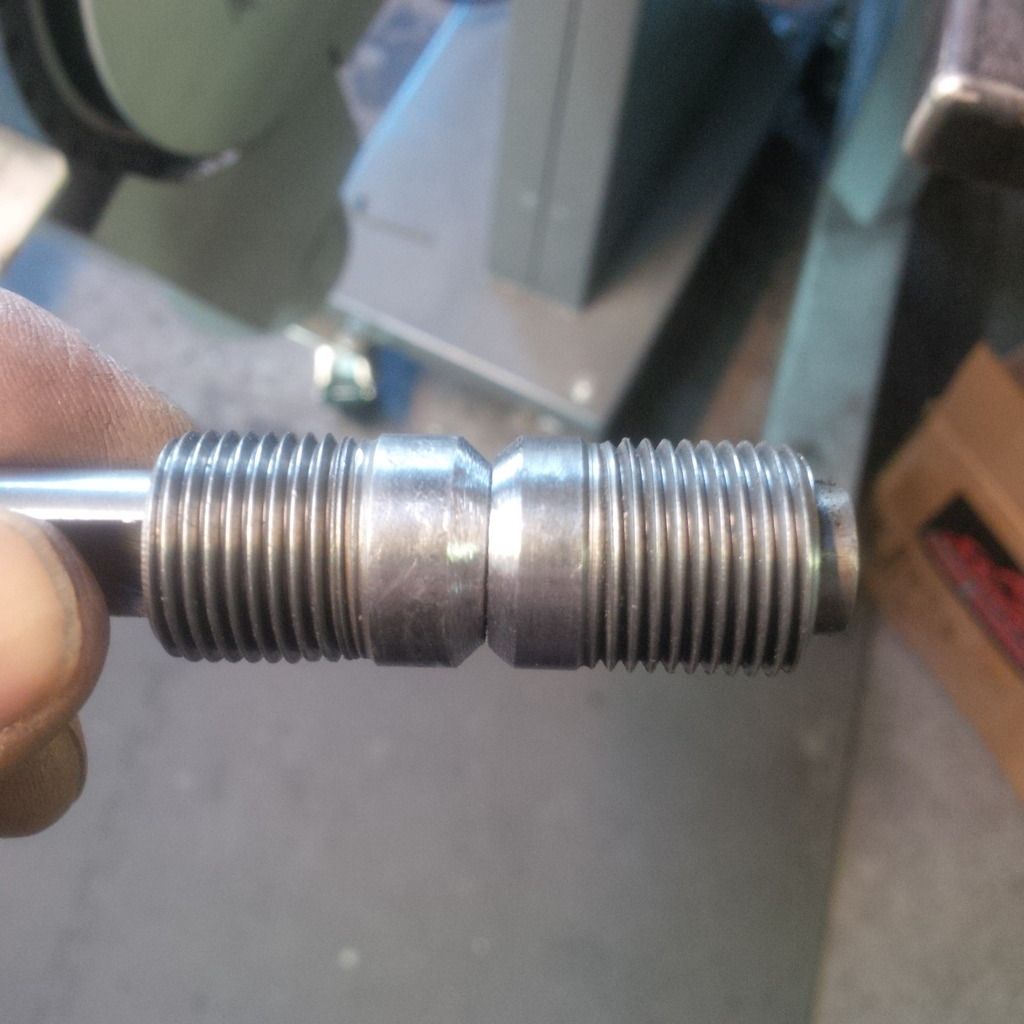
Check the oil filter tube...it's too damn long. Might as well fix that up while I'm at it.
Image

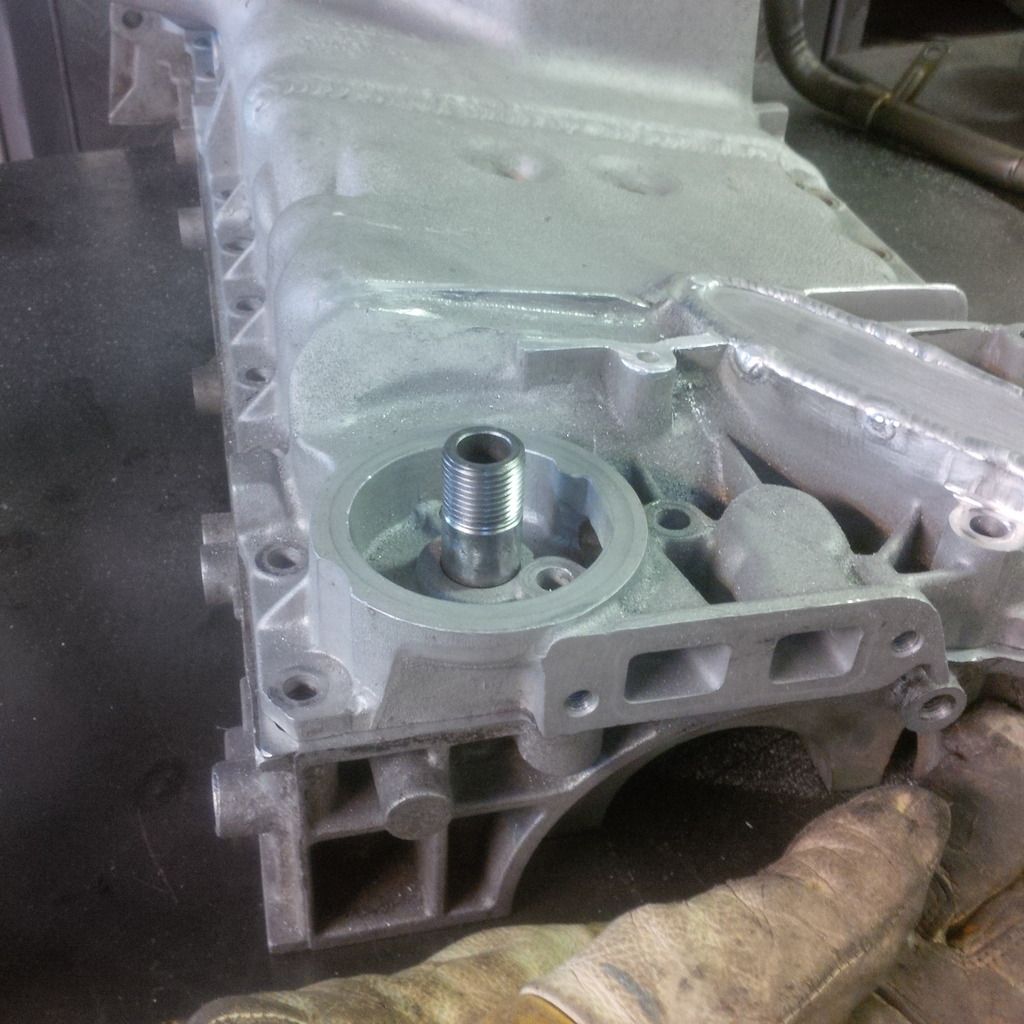
Took 11/16's out of it.

That's better.
Image

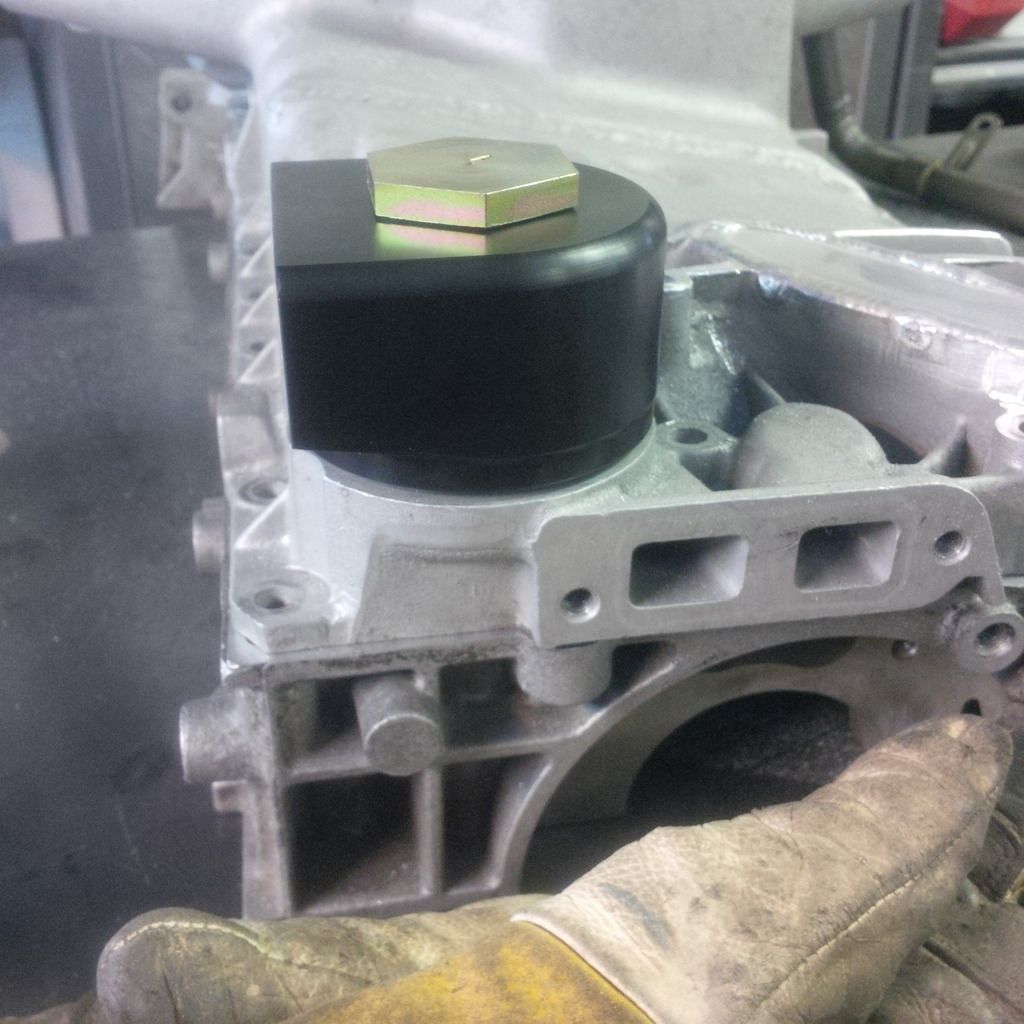
Now my adapter will work - have to make sure it doesn't hit anything.
Image

Now I'm working on the frame. See what happens when you judge things based on Craig time! :oops:

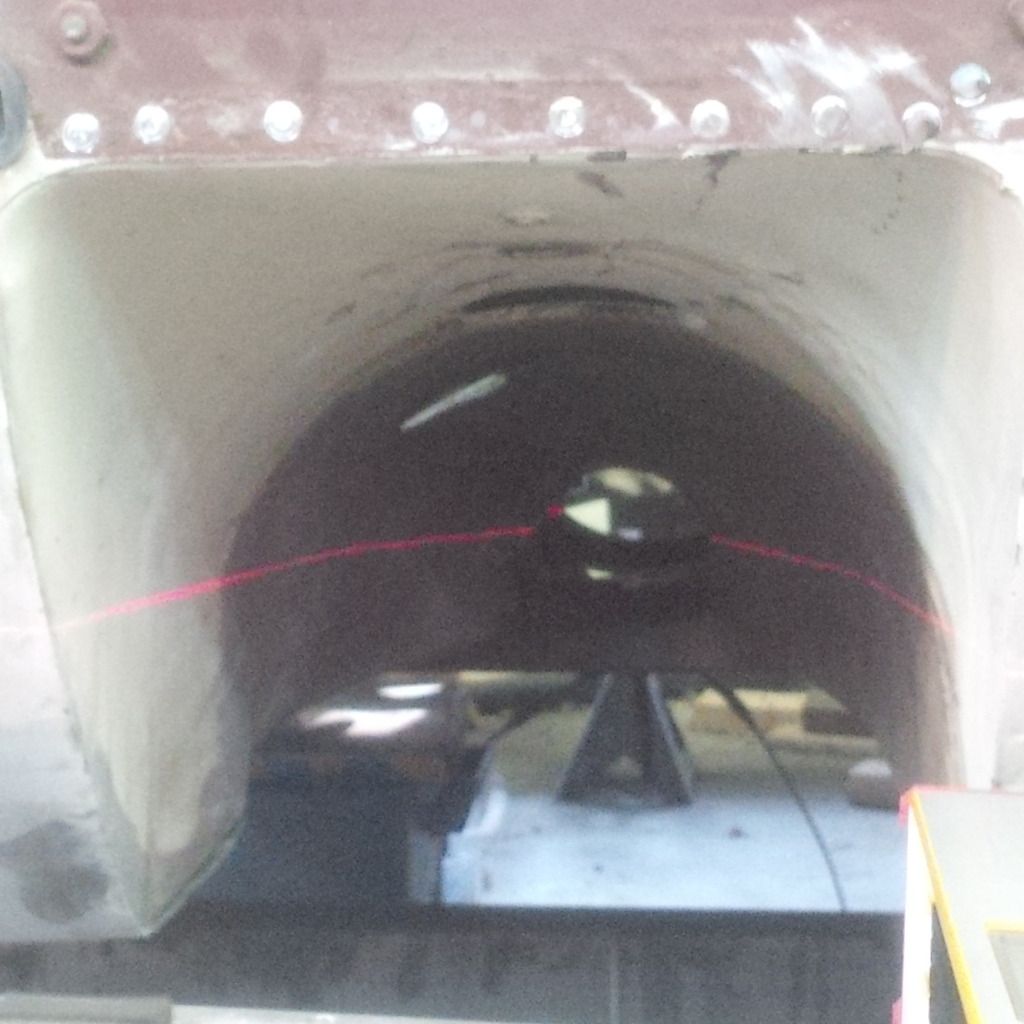
That's the middle of the tunnel.

Image

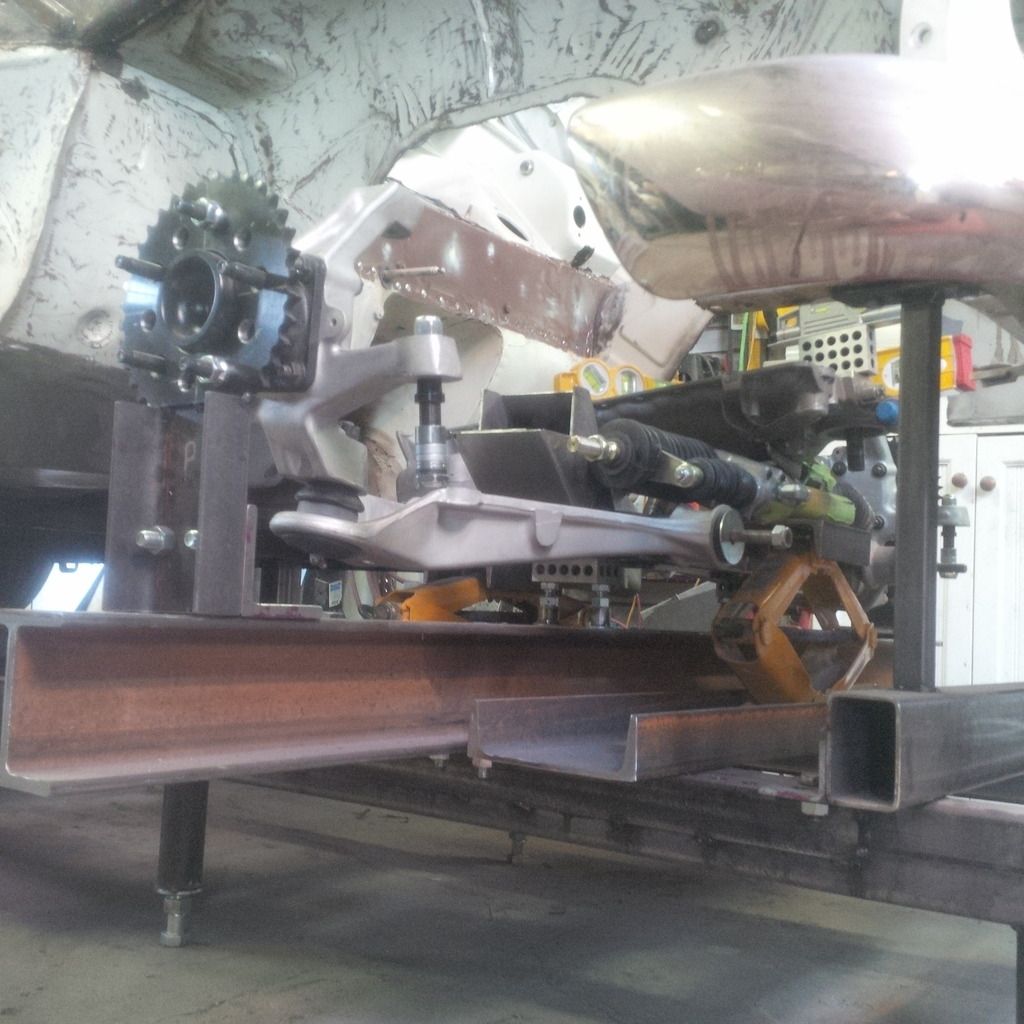
Swan neck fixed pan - loads of clearance now.
Image

It's coming together.

Image

So pleased so far. More to come tomorrow.

_________________
Coburn Performance - OCD comes naturally.


Top
 Profile  
 
 Post subject: Re: Project Canuck - 1966 Canadian Build Thread ... Finally
PostPosted: Sun Feb 21, 2016 7:27 pm 
Haha, I just built a W24 Octo-Turbo, now what?!
User avatar

Joined: Wed Jun 14, 2006 4:19 pm
Posts: 3131
Location: Lethbridge, AB
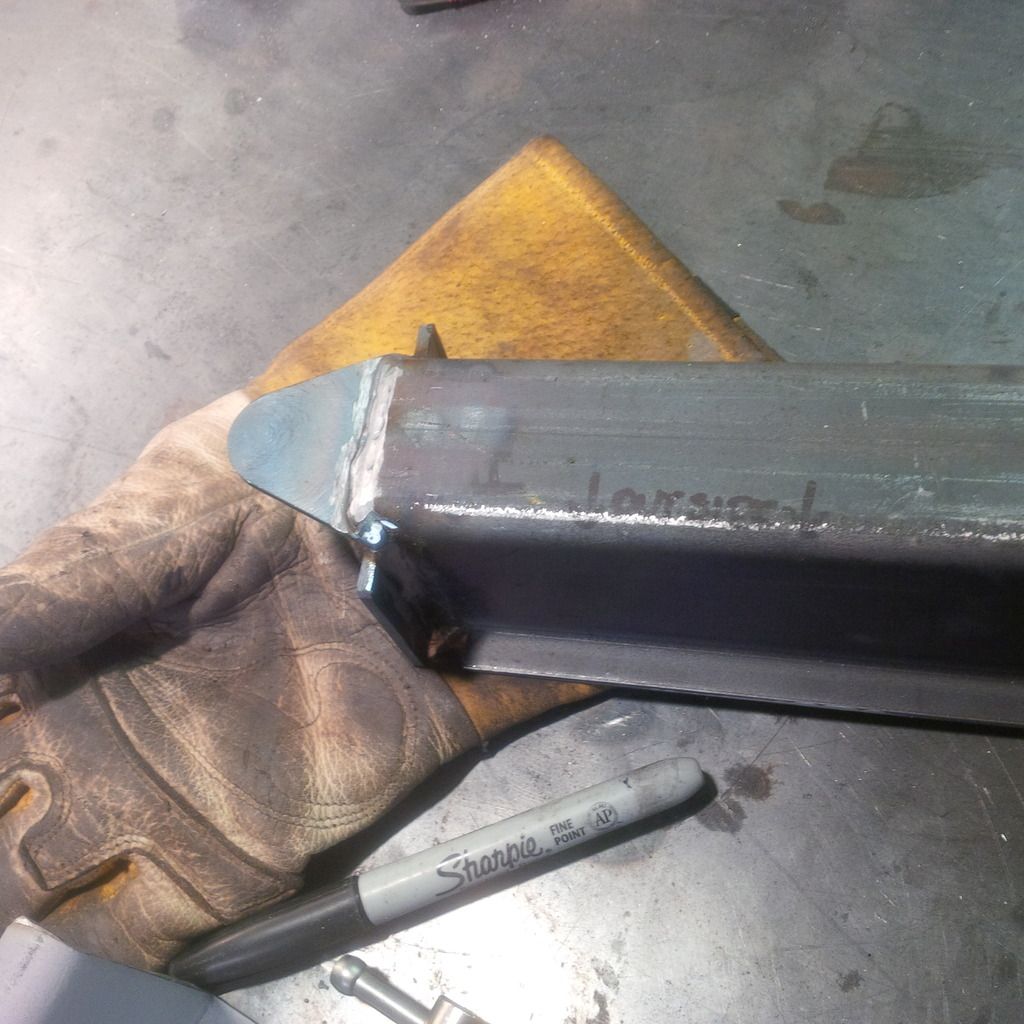
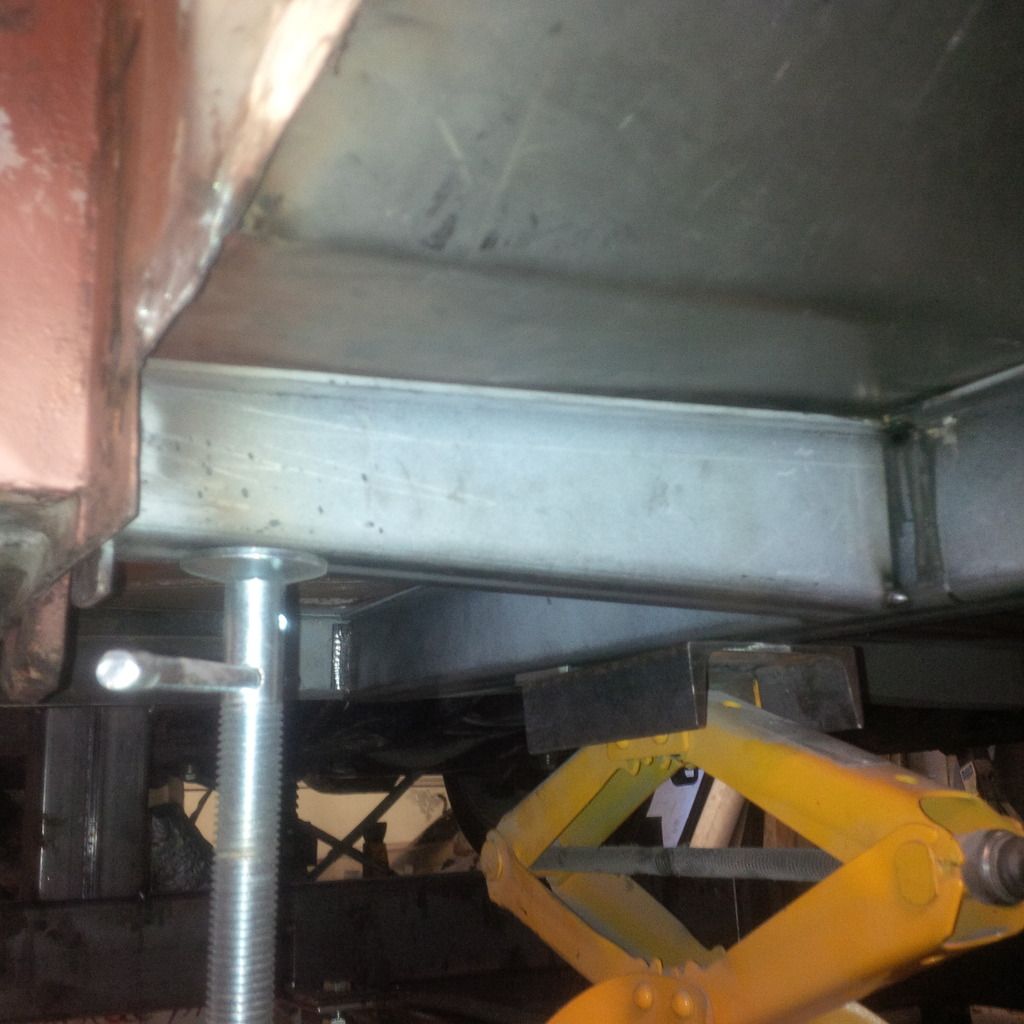
If anyone gets in my way for the next little bit, I'm not being rude - but I'm going to shove you out the door...and the fabrication continues. I am replacing the frame all the way back to the cross member in the middle of the car. The frame was dented and when removed it was a little rusty inside. I measured it all up and had the local metal bashers and had them bash it up. They then sat for about the last 8 months. Lots of work to just figure out how all this needed to go together. I left a few dimensions long and decided how it all fit together today.

Here's the tabs that I added to the back with the triangle gusset welded inside and providing support.

Image

This is how it fits on the existing frame.

Image

Then the out rigger goes out to the A-pillar.

Image

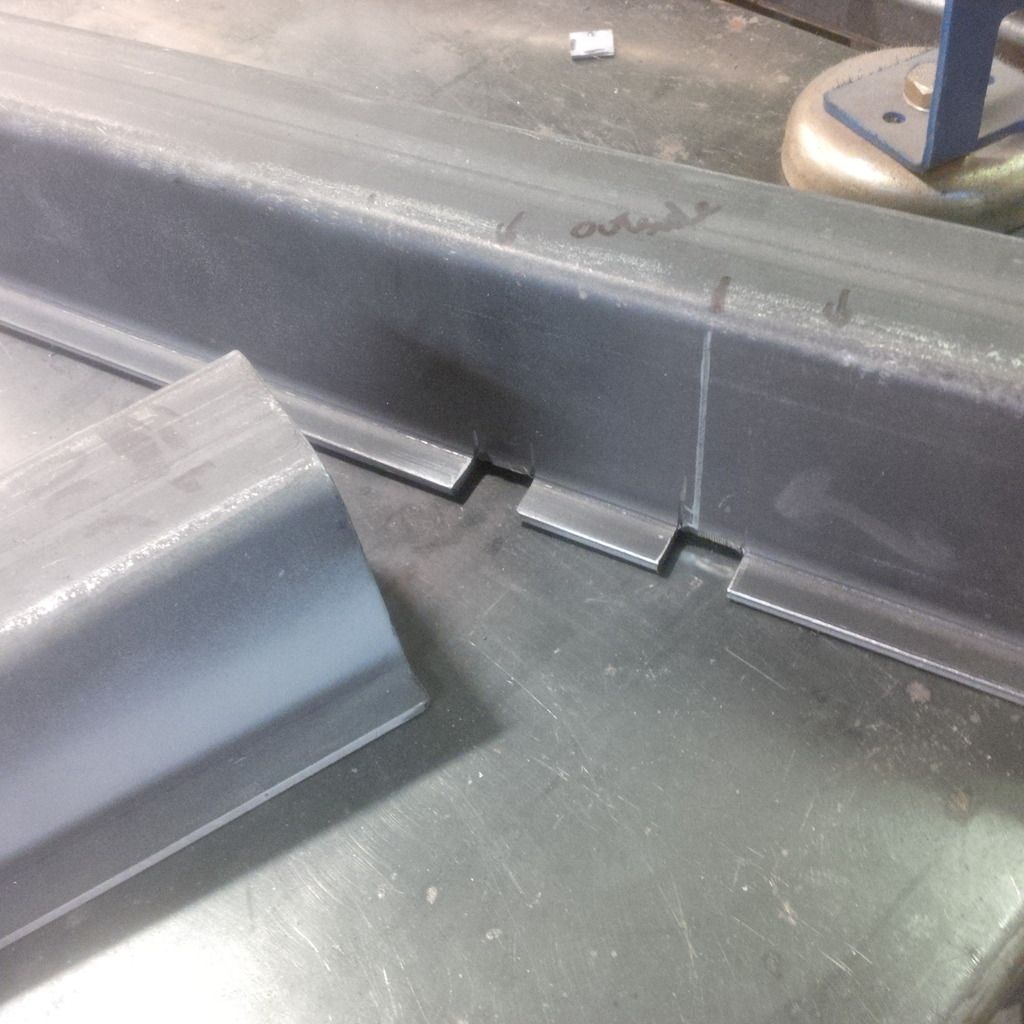
Fit is pretty good so far. Still some fettling to do at the A-Pillar - and only one side was completely done, but I do have it started. I just have to heat and bend the flanges on the out rigger. The fun part of this part is that the return angles are not 90 degrees as the floor tilts out 4.5 degrees.

Image

This will help a lot with taking out the oil can stretch in the panel that I welded in last summer. I have to get this side done then the drivers side can be cut out and the floor replaced with the new floor that has my fancy race pedals. In the mean time I'm working out the various angles for the adjoining section that goes forward to the cross member.

_________________
Coburn Performance - OCD comes naturally.


Top
 Profile  
 
 Post subject: Re: Project Canuck - 1966 Canadian Build Thread ... Finally
PostPosted: Sun Feb 21, 2016 11:21 pm 
Haha, I just built a W24 Octo-Turbo, now what?!
User avatar

Joined: Thu Dec 29, 2005 12:29 am
Posts: 1790
Location: Eating tofu and legumes in my hippie shack
First off: holy crap! That's some serious progress! Well done!

Second off: fricking laser beams!

Thirdly: I think I almost understand what's going on here. So that's something.

_________________
Image


Top
 Profile  
 
 Post subject: Re: Project Canuck - 1966 Canadian Build Thread ... Finally
PostPosted: Mon Feb 22, 2016 10:45 am 
First volvo in outer space
User avatar

Joined: Fri Dec 14, 2007 1:46 pm
Posts: 1648
Location: East L.A.
Seeing this in person and I can barely comprehend it, amazing re-engineering at work. =D>

_________________
Jim

66 122S (Garage Queen)
89 244 (Hers)
90 745Ti (Mine)
89 744 (SOLD/Bought back for other daughter)
78 242GT (Project... LOL)
91 244 (Don't Ask!!)


Top
 Profile  
 
 Post subject: Re: Project Canuck - 1966 Canadian Build Thread ... Finally
PostPosted: Tue Feb 23, 2016 8:33 pm 
Haha, I just built a W24 Octo-Turbo, now what?!
User avatar

Joined: Wed Jun 14, 2006 4:19 pm
Posts: 3131
Location: Lethbridge, AB
I'm still rockin in the garage right now. Other projects have left or I'm getting better at ignoring random distractions. Either way, progress is still being made this week. Yesterday saw the fabrication of the drivers side under car frame. It's the same as the other side, so only one pic to show how I'm doing the metal work.
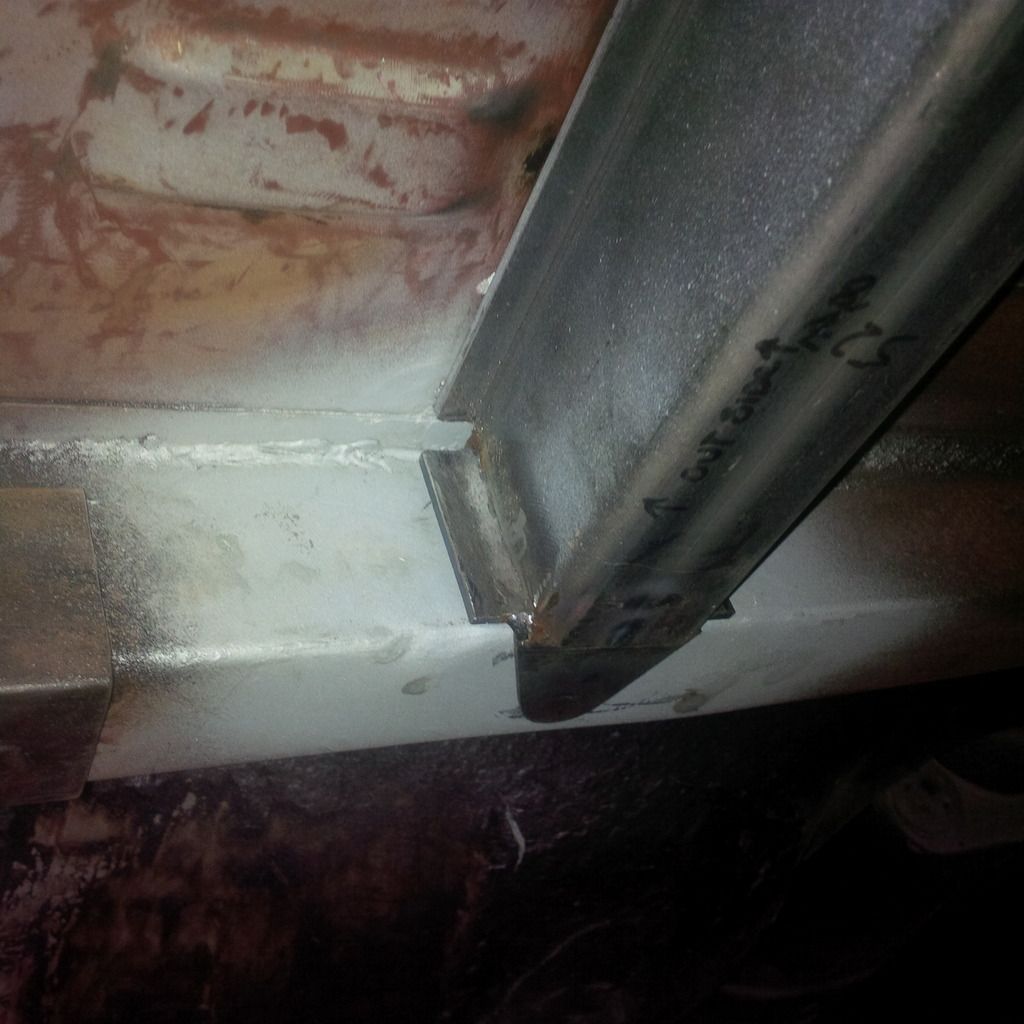
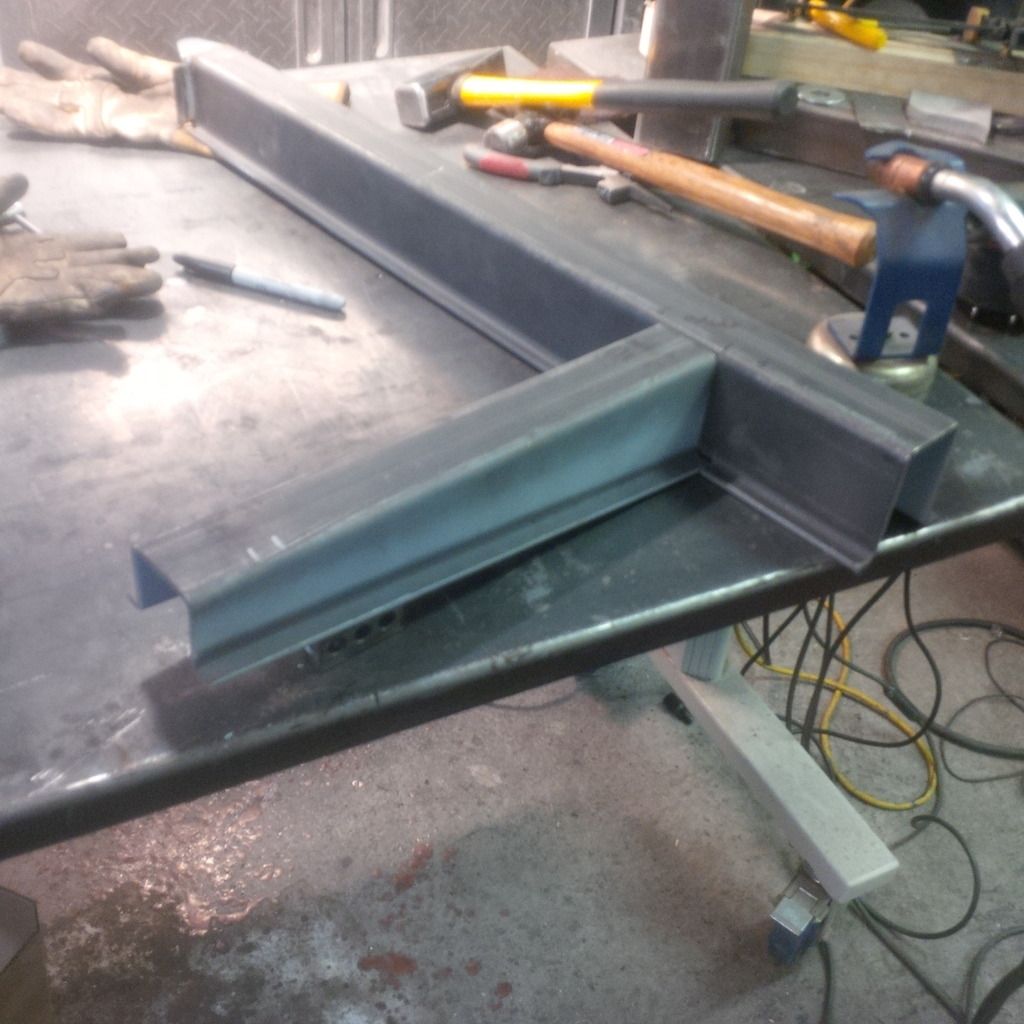
Image

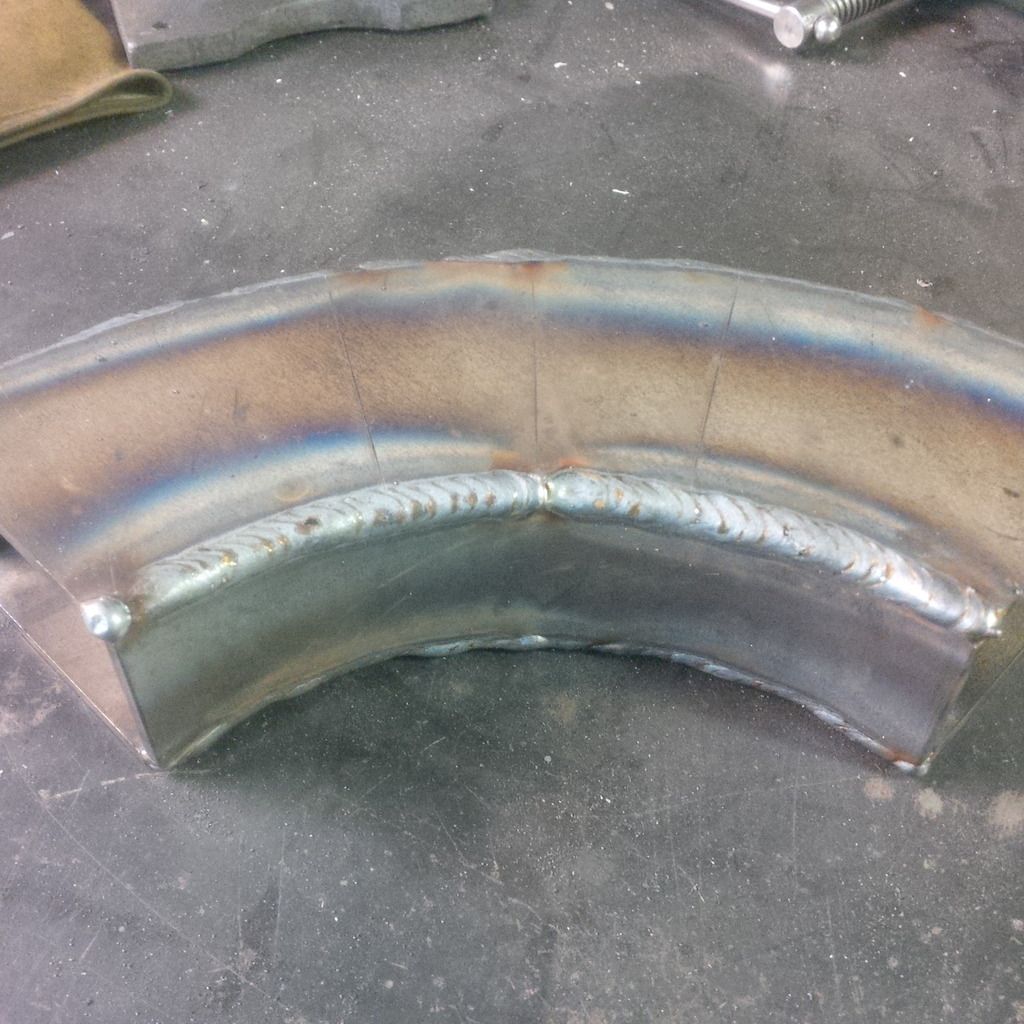
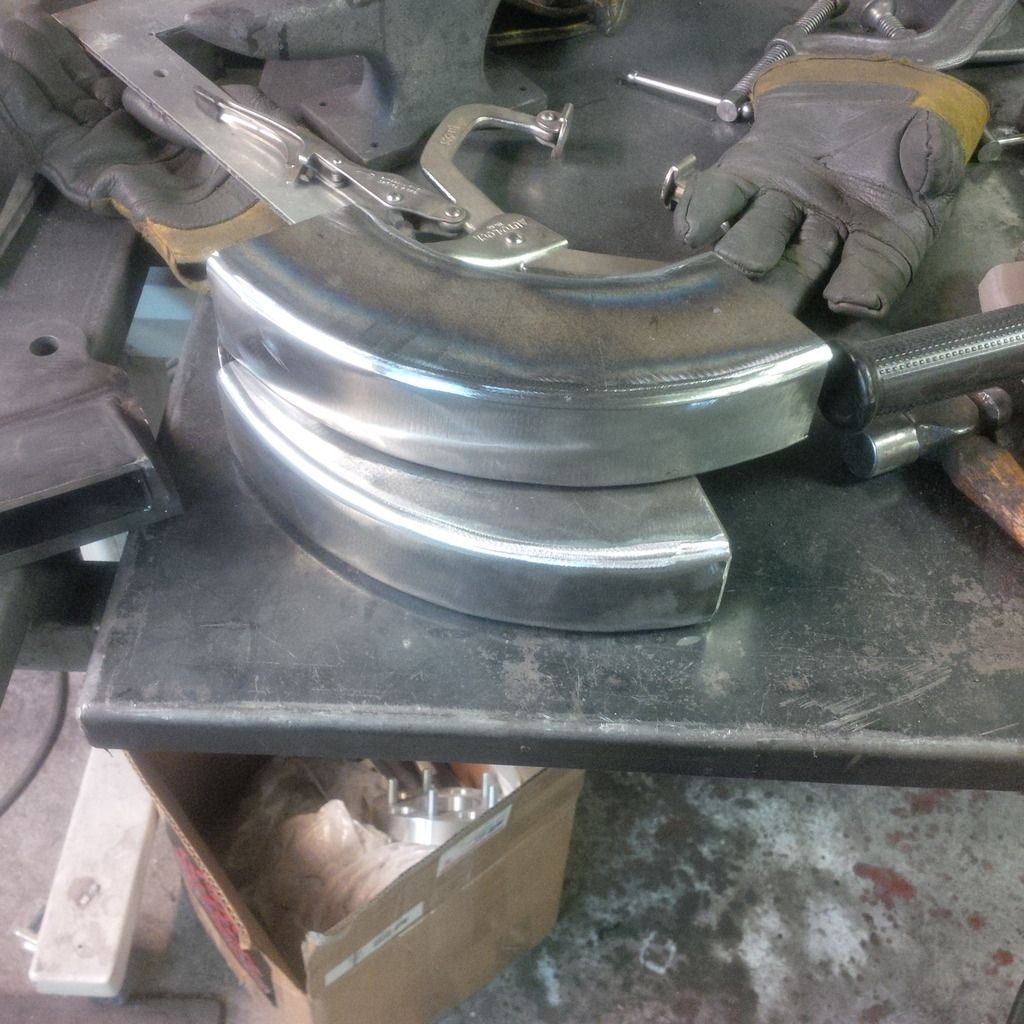
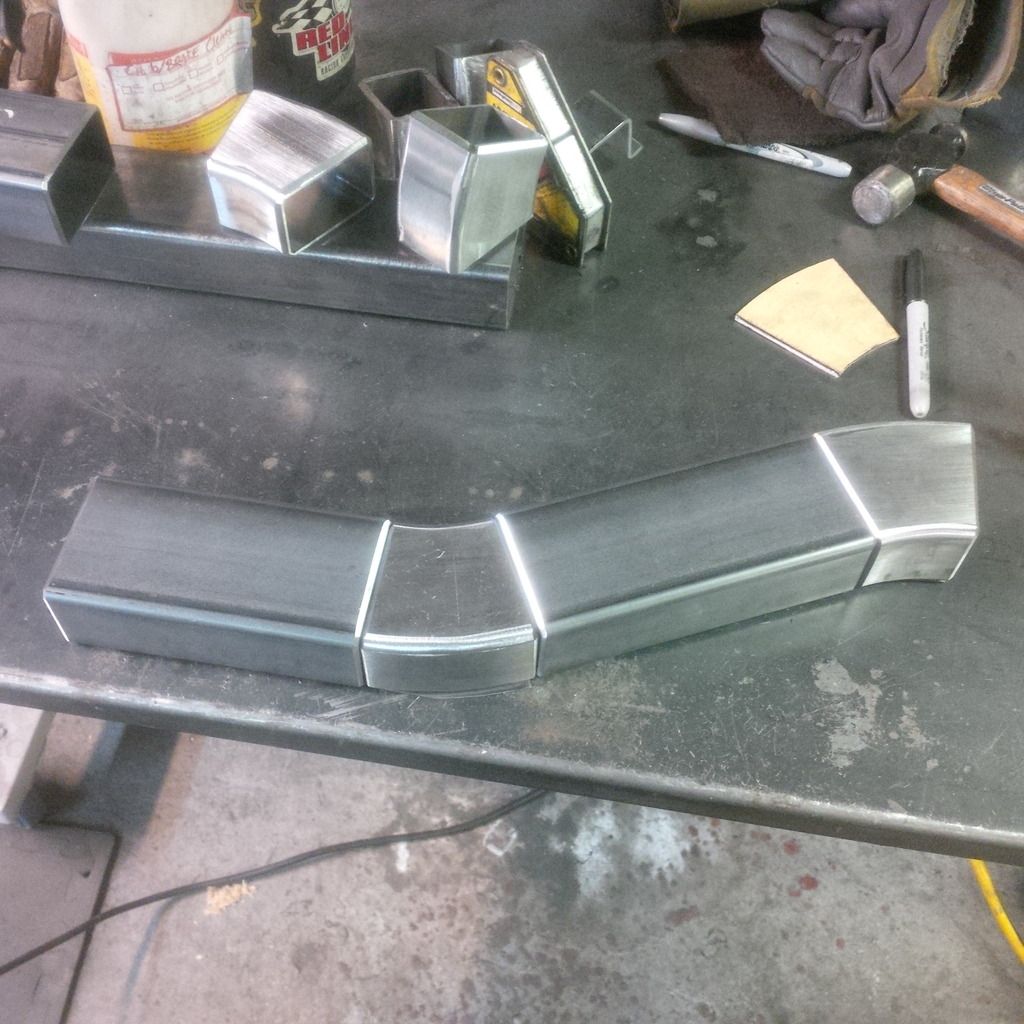
Then it's on to frame rails to the front suspension cross member. So I welded up some of my laser cut frame mandrel sections. It sure is nice to have the monster MIG - makes quick work of this job.

Image

Then they get ground and sanded to look like tubes. Ya, that'll do.

Image

I'll cut them up to the angles I need when I'm sure of the fitment of a few things.

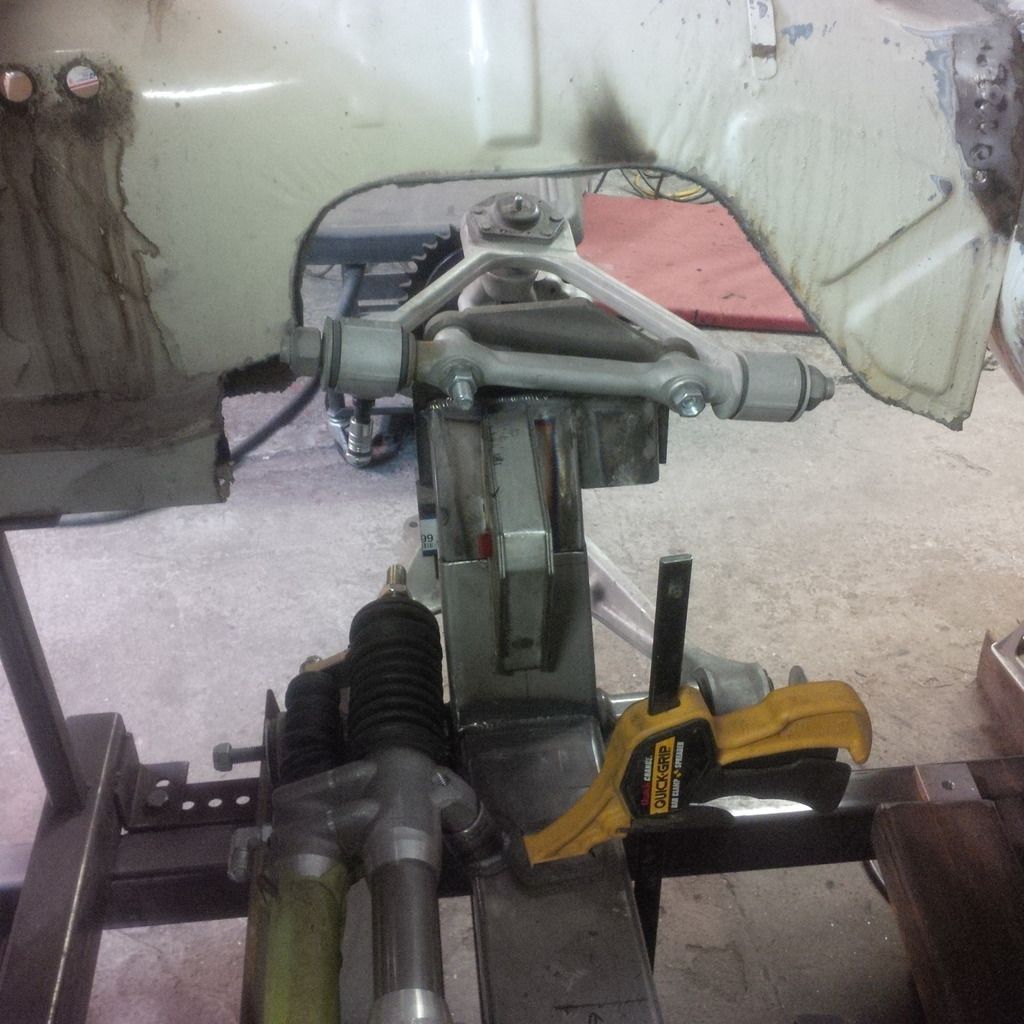
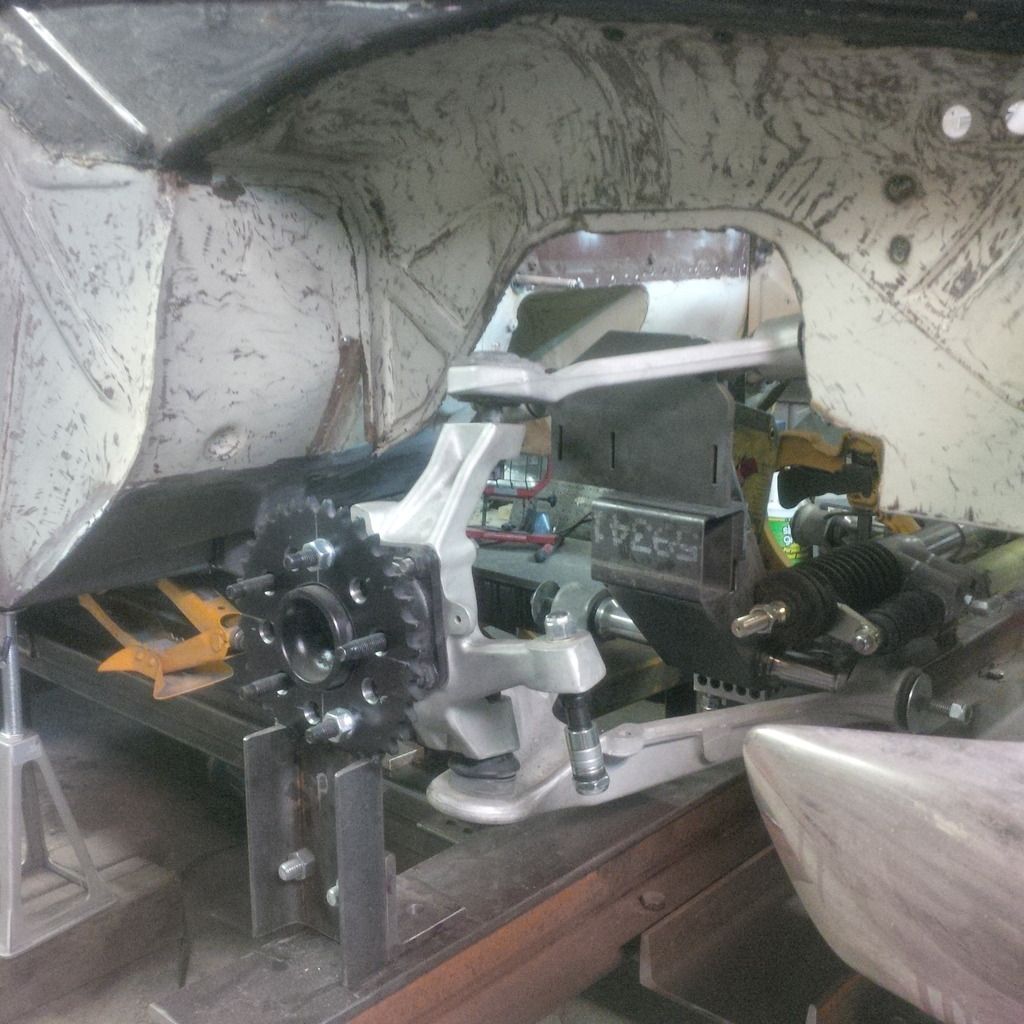
Mocked up the new UCA bracket. It's not done yet, but this is where it all needs to sit. It's pretty obvious why the frame had to come out.

Image

We mocked everything up using only the LCA - when it was all installed, you can see what happened...the cross member needs to go forward a little. No biggie - hope it doesn't cause clearance issues.

Image

_________________
Coburn Performance - OCD comes naturally.


Top
 Profile  
 
 Post subject: Re: Project Canuck - 1966 Canadian Build Thread ... Finally
PostPosted: Tue Feb 23, 2016 10:06 pm 
Haha, I just built a W24 Octo-Turbo, now what?!
User avatar

Joined: Wed Dec 21, 2005 8:40 pm
Posts: 3492
Location: Calgary, Ab
Your work is so tidy.


Top
 Profile  
 
 Post subject: Re: Project Canuck - 1966 Canadian Build Thread ... Finally
PostPosted: Fri Feb 26, 2016 11:34 am 
First volvo in outer space
User avatar

Joined: Fri Dec 14, 2007 1:46 pm
Posts: 1648
Location: East L.A.
Those tubes... =P~

_________________
Jim

66 122S (Garage Queen)
89 244 (Hers)
90 745Ti (Mine)
89 744 (SOLD/Bought back for other daughter)
78 242GT (Project... LOL)
91 244 (Don't Ask!!)


Top
 Profile  
 
 Post subject: Re: Project Canuck - 1966 Canadian Build Thread ... Finally
PostPosted: Sun Apr 03, 2016 7:55 pm 
Haha, I just built a W24 Octo-Turbo, now what?!
User avatar

Joined: Wed Jun 14, 2006 4:19 pm
Posts: 3131
Location: Lethbridge, AB
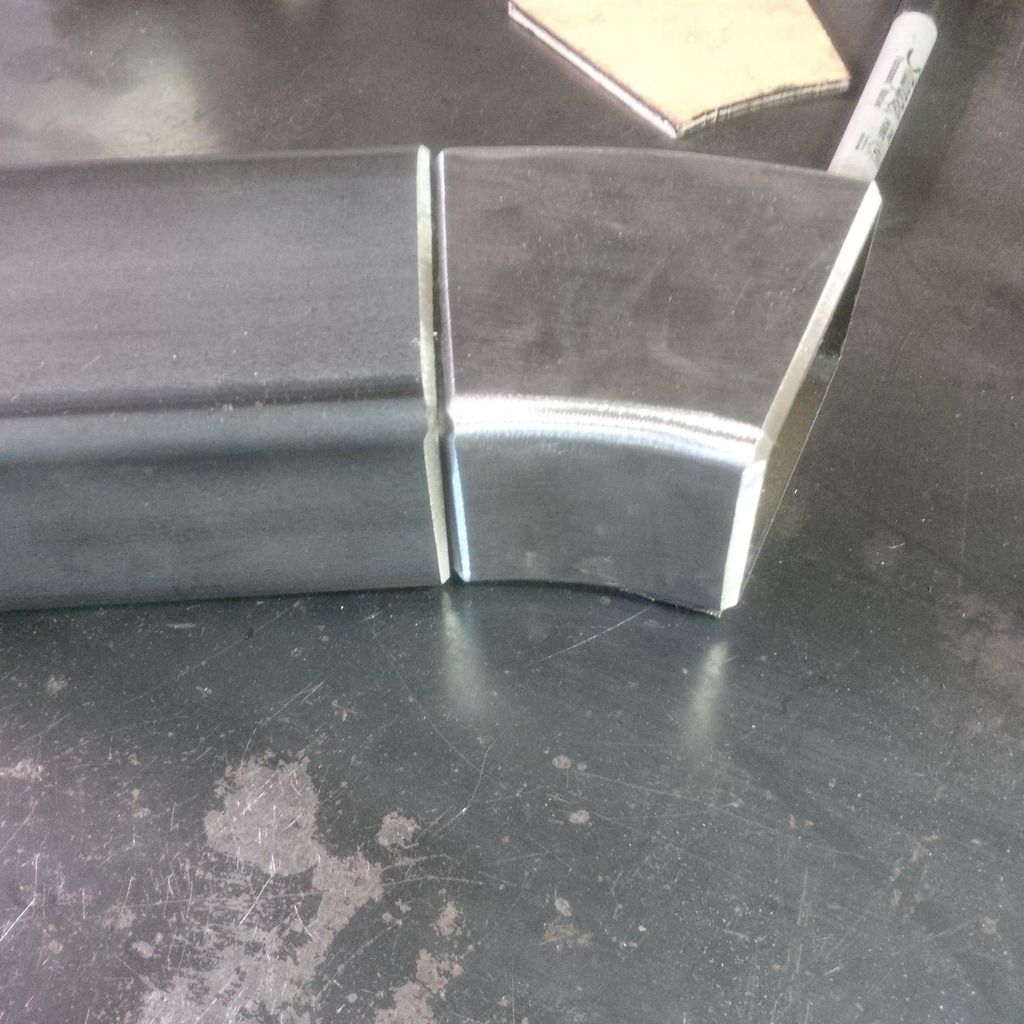
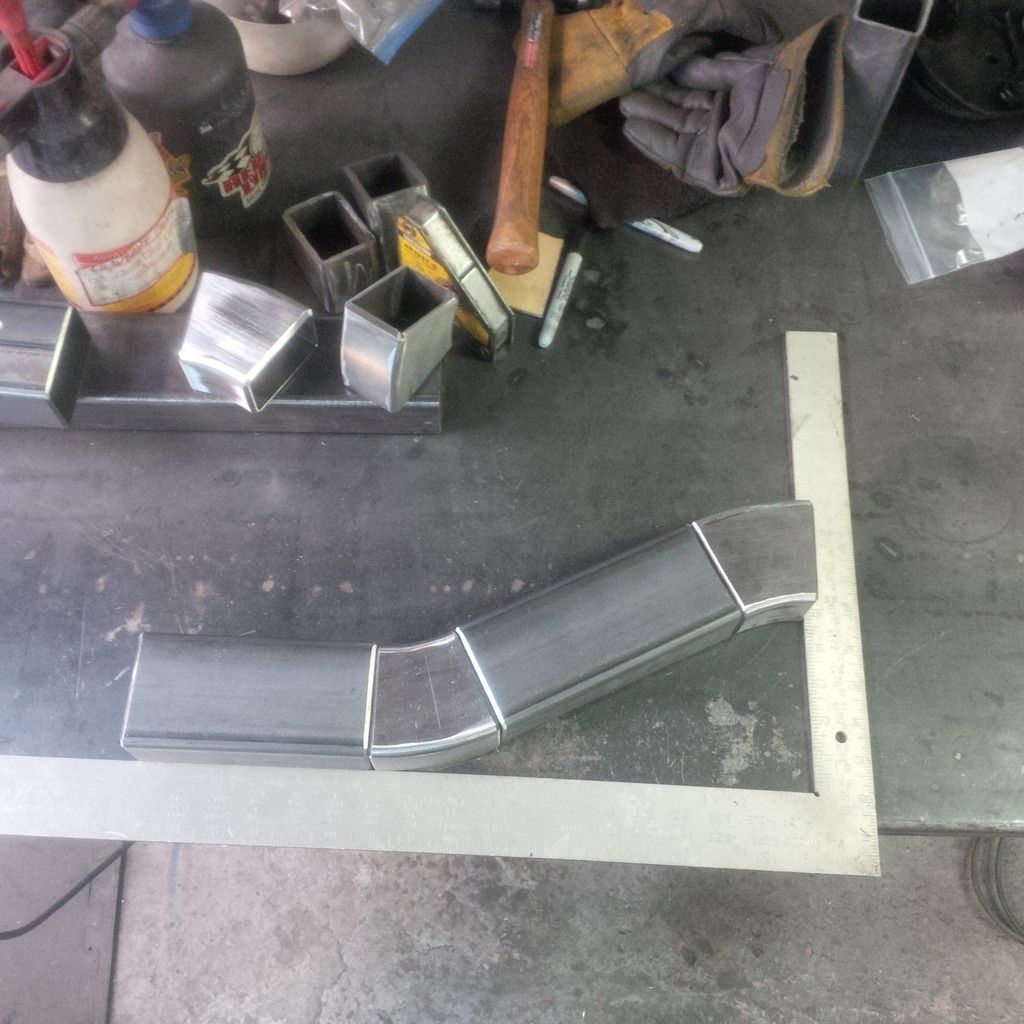
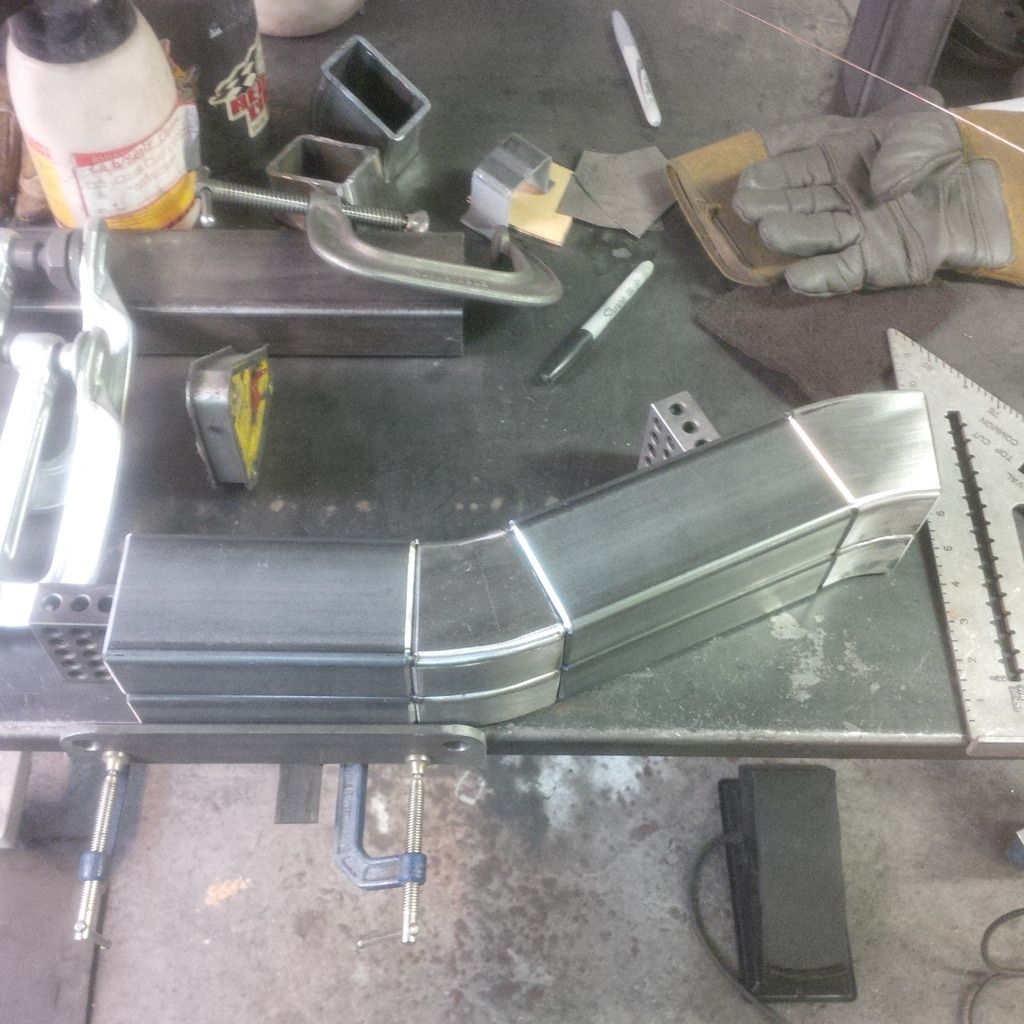
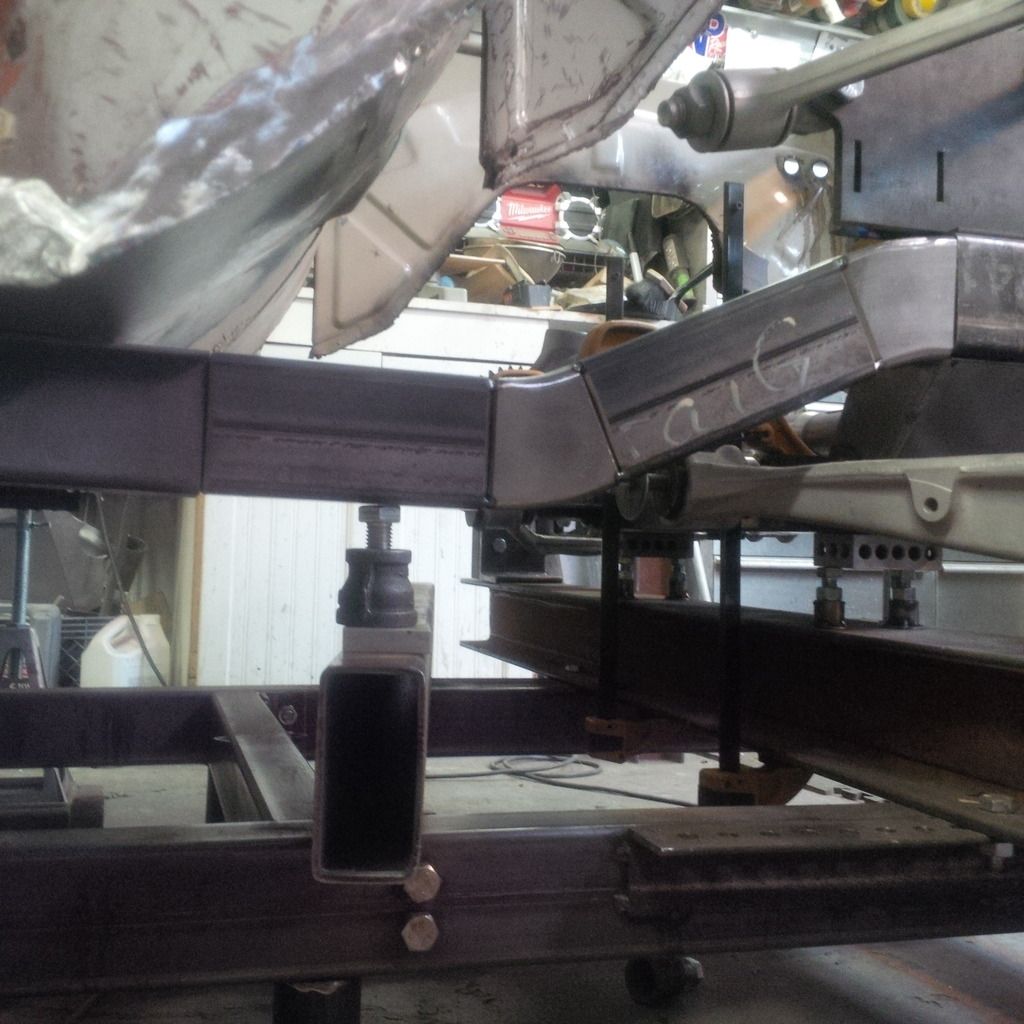
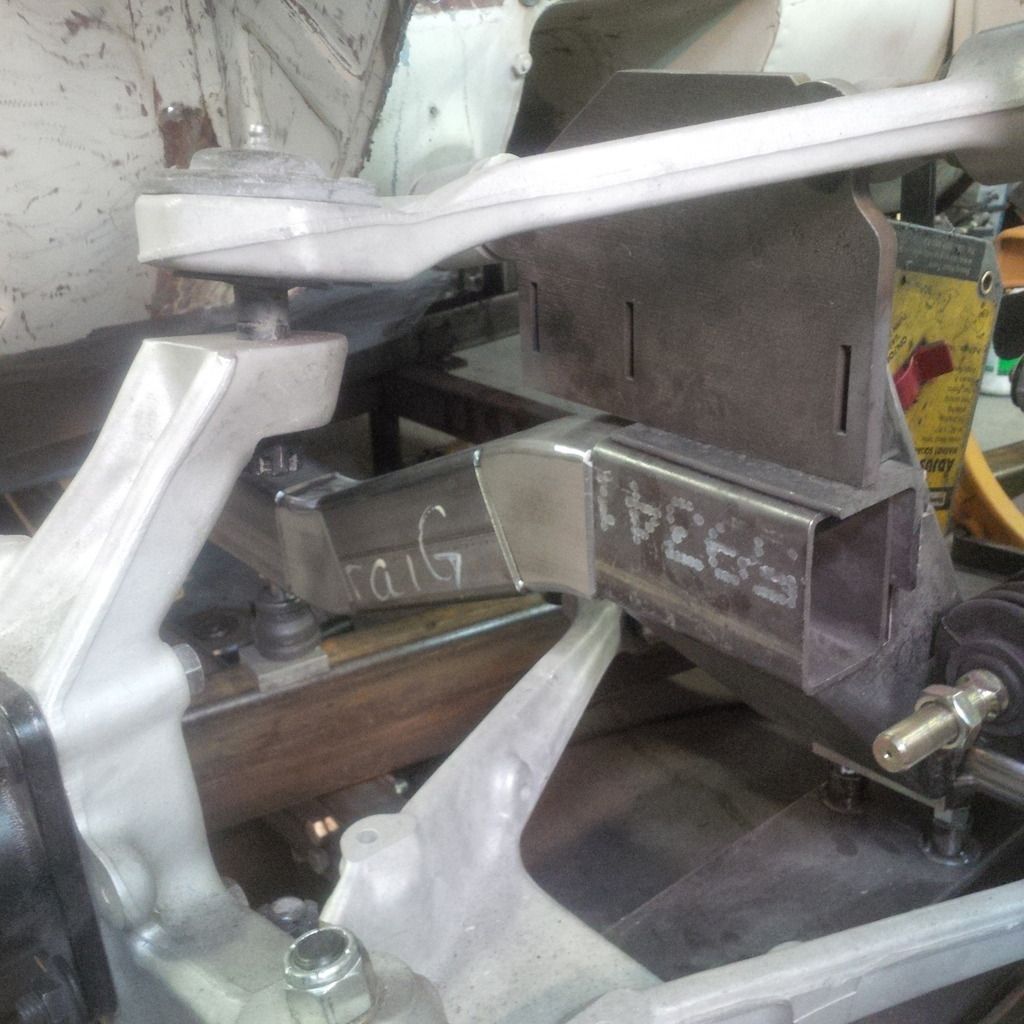
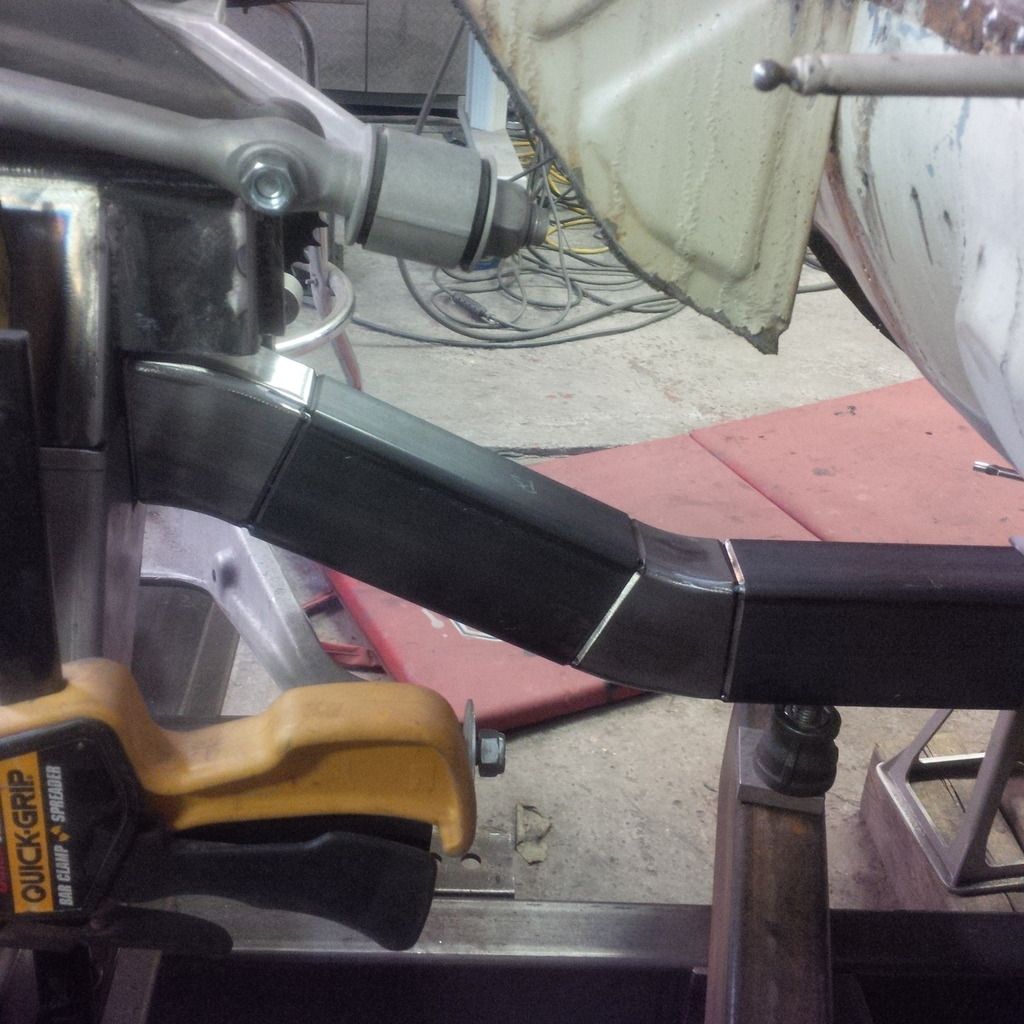
Weekend update. I got the frame legs fabricated. Nothing much to say that can't be said in pictures. Pretty stoked with the way it's turning out. Careful measurement and quality tools are really paying off in this build.

Image

Big nasty belt sanders make quick work of the weld prep zones.

Image

I didn't even stage this or adjust any angles. I just set the square on it and bingo - it's dead square.

Image

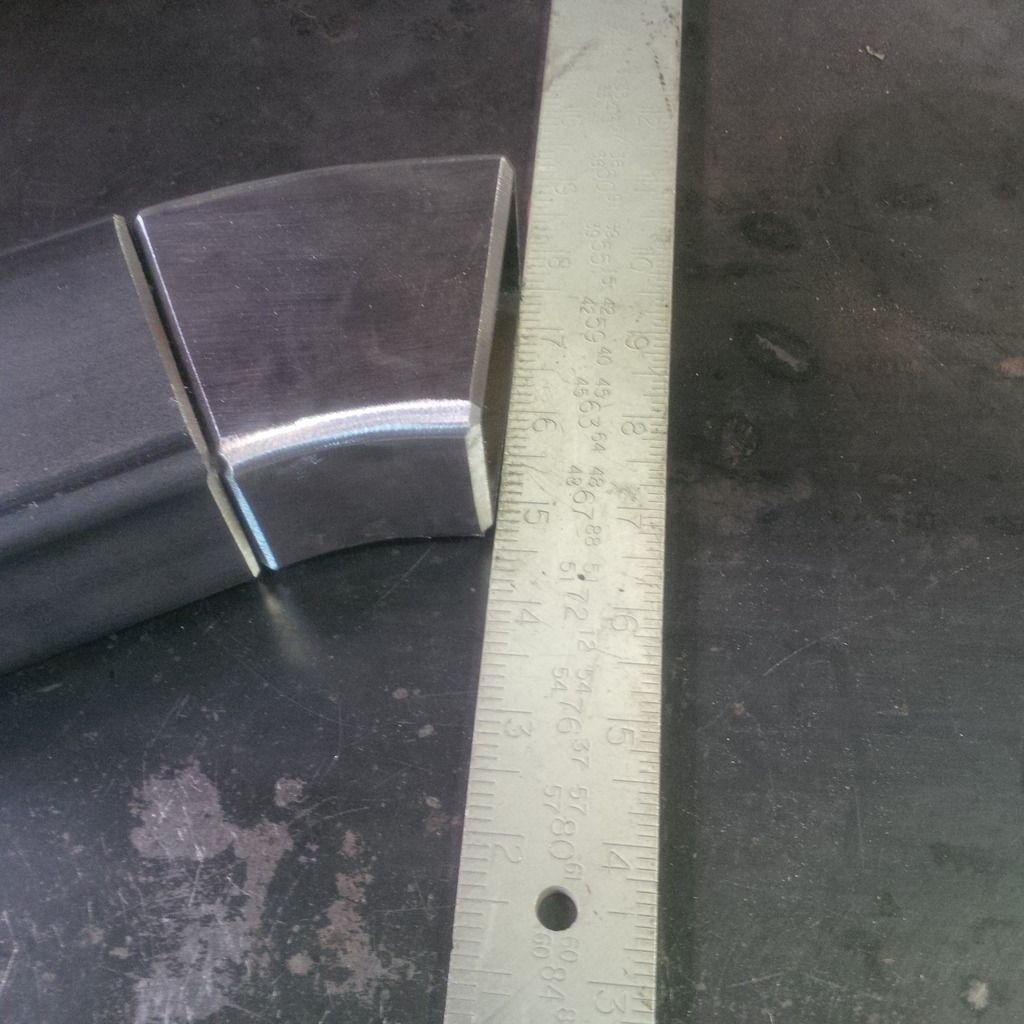
Like no room - dead perfect.

Image

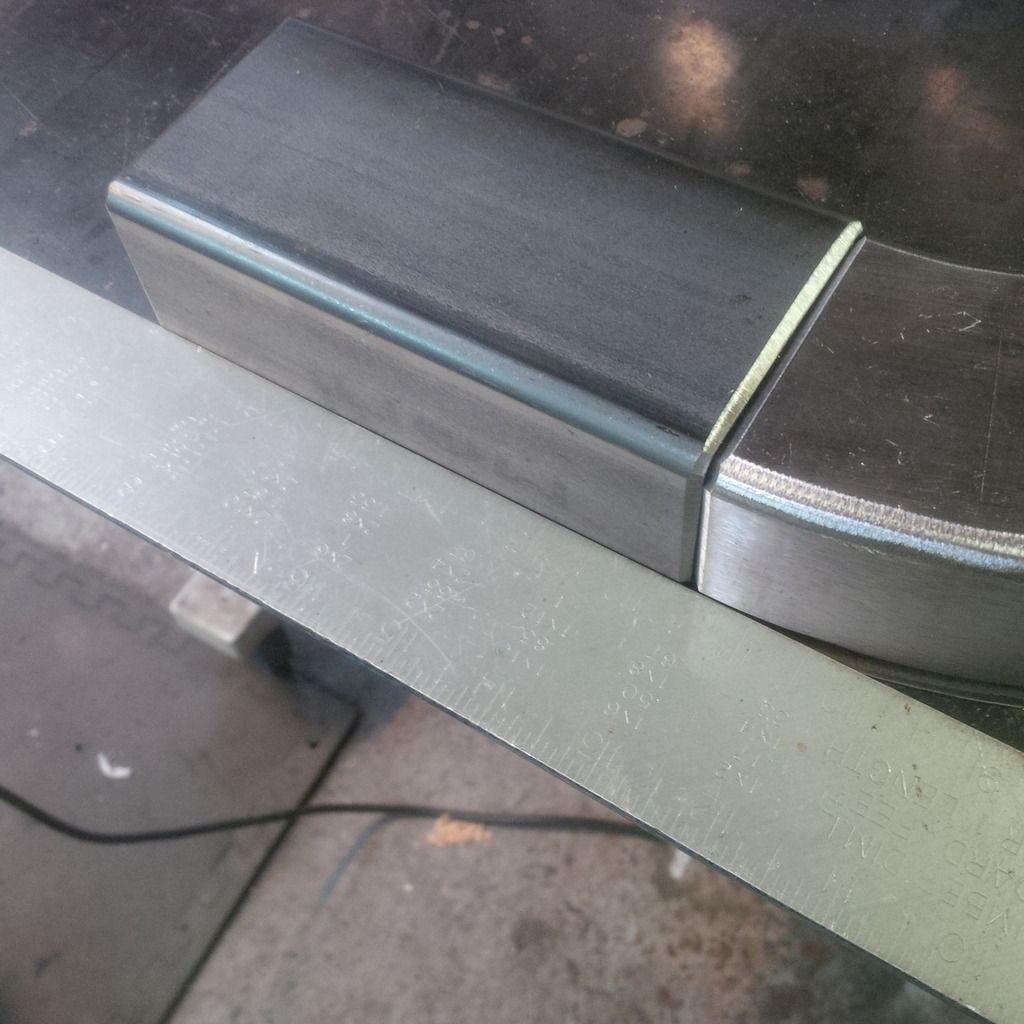
Yummy.

Image

Got them both tacked up with out having them move - lots of clamps.

Image

Sitting there without being tacked...doesn't get much tighter than that!

Image

Image

From inside you can see the kind of room you get back without the monster frame kick.

Image

Could just do a dump out into the finder area....na. Probably not.

Had to add shim to the bottom and one side. The cross member was for another vehicle application so there were some areas to fix up. It was also not really perfectly fabricated with 1/8" of difference from parallel when the slots were measured. They were not exactly perpendicular to the ground either. All fixed now and I can move on to getting the floor on the drivers side modified for the floor mount pedals.

Image

Image

The uprights also got tacked on revealing more alignment issues that needed to be dealt with now prior to welding things in place. Getting close. I have to figure out what to do with the frame forward of the cross member. I'd like to kick it out as much as possible to accommodate a reasonable sized radiator like:

http://www.summitracing.com/int/parts/gri-1-25241-x

and an intercooler like this mounted up in the nose cone area.

http://www.treadstoneperformance.com/product.phtml?p=68063&cat_key=63&prodname=TR1035+Intercooler++666HP

That should be my tax return spent.

_________________
Coburn Performance - OCD comes naturally.


Top
 Profile  
 
Display posts from previous:  Sort by  
Post a new topicPost a reply Page 32 of 54   [ 801 posts ]
Go to page Previous  1 ... 29, 30, 31, 32, 33, 34, 35 ... 54  Next


Who is online

Users browsing this forum: No registered users and 3 guests


You cannot post new topics in this forum
You cannot reply to topics in this forum
You cannot edit your posts in this forum
You cannot delete your posts in this forum
You cannot post attachments in this forum

Jump to:  
cron


Powered by phpBB © 2000, 2002, 2005, 2007 phpBB Group
610nm Style by Daniel St. Jules of Gamexe.net