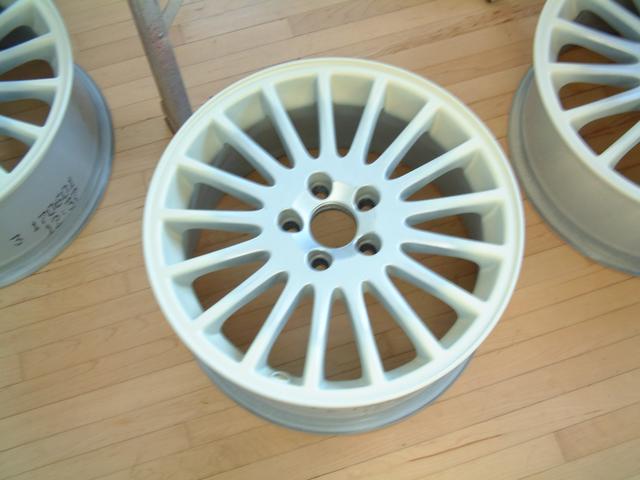
Given our recent conversation about wheel painting...I thought I'd post my latest project as a guide to the process. First up, the subject (to faint applause) a set of Tethys wheels that will be put on my 242. I've seen a lot of wheels in my car life and I like these ones a lot. They look great on 240 cars, and I scored this set for a reasonable price off of Calgary's wonderful Kijiji.
The good: They are pretty and will look great on my car. They are 17's and original Volvo quality.
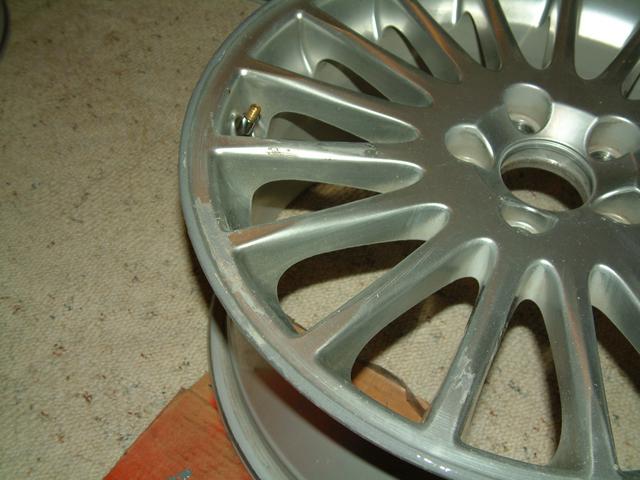
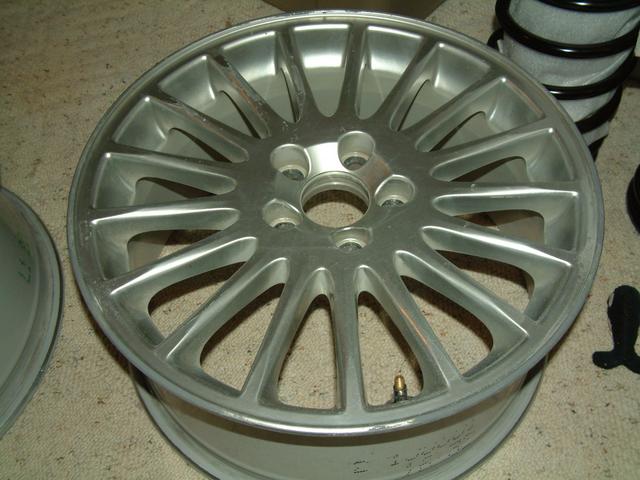
The bad: The previous owner managed to curb every wheel. Yup, that's right folks, every wheel (still no clue how you do every wheel). They also came with a fine coating of tar on the back sides and looked like they had experienced too much driving on gravel roads (slight sandblasting everywhere).
The Process:
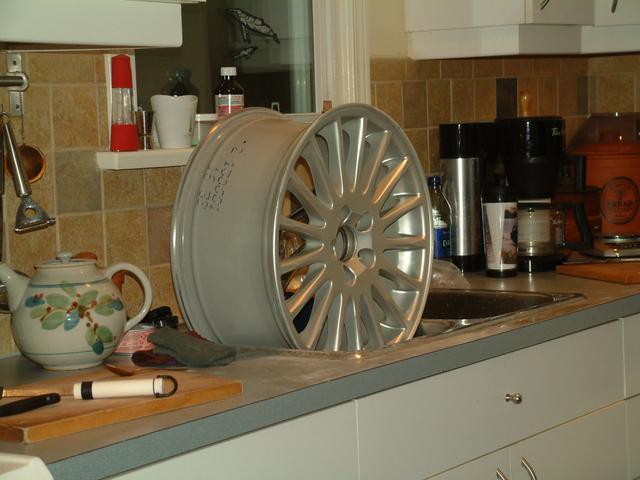
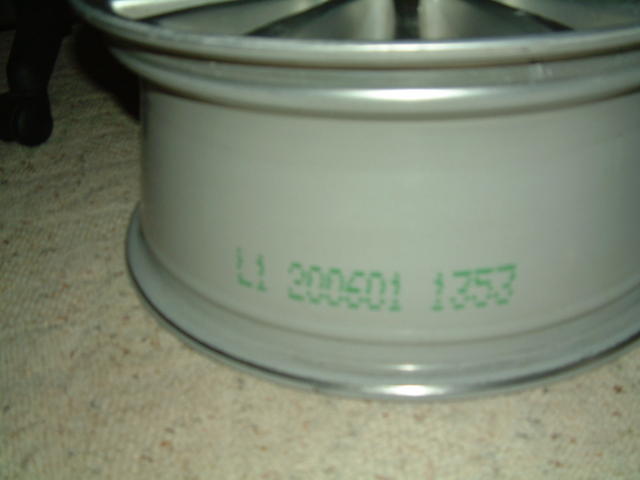
They aren't that old as the date stamps indicate 2006
To start with all areas of damage was ground/cleaned with my trusty Dremel (after 2 hours of cleaning in the kitchen sink...do while wife is out - trust me). Then they are filled with JB weld. This only applies to minor damage to wheels that are still straight and true.
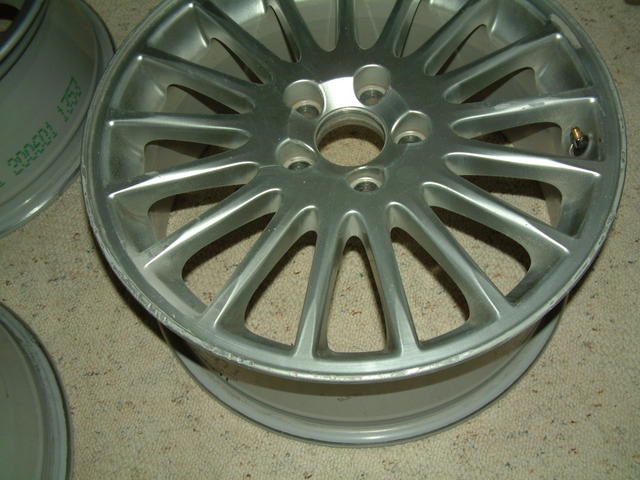
Note wear mark from clip on weights...who uses clip on weights on aluminum wheels - barbaric.
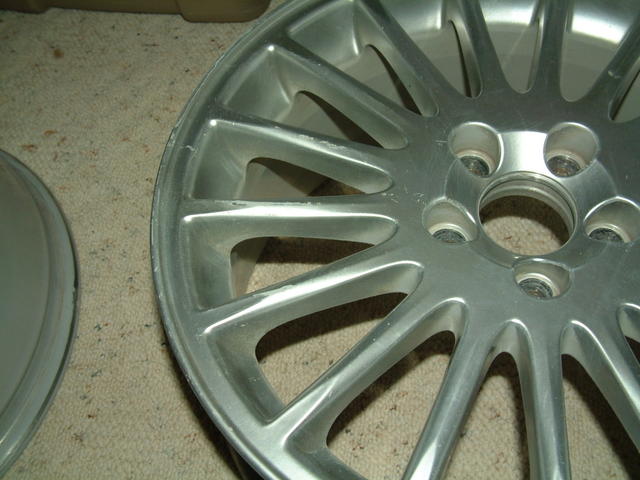
The spokes were not spared the wrath of the previous owner.
These wheels, if they are actually 2006 MFG were only on a car for a year as the guy I bought them for had them sitting all of last year. Amazing what a year of driving can do to a nice set of wheels.
JB weld should be ready to apply as it's been sitting for 15 minutes to thicken up a bit. It's going to fill in the imperfections around the lips only. Regular body filler will be used on the little gashes on the spokes. I'll update as I go.

