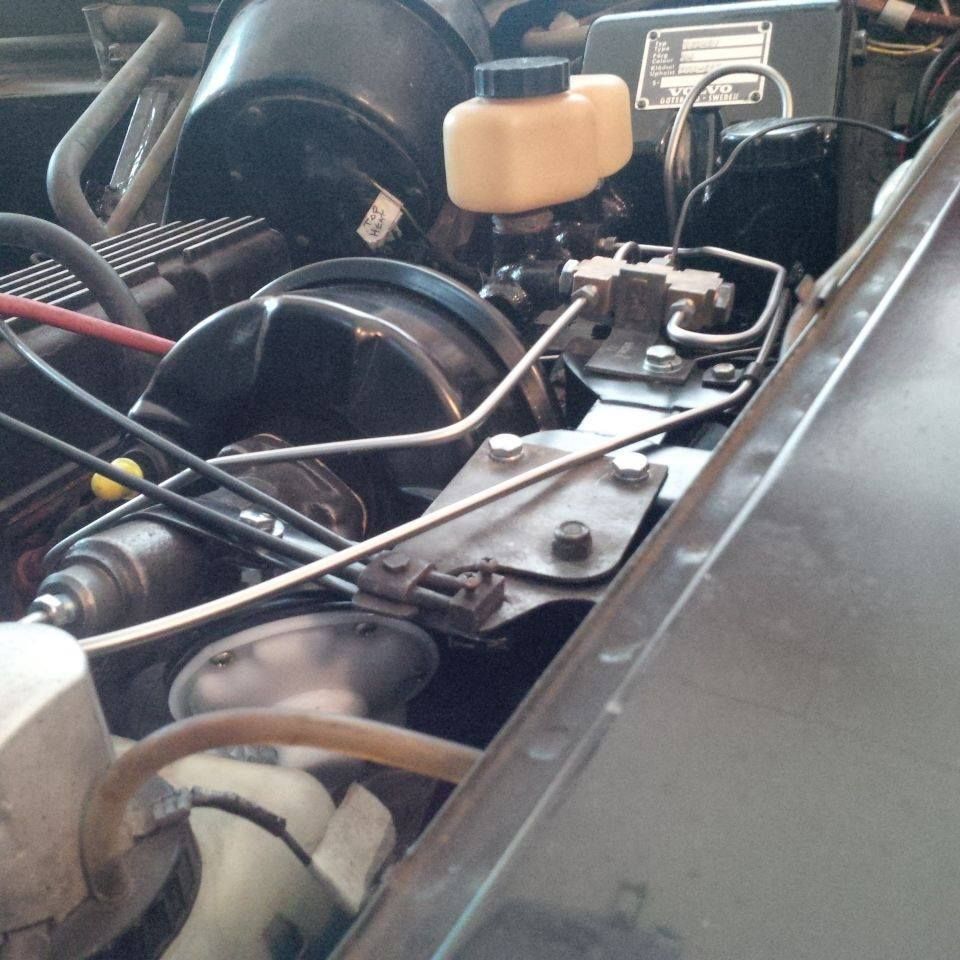
OK - Here it goes. Let's start with the obvious stuff. If you're about to tackle a brake line project, respect the fact that
you're tinkering on one of the most important safety systems on
your car. If you're prepared to do this work,
you also accept any and all responsibility for doing so. This is not a system where half measures and zip ties are a workable solution to anything. You accept all responsibility - I accept none. This advice is posted to help you develop skills - you're responsible for developing your skills.
There is only one way to make lines - and that is
perfectly. No kinks. No little cracks (important for stainless lines - check for work hardening and cracks when flaring). No rusty old lines being reused because you're too cheap to buy new ones. For many projects, you can buy pre made brake lines at your local auto parts store - they work just fine. For some applications, the usual Volvo parts suppliers can supply lines. If you're serious, stainless steel pre-bent lines are available for early 1800's and they do fit 122's.
Vintage volvo's (pre 1968) have single circuit brakes. That means a single leak in any part of the system and you've got no brakes. Later cars have dual circuit or more complicated systems that I have to look at the manual to work out the complex plumbing. I believe it's good advice to change brake lines in vintage cars and renew the plumbing with either stainless or new steel lines. Mild steel is fine in these applications - they are normally galvanized for long life. Rusted old lines are not to be painted with any magical paint...they are to be recycled. Any brake system that has sat empty for a length of time will be corroded inside and needs to be renewed.
Replace all flex lines with NEW lines. This is no time to be obsessive about NOS (New Old Stock) - if it's old stock, you'll be installing cracked flex lines that are deadly. Leave them on eBay and go to the usual parts suppliers and get new stock lines. These lines changed a lot over time and within a single car model, so make sure you're getting the correct flex lines for your car.
Now for the how. First prepare to take the lines off your car one at a time. This means they should sit in penetrating oil (PB Blaster) for a day before starting. A little heat also helps loosen things up where needed. Pick up a roll of 3/16" line (25 feet does on 122 with about 18" left over and no oopsies) and a bunch of flare nuts (male - remove from a line from the car to make sure you're getting the correct size - I'm being generic here as there is some metric/imperial mixing and matching in the Volvo parts collection). About 16 male tube nuts will do the trick - get the coated steel ones. You'll also need the female fittings that Volvo used. I usually re-use these as they can be hard to find. A few seconds on the wire wheel and they are fine.
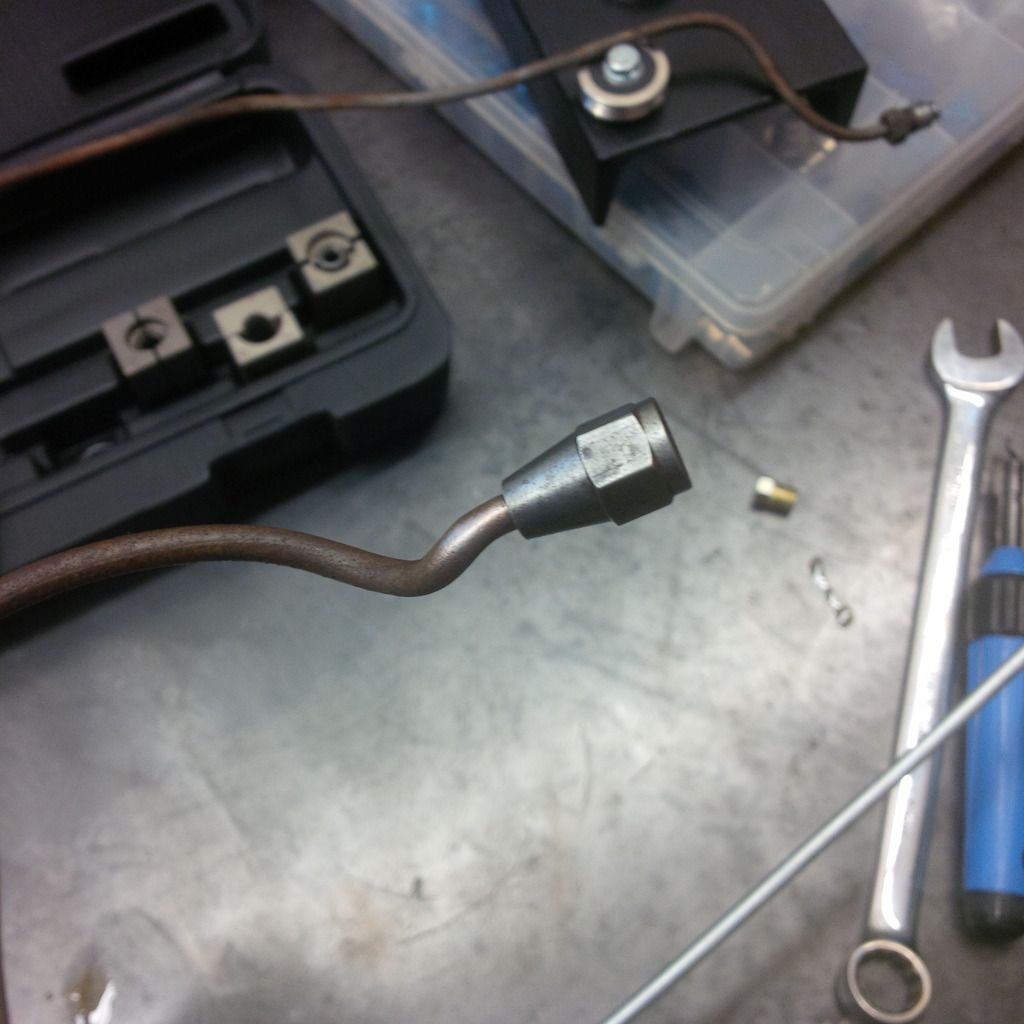
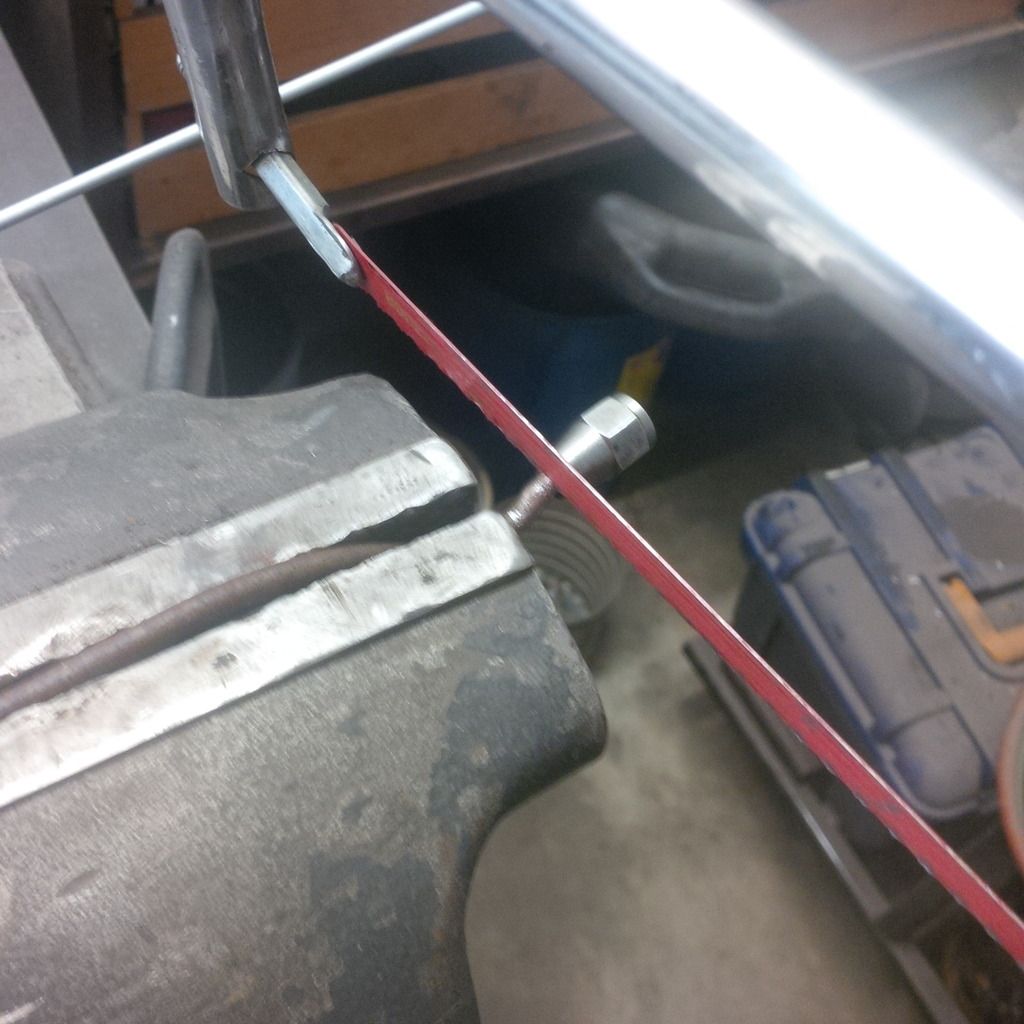
You will have to take them off, but you're going to need that line for a pattern, so don't use your tube cutter or straighten them out, just use a hack saw and cut them off. Wire wheel them FIRST.
For each line, use the old line as a template to map out the length of the line. It's harder than it looks, and I didn't take any pictures of doing this as I don't have a third arm. At the far end, leave a little extra as you have to flare the line and that takes some material. Don't be too precise - a little long is much better than a little short.
About this much seems to work for me.
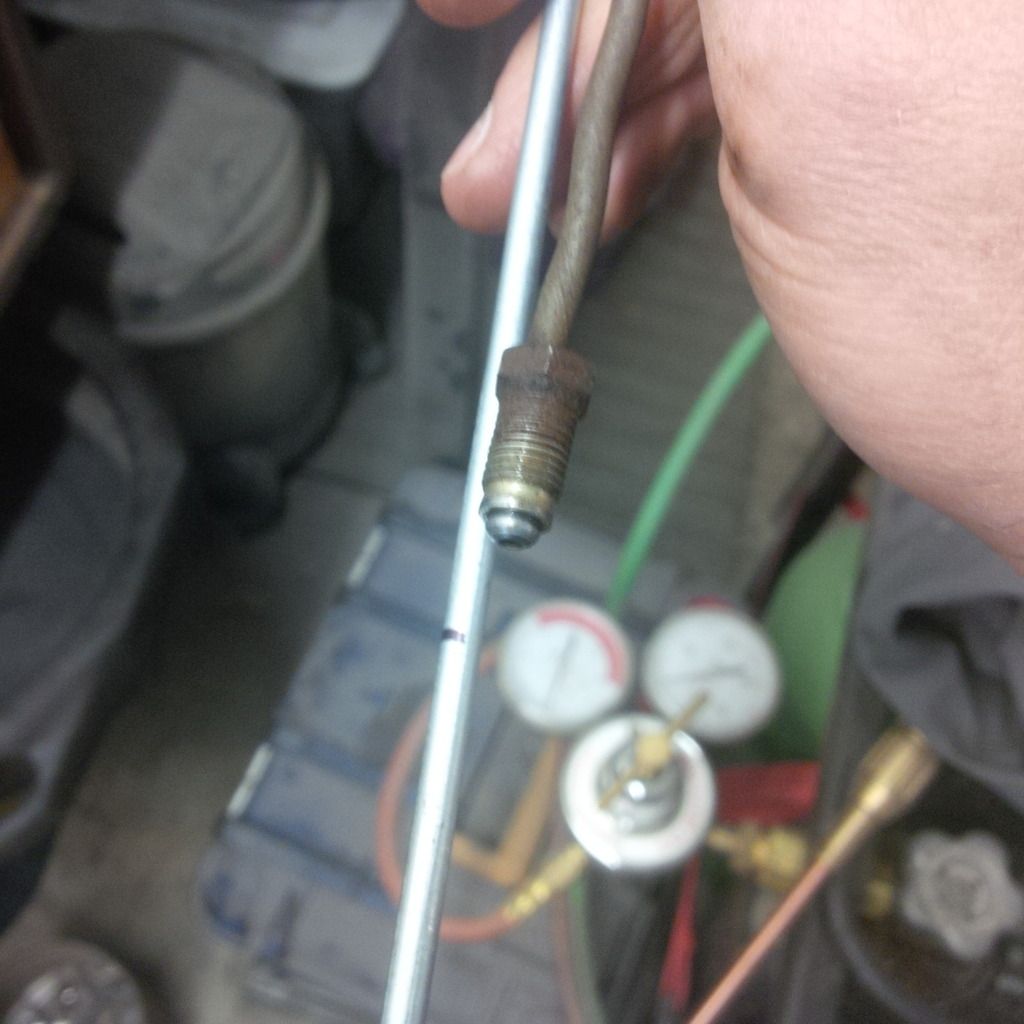
Use a tubing cutter to cut the tube to length - except if you're using stainless steel, then use a hack saw. Deburr the inside. Then INSTALL THE FITTINGS BEFORE FLARING. We've all done this - flare the line without the fittings!
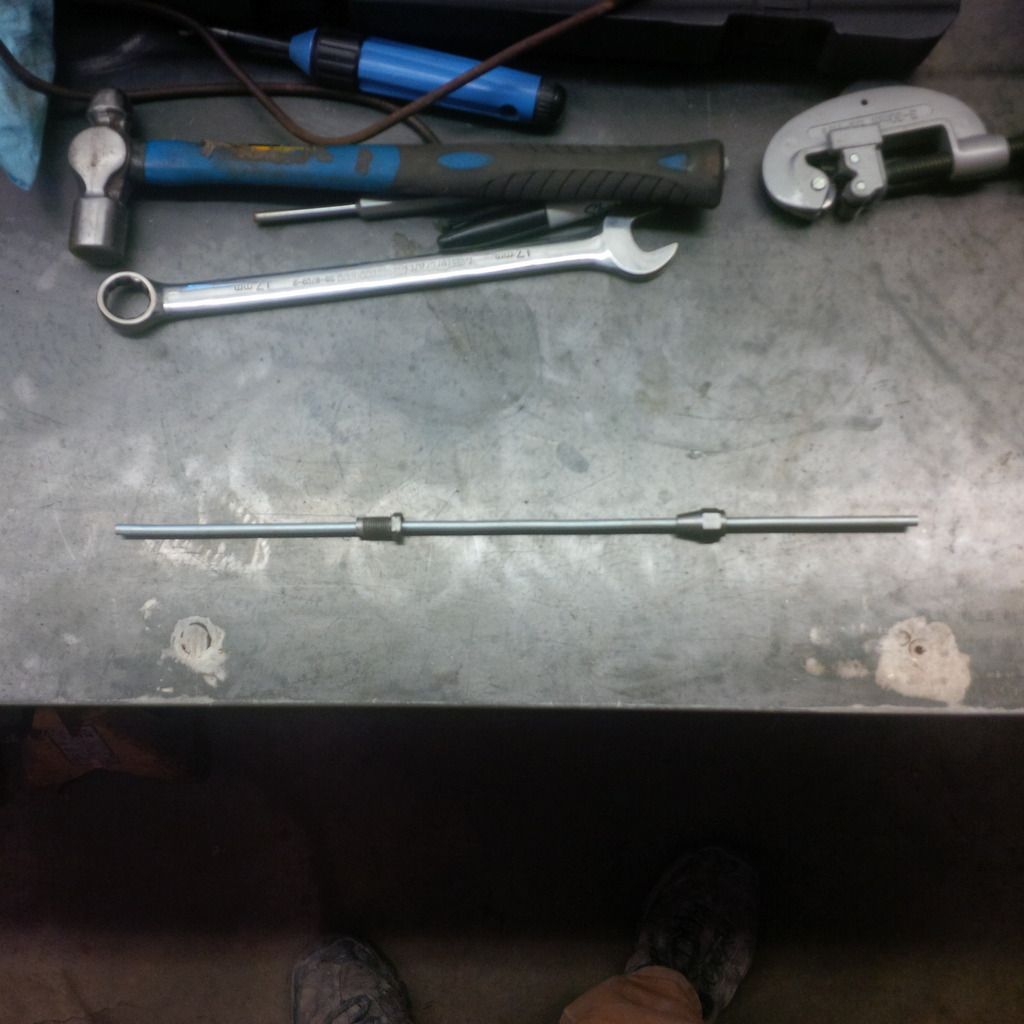
Here's the deburr tool.

I own a turret flaring tool from Eastwood that does a perfect job every time. It does all types of standard (SAE/Metric) flares - dies can also be purchased for JIC fittings. You can do this with a standard double flare tool, but it takes a lot longer and is not as nice a job. Anyway, it looks like this.

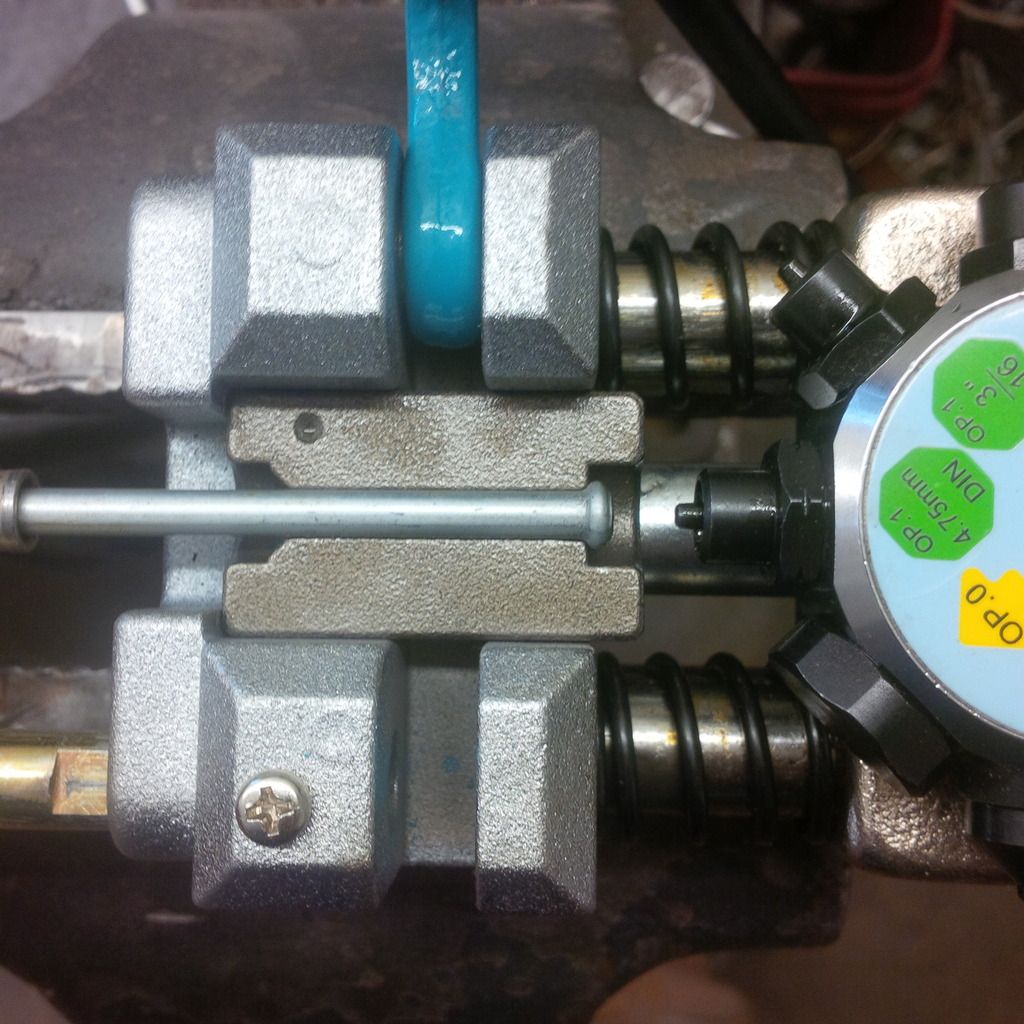
It's operation couldn't be easier: Insert tube, set flush to die in step one, tighten die, go to operation 1 for flare that collapses the tube, then to operation 2 to create the double flare. There is no such thing as a safe single flare line for brakes. Single flares are for house plumbing, not for brakes. Don't ever use a single flare for these high pressure lines. Metric bubble flares are made in one operation.
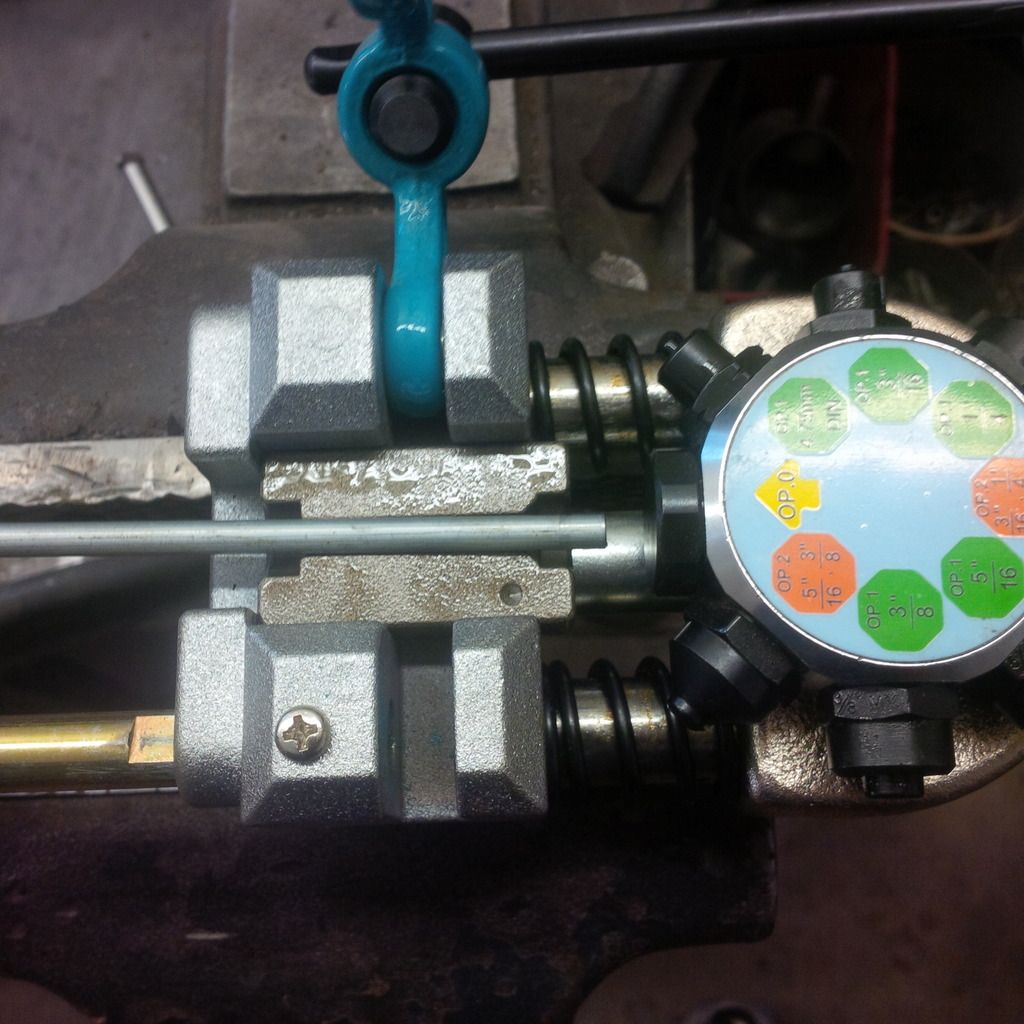
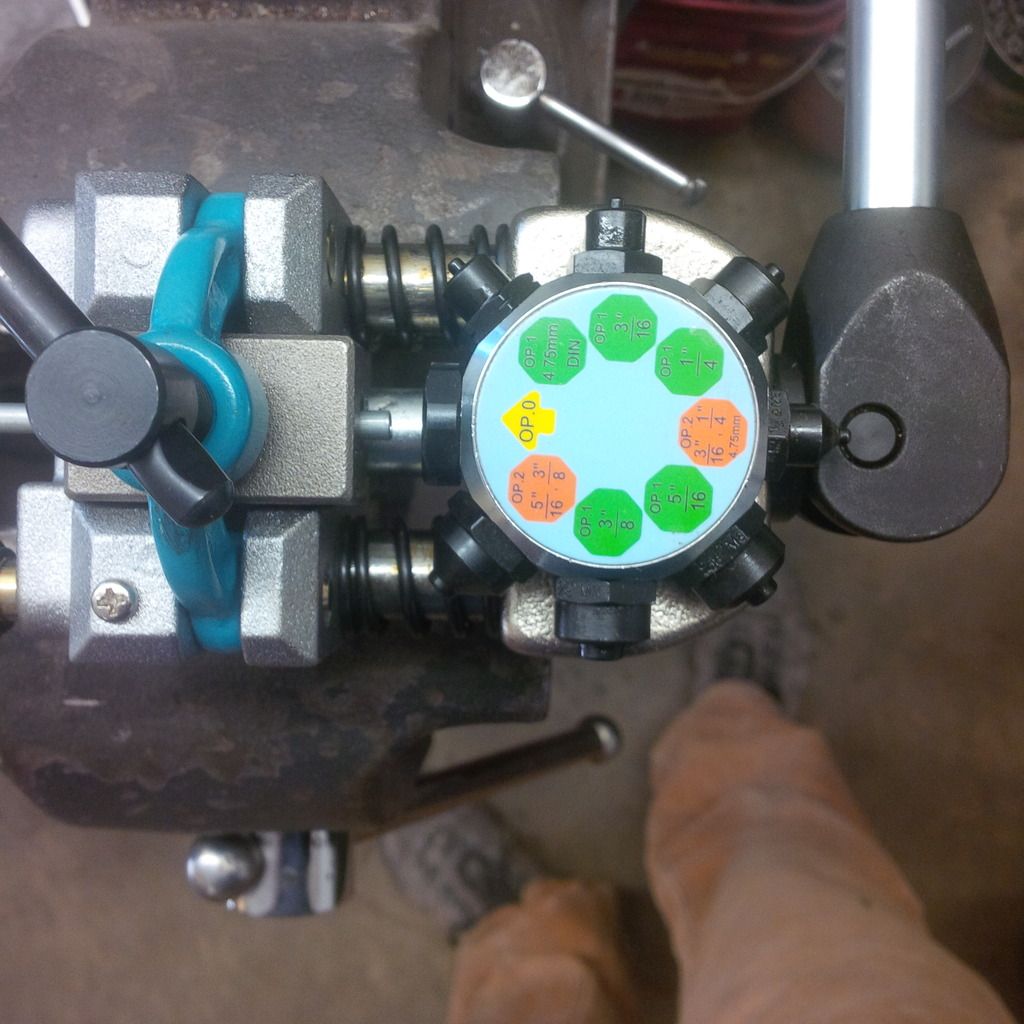
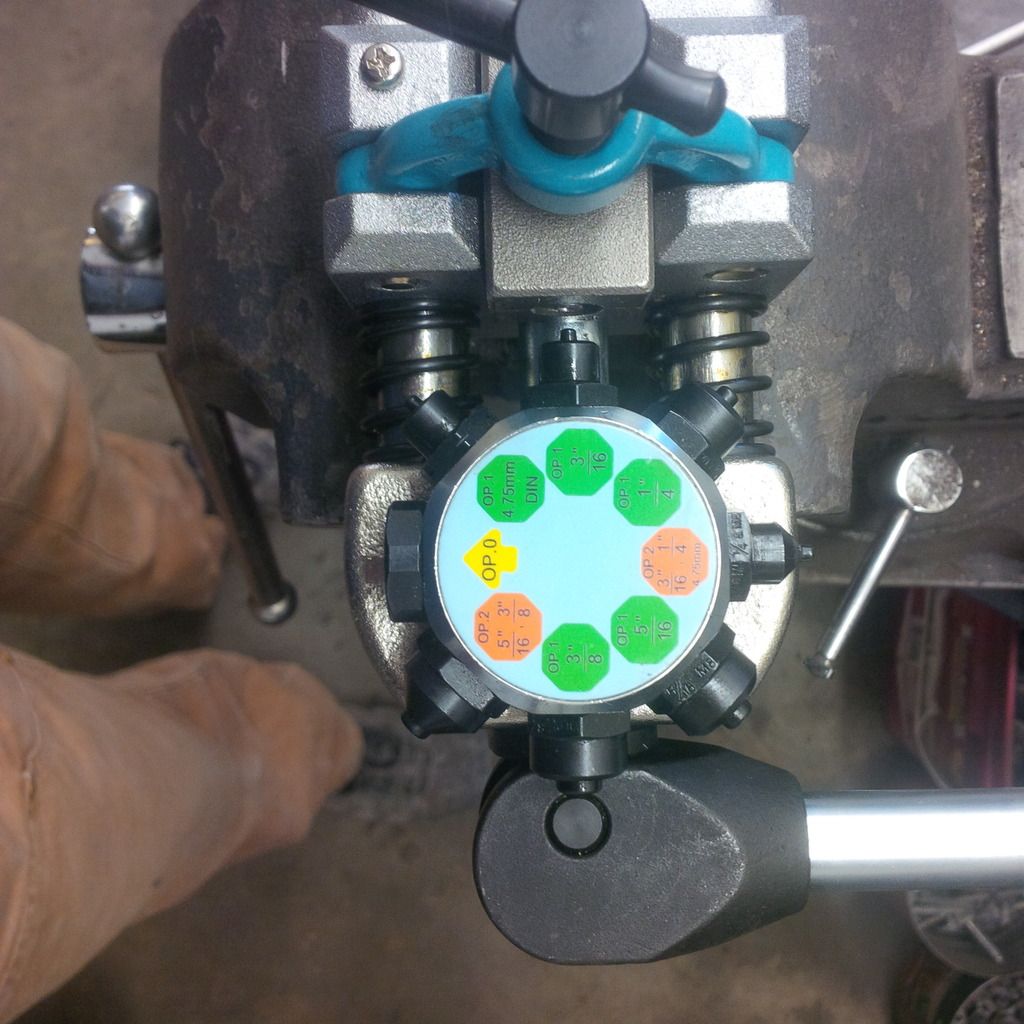
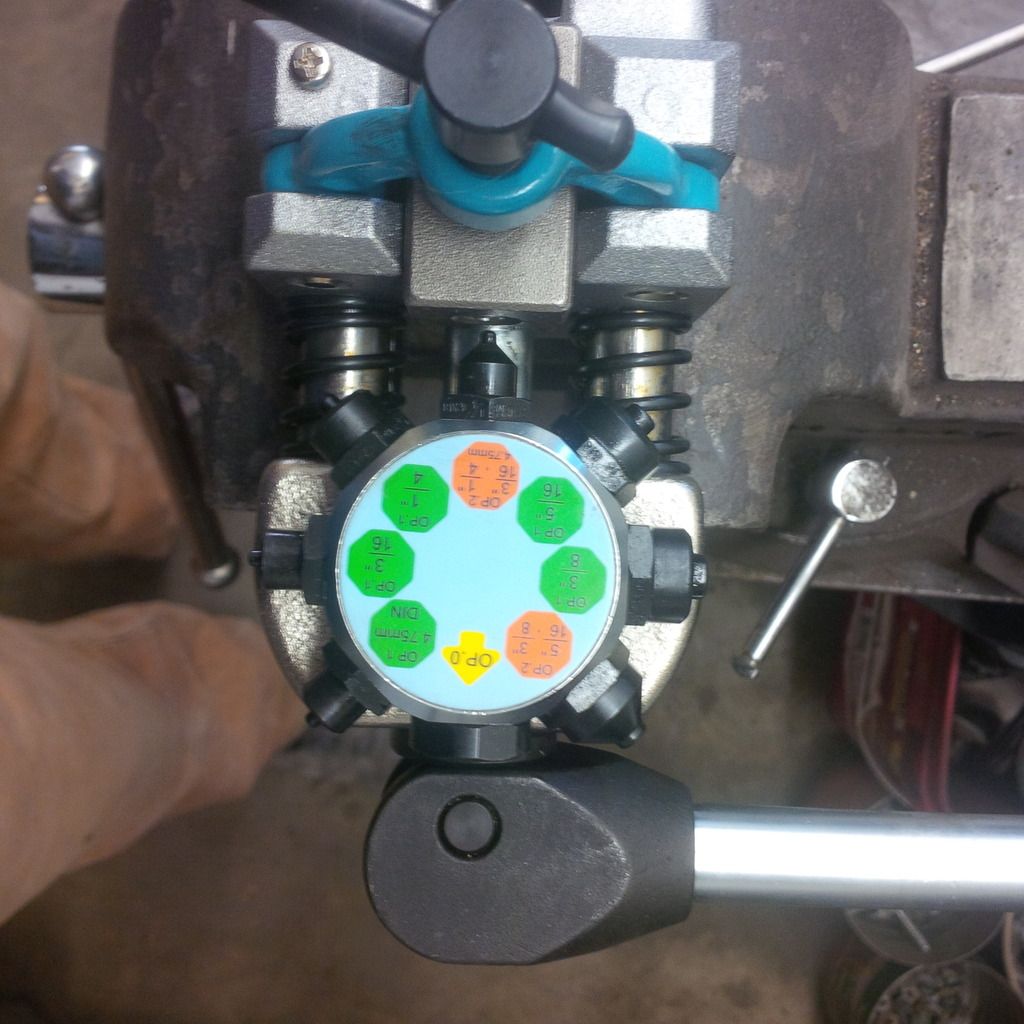
Perfect - no marks on the tube at all. Perfect smooth flare. Doesn't get better, faster, or easier.
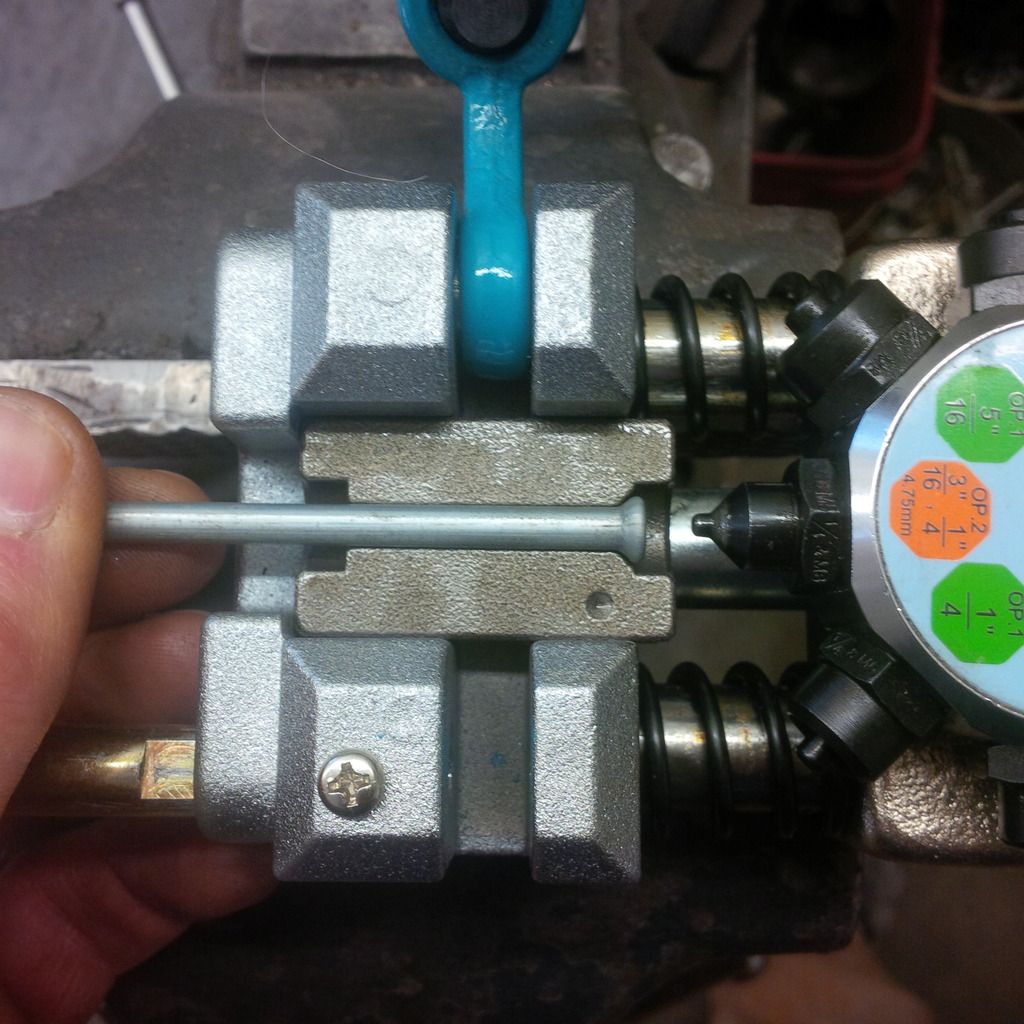
The brake line from the flex line to the brake calliper on the front of a 122 happens to have an SAE double flare on one side and a Metric bubble on the other. It's my example line. Let's have a look at the bubble flare.
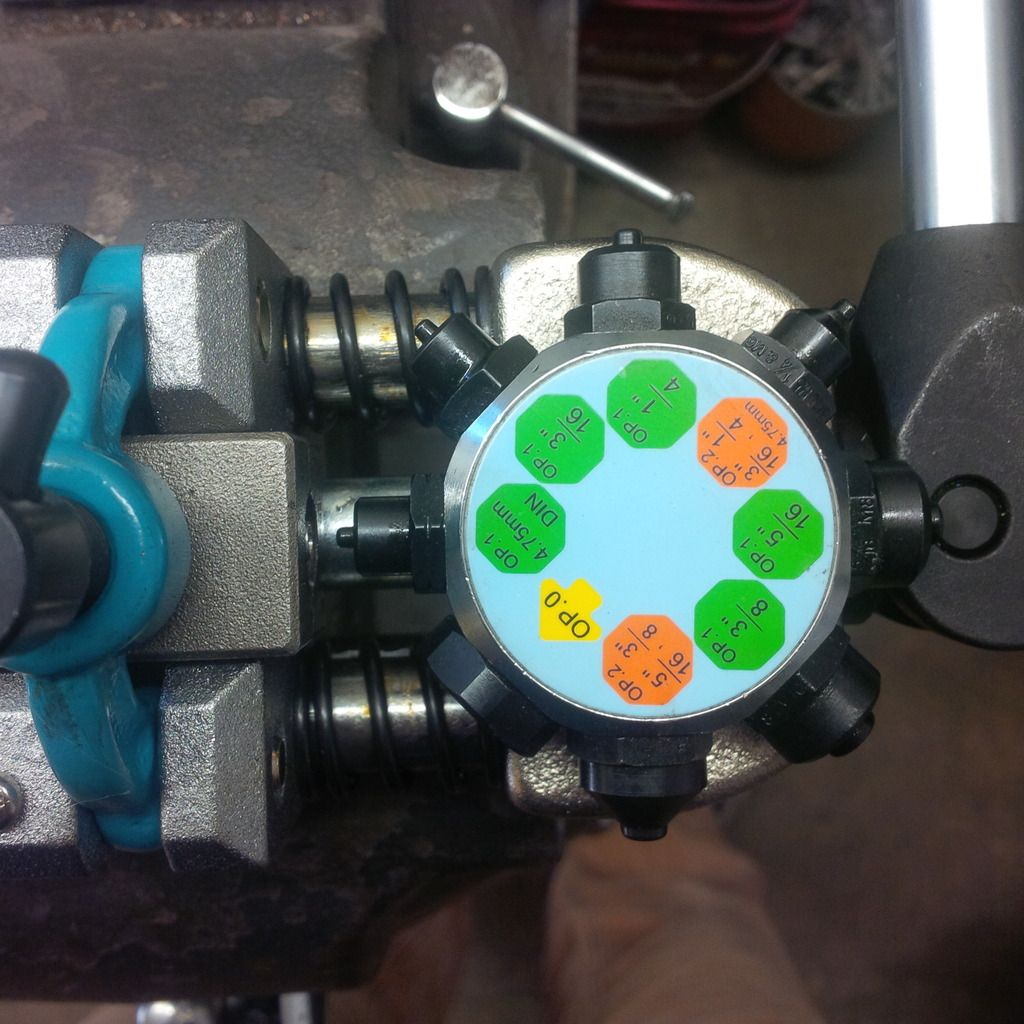
One operation - easy.
Now it's the fun part - bending up the lines. You're going to need a couple of bending tools. I like the Eastwood tight location tool and then an old fashioned bender or two will do the trick. You sort of need the Eastwood tool to make the tight bends at the fittings and to adjust lines on the car. It's found here
http://www.eastwood.com/ew-brake-forming-tool-pliers.html - had mine for years, worth every penny.
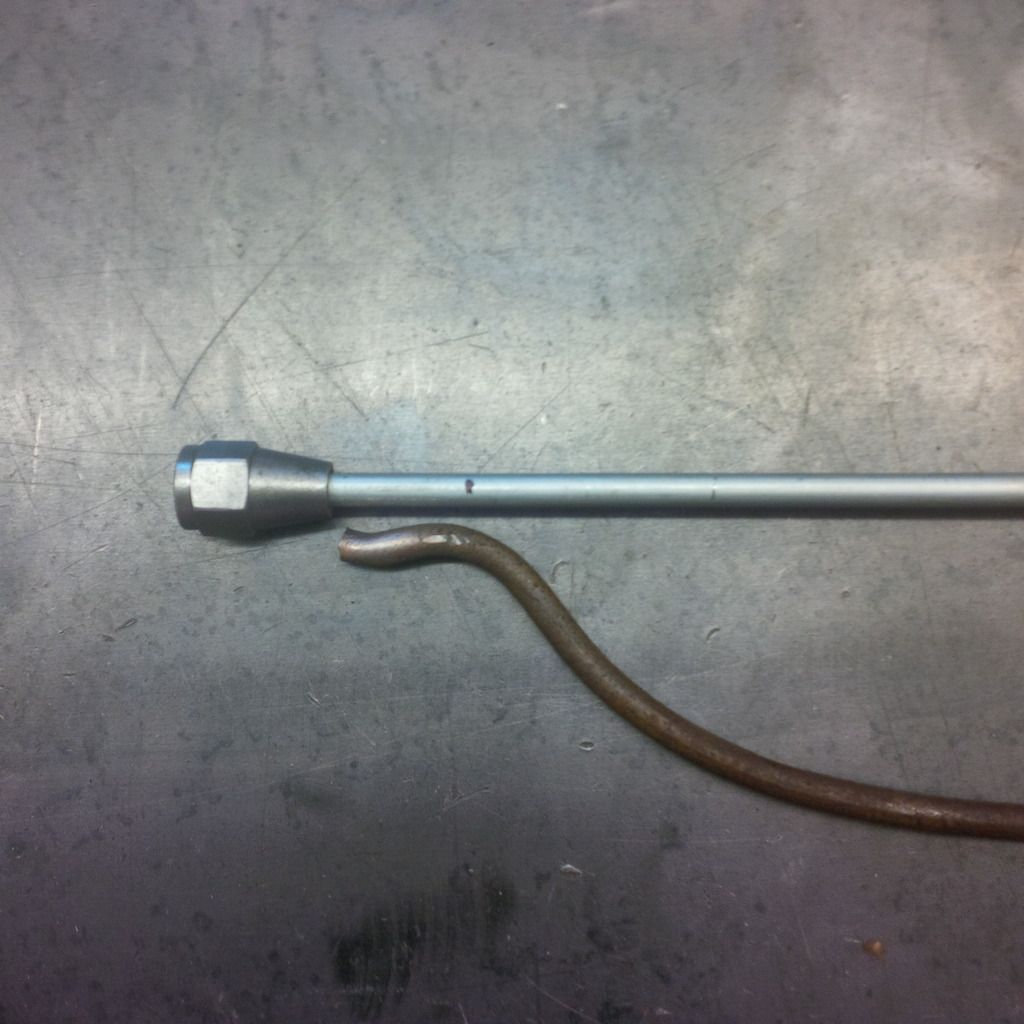
For example, here's your first 90 degree turn...how are you going to do this without kinking the line...you need that tool.
OK - follow the pattern of the old line and bend where needed. On the really long lines, we found that taping the lines together as you go works best - the lines get complicated. Here's a shot of the line from the brake distribution block to the rear pressure valve - 7 feet of line and all sorts of turns and bends.

This line fit bang on - first try.
Sometimes, the lines brake or get mangled when you're taking things apart. If you really don't know where they go, then my suggestion is to use either mechanical wire or wire coat hangers to work out a pattern, then replicate it in tube. You can bend a line on the car, but it's a pain. Here's how I know it's a pain.
Measure up the first bend, then install the line and check it. Then make the subsequent bends as needed - trying to keep things neat as you go.
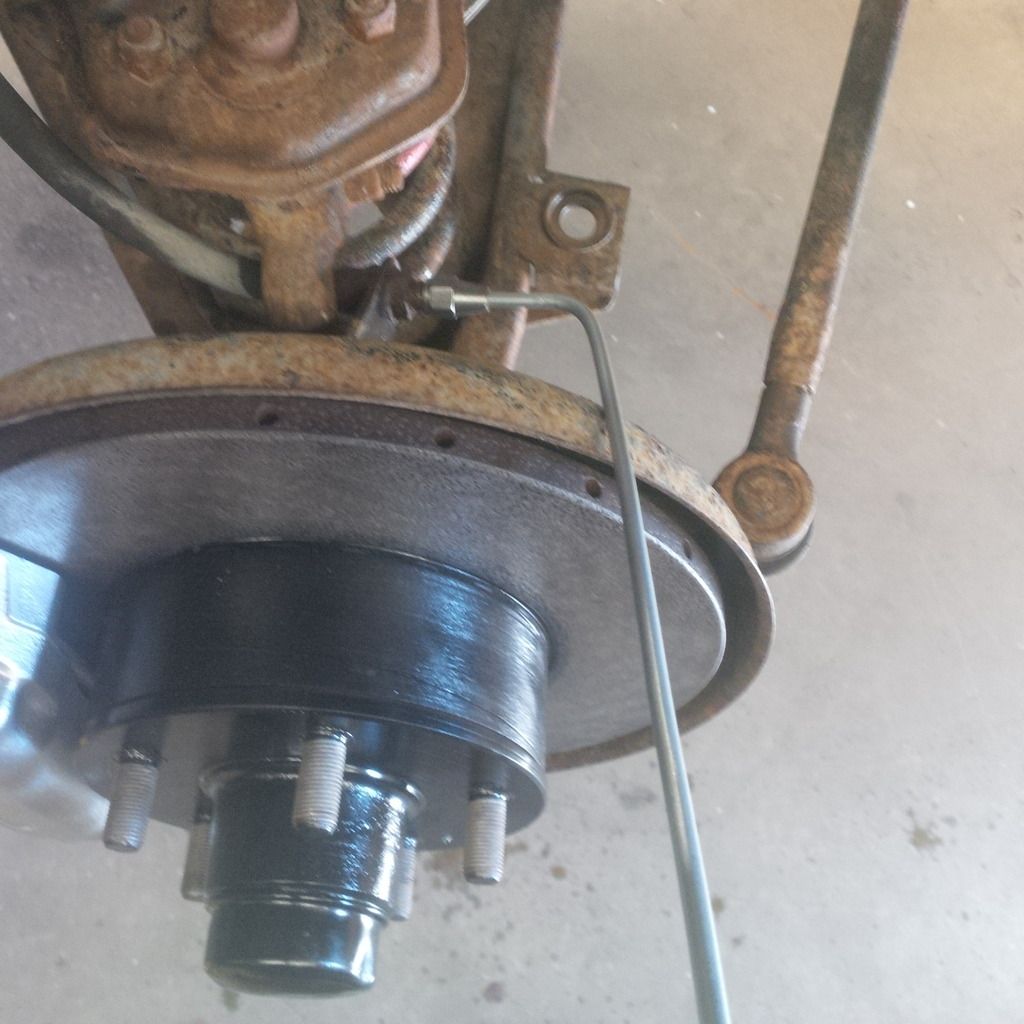
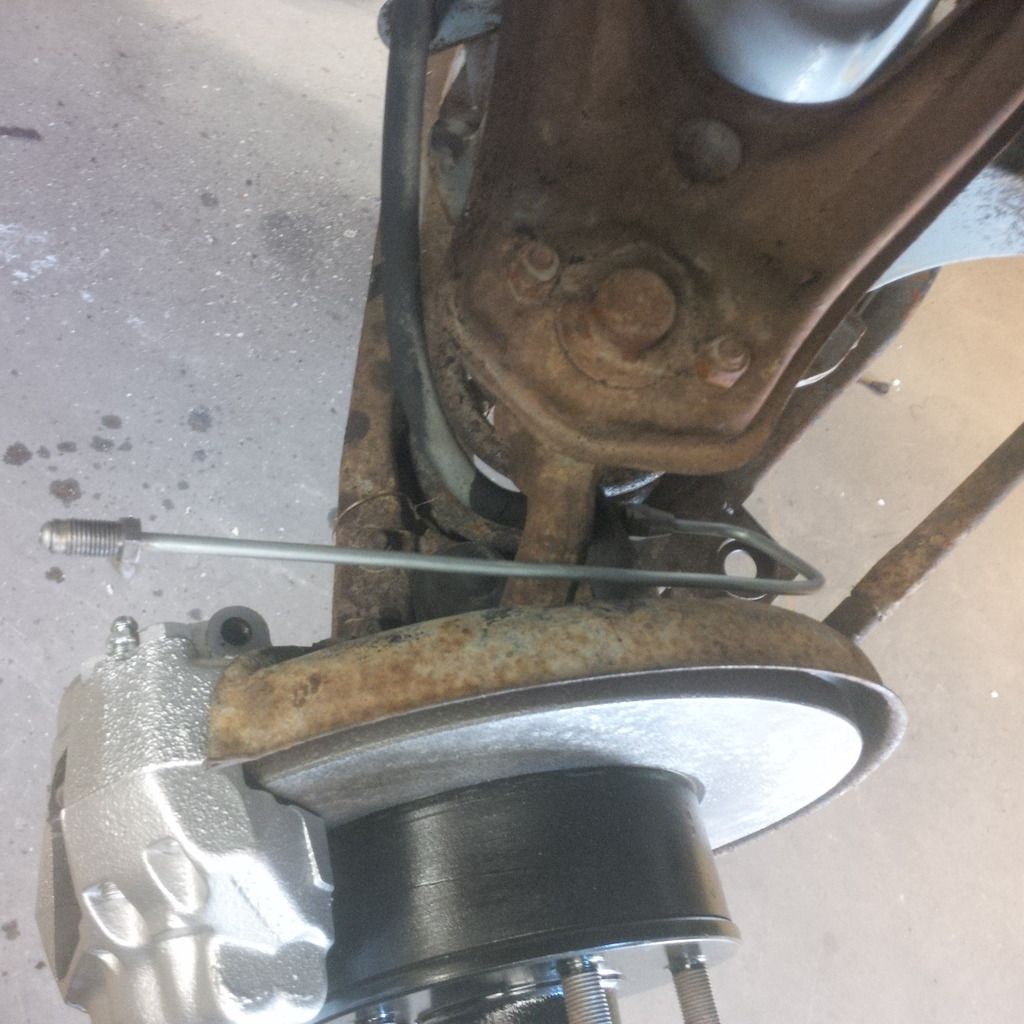
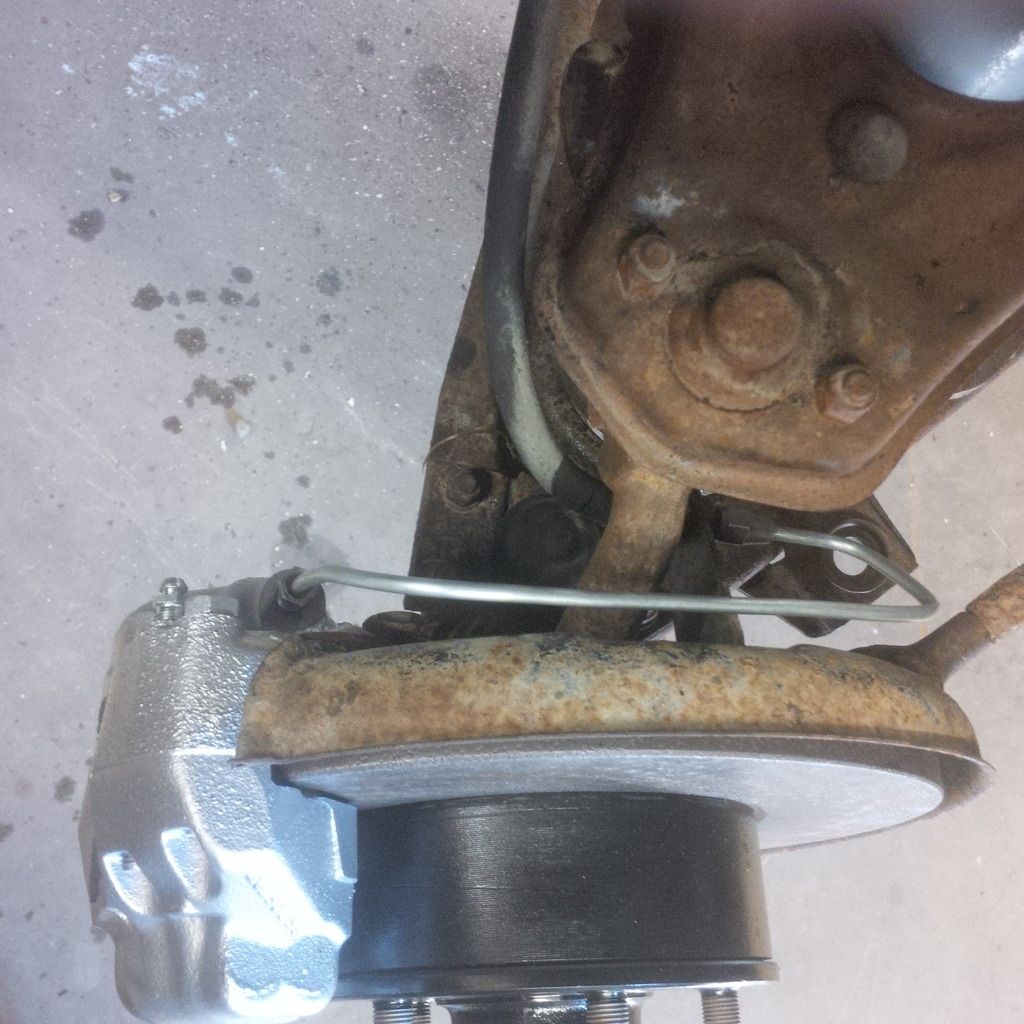
Here I'm using my bending tool to set the bend (finish bending done off the car. I'm just trying to get the angle to the calliper about right.
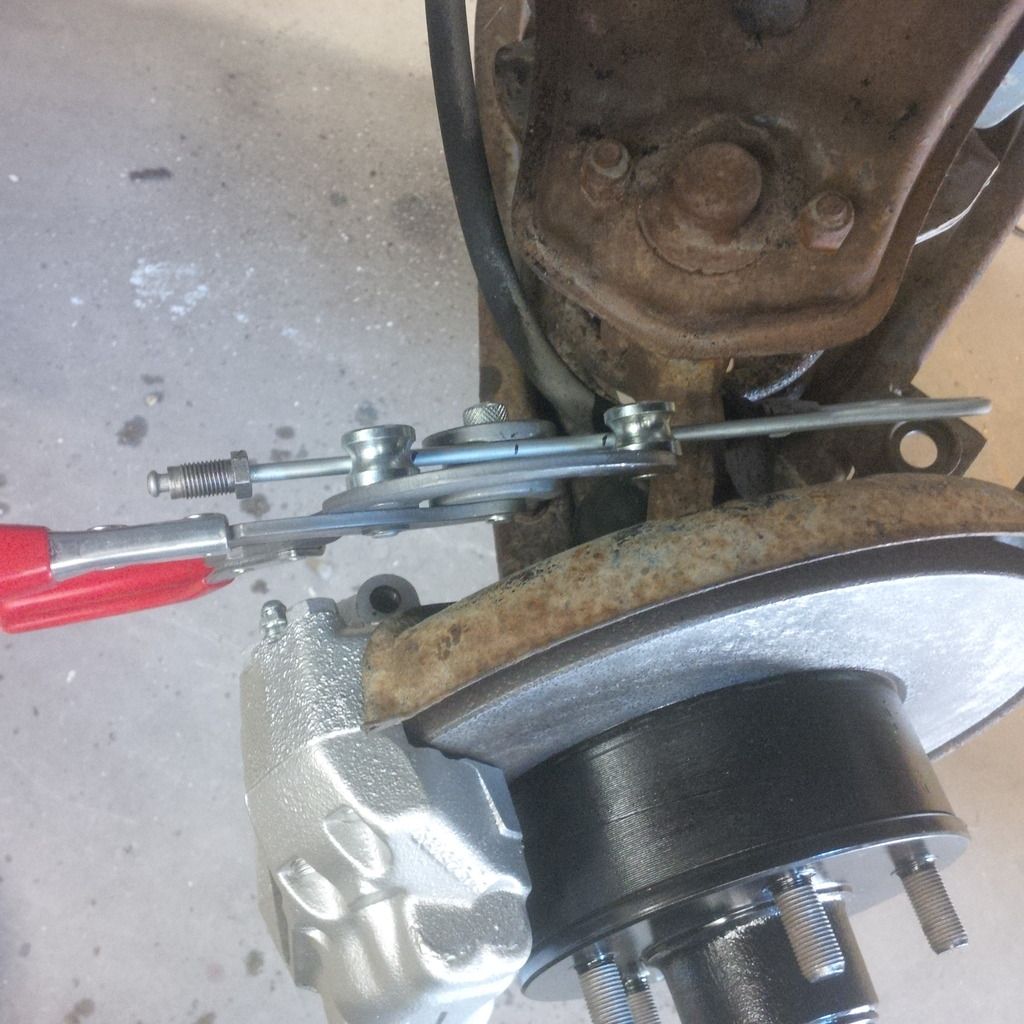
You can also set a bend with your hands, but always finish them using a tool to ensure kink free lines. Kink a line and it's junk. Just toss it out and start again.
Done - that fits really nice.
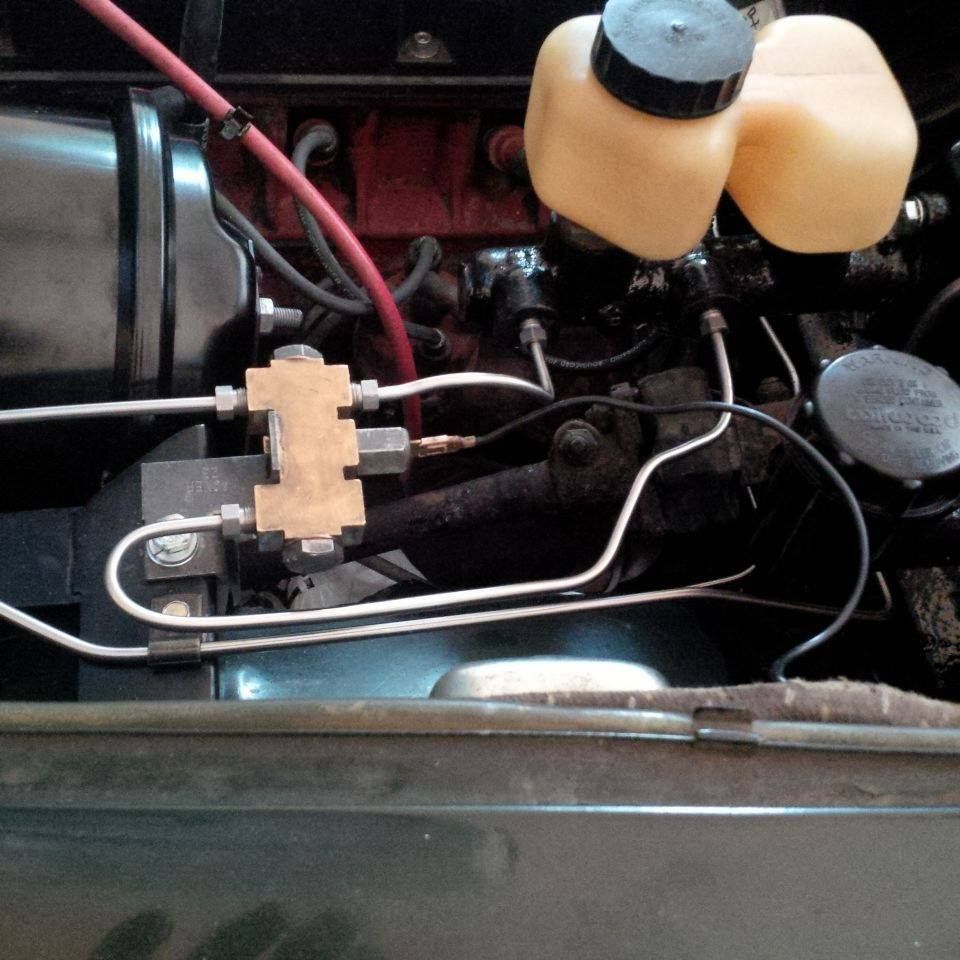
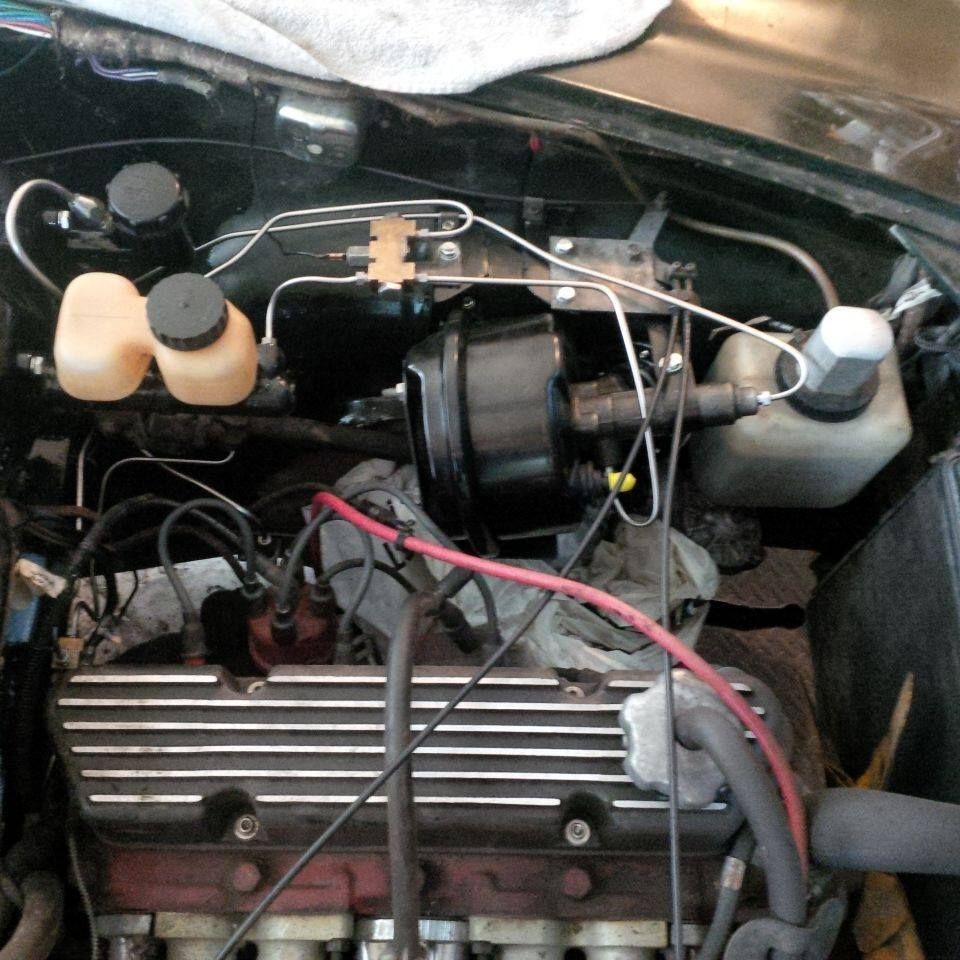
Time - how much time does it take. Well, if it's your first time, count on about 4 days to do up a car like a 122. Then factor in your materials - mild steel is relatively easy to work with. It took me one day to put the lines in Matt's car - 9 lines, all custom bent, starting with a coil of tube and a handful of flares. Not my first time. Not really a rush either - just plugging away. The 1800 above - each line took 4 hours. It was 4 days to just do up the brake booster arrangement down to the distribution block. Stainless doesn't move like mild steel. It's got to be perfect or it just won't work.
So factor this in when starting. Give yourself lots of time to do it right.
One last thing, please ensure that you can screw in all your fittings in all the way BY HAND. This lets you know that the flare is seating properly and you're not fighting a binding line. Tighten all lines when done and mark with paint to show that you've checked them (sharpie works). Then fill with good quality brake fluid and test for leaks - there shouldn't be one.

