Hi Guys,
I'm going to start to put some of the info on what I've done to the Canuck into one place. Matt was bugging me about this some years ago, so I'll get a start on this.

I decided to pull the head to make removal a little easier, and to be honest I was interested to see what the insides looked like. To my surprise, everything looked pretty darn good. No cross-hatch left on the cylinder walls, but I wasn't expecting any. The valves were not recessed, and while #4 looks rich, the rest were burning OK. #3's combustion chamber was oily - lots of carbon on everything.


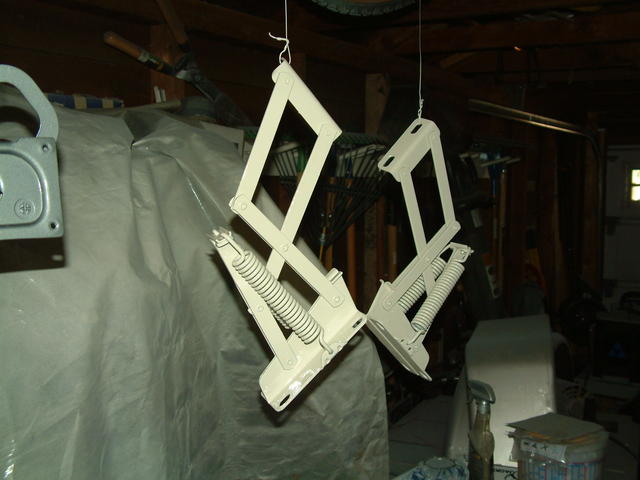
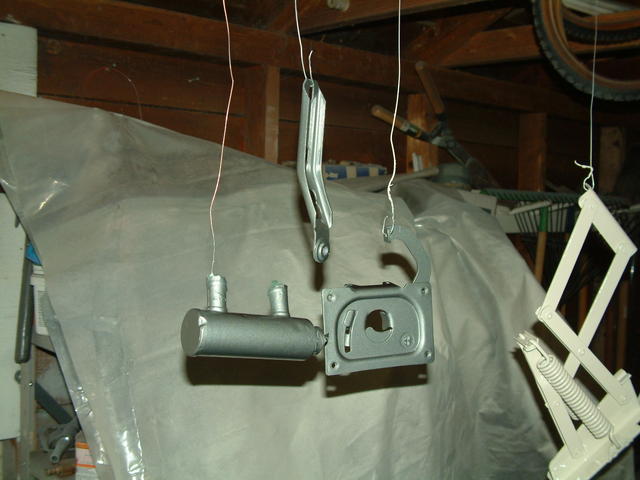
One to the new engine...after spending hours polishing the block and head I wanted to make sure the paint was going to last. POR to the rescue again. I cleaned all the parts a dozen times and they were about as clean as it gets. This took a full day - not kidding. Then they were acid etched with the POR metal prep and given a coat of POR-15 sprayed right from the tin. It sprays very well - nice shiney black.
Then after it flashed off - I top coated it with POR engine enamel. This stuff is so thick it can't be sprayed...had to thin it with laquer thinner. Then it would come out of the gun! While the regular POR flashes in a couple of hours, the engine enamel takes 24 hours to recoat

It was still tacky after a full day of drying. On with the second coat - even better. The gloss is crazy.


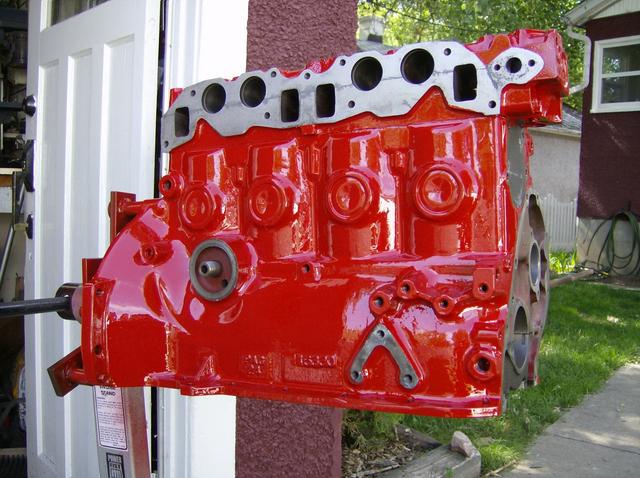
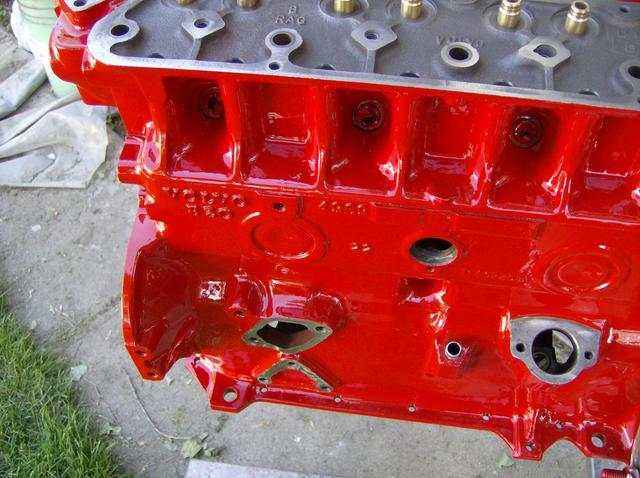
The paint had better hold up - I'm not planning on doing this again! Since the block and head were polished, the resulting paint is very smooth and shiney.
I've spent a lot of time getting everything else either polished or powder coated. Now I just have to get it assembled and put back in the car.


Engine details:
1975 B20 bored 0.030 over
Vintage Performance Head with 44/36 intake and exhaust valves -swirl polished
VPD Street Performance cam
ARP head studs
Polished and ceramic coated dual down cast manifold
Other Details:
The exhaust is 2.25" mandrel bent stainless steel.
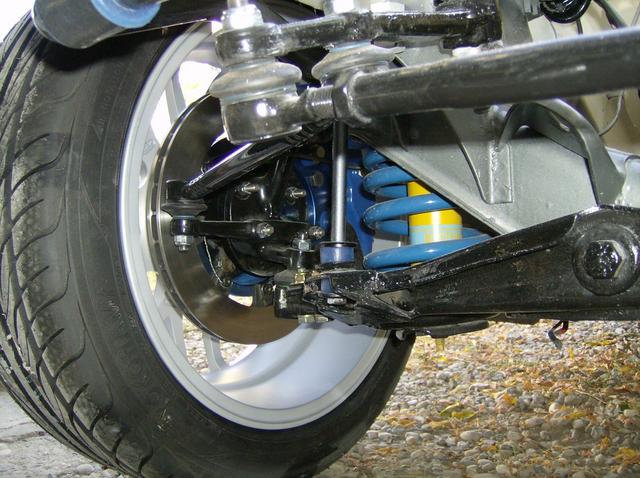
VPD suspension
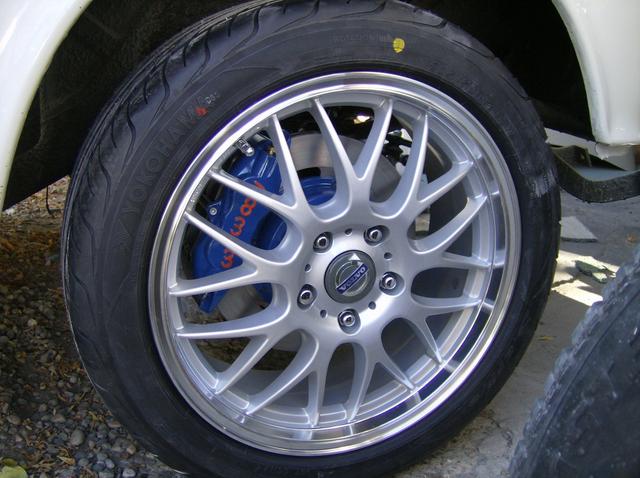
17X7 Wheels with Yoko S-Drive tires
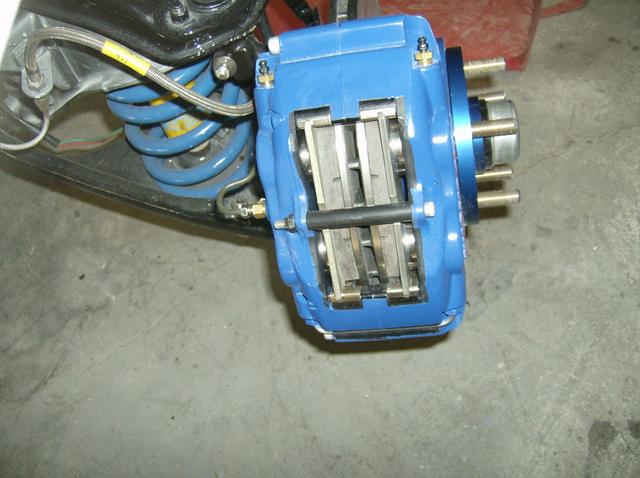
Wilwood brakes up front - 11.75" vented disks with FSL-4's with Q compound pads.
Rebuilt M41
240 1030 (smooth bottom - I know they don't exist) differential with TrueTrac 3.73:1 gears.
And a bunch of othe custom stuff that I've built.
Here are some more photo's:
Dual down manifold


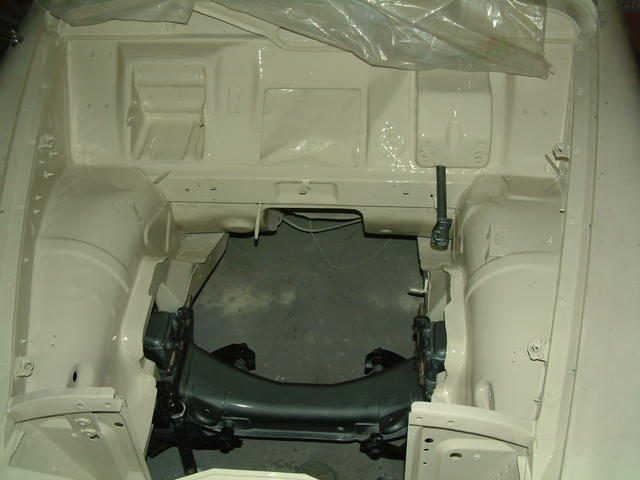
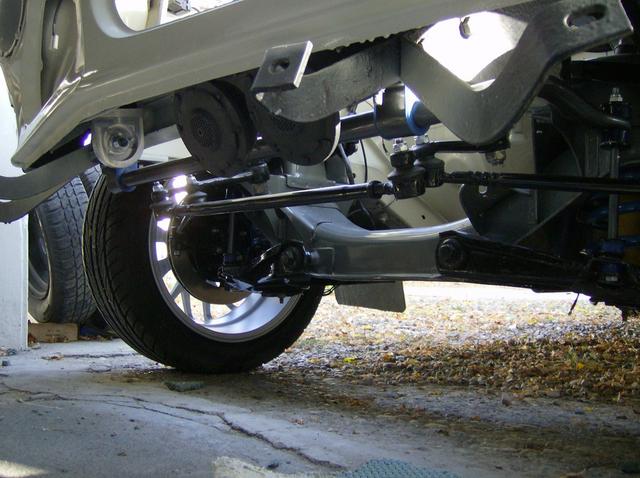
240 rear end install


Smaller stock wheel.

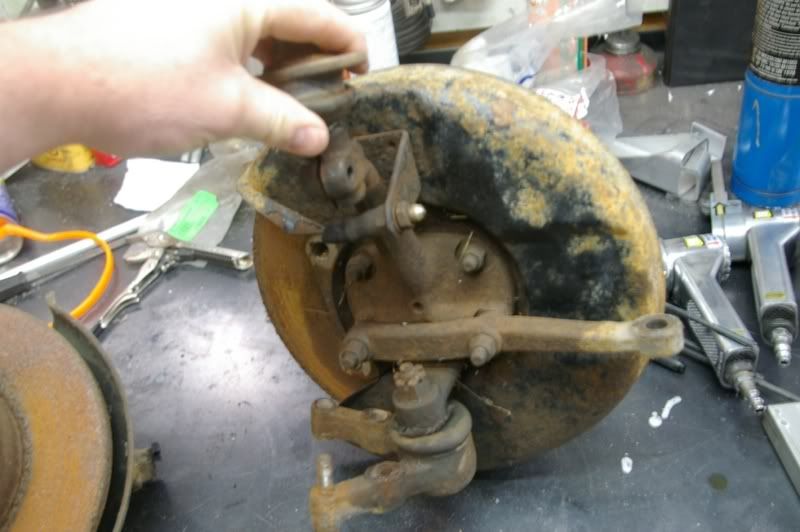
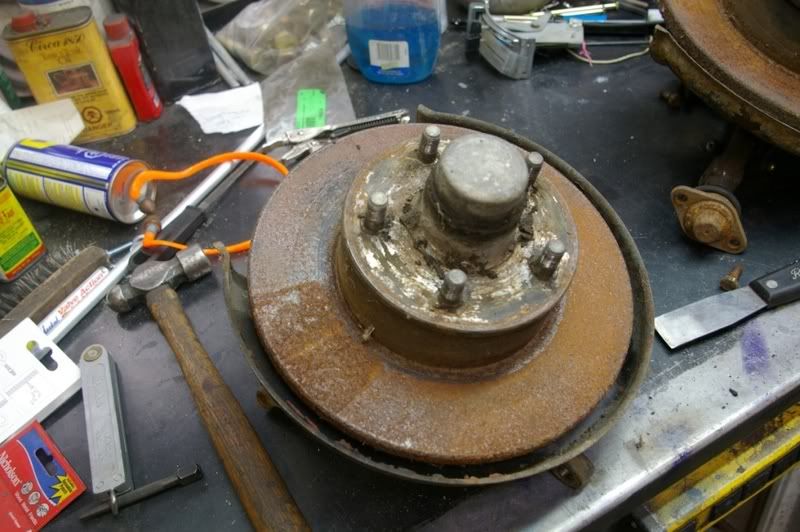
I'll let the pictures do the talking, here's the start point - not looking too pretty.


Then came a coat of epoxy primer (no photo's) and a coat of 2K high build primer.


So after 12 hours it is all finished...now for some more sanding and filling and another coat of primer then on with the new top coat.
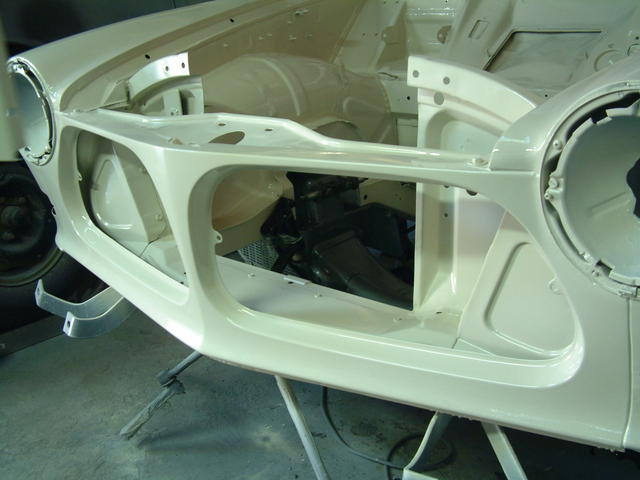
I've finished most of the painting that I'm doing for this year. I still have the under side of the hood to do, but that will wait for a week or two while I take a little break.
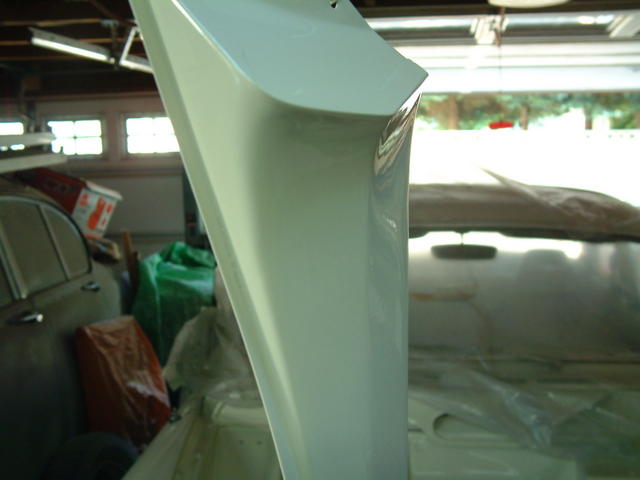
Here's the shots.
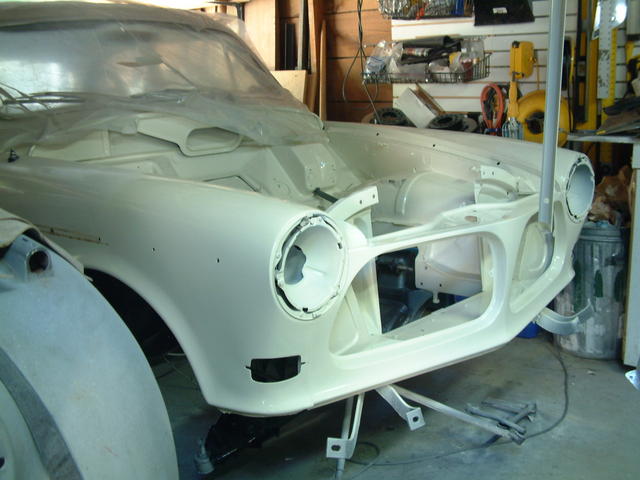
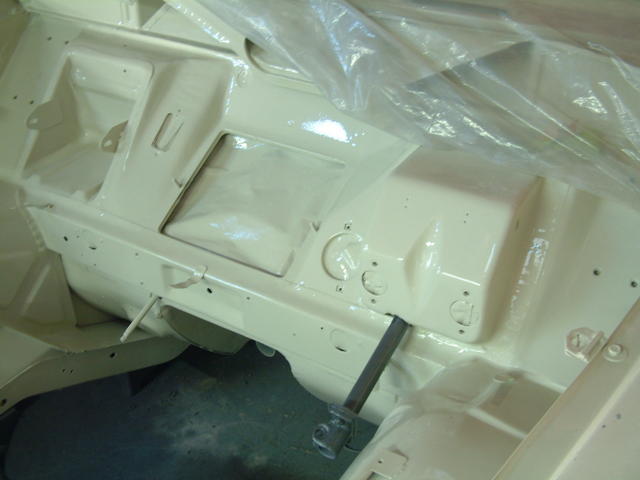
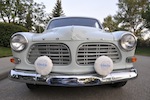
White is hard to photograph.
I'm now working on getting the interior panels installed and starting to put it all back together. Let the fun begin.
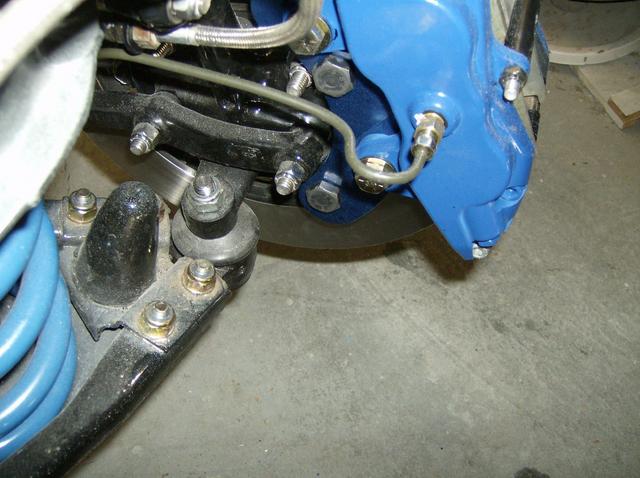
The brakes are finally installed and ready to go, still no engine but at least this part of the puzzle is finally off the drawing board and installed in the car.
Here you can see the brackets from the back side and the new brake lines.
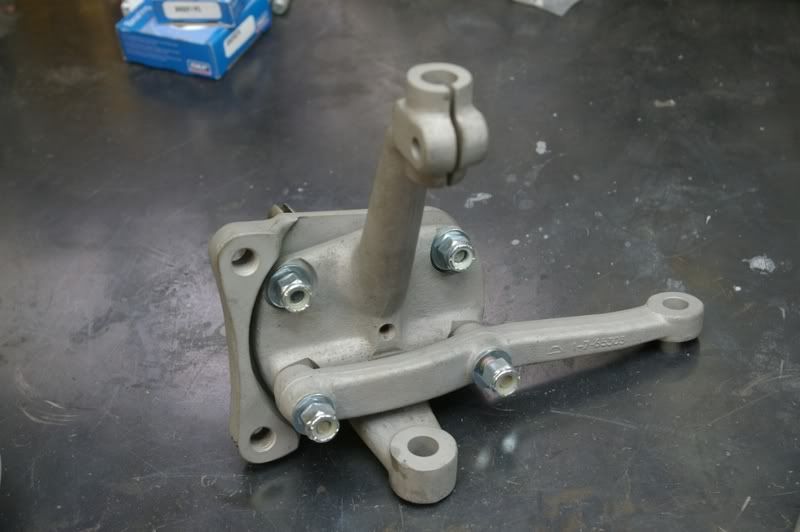
Front suspension all rebuilt and as perfect as I can make it.
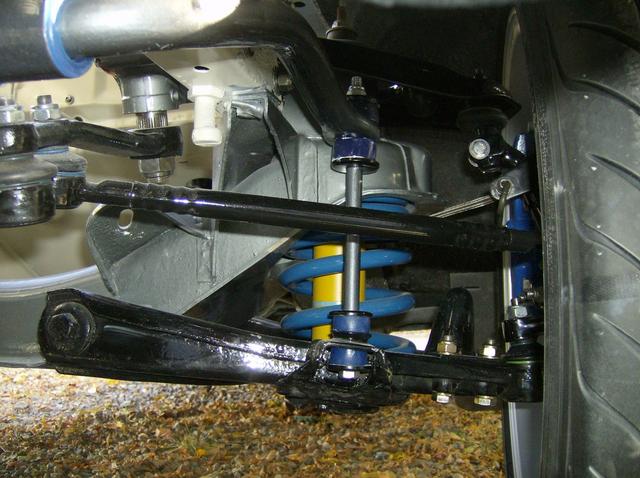
Other side. There is some rubbing at full steering lock, but the wheels are 7" wide for heaven's sake.
View of the front with the relocated horns and relocated oil filter.
For those that are wondering...yes those are 17" wheels, plenty of room for even larger brakes. I'm pretty sure these will be enough to slow me down.
Here they are from the side. I've added the Volvo hub caps and the brakes are sporting Q-Matrix pads.
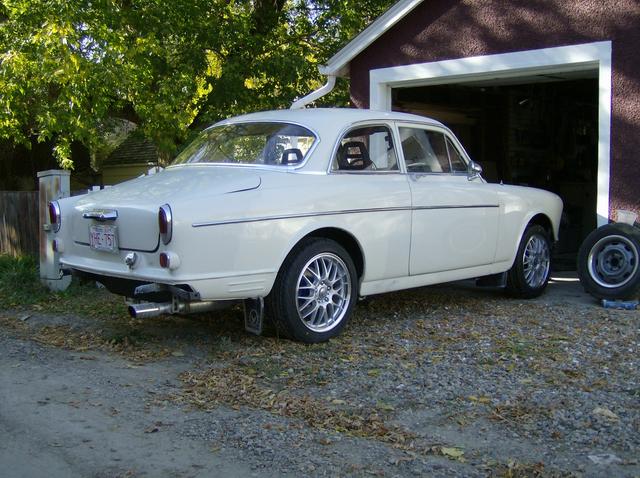
Rear brakes, now you can finally see them.

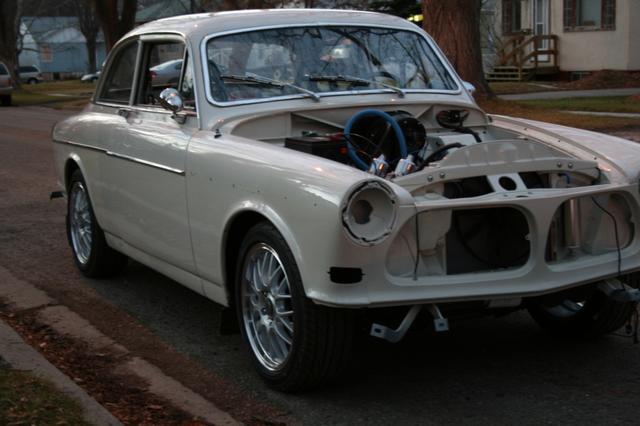
Here's the view from the side - I'm liking it a lot. Definately not the look I was going for, but I like it.
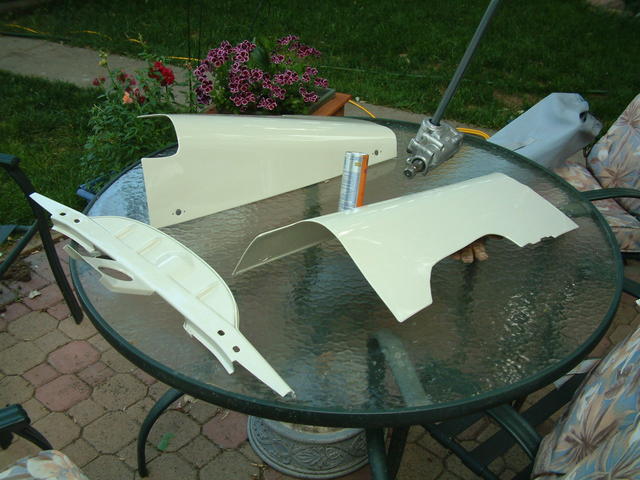
Here's my fender cover in place and painted...I polished it up a little. Looking very clean under the hood.
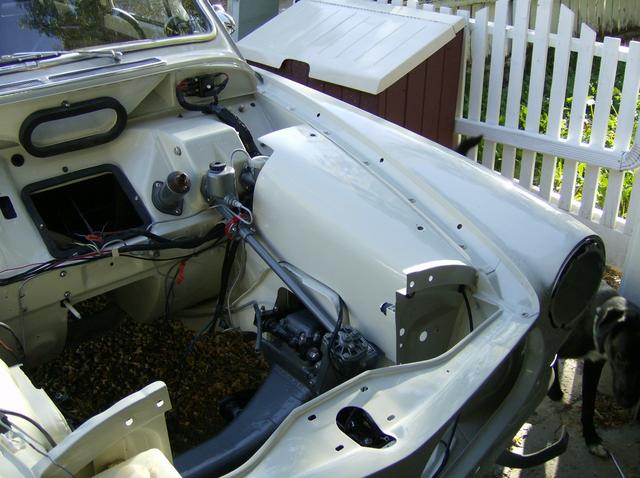
And last but not least, by diff cover had a little leak, so I replaced it with this cover from Summit Racing. I painted it with PPG DCC Black and then brushed the ribs. The ribs needed some modification to clear the panhard rod. Looks loads better than the polished bling most go for.

Now all I need is my damn engine.
I spent the weekend getting the engine assembled and managed to get it installed with the assistance of Greg and Dale (Volvoshredder and Pylon). Here's the overall shot of the tight working conditions. Made tighter by the installation of 2X4's to keep the roof from collapsing. The overhead crane I build worked perfectly, but I sure was happy to have 3 sets of hands to get this damn thing in. Painted stuff makes me nervous.
After a long weekend of work - Greg (volvoshredder) and I got the 122 fired up and running tonight. I ran it for around 20 min at 2000 rpm or so to break in the cam. Still lots of tuning left to do and maybe put a bumper on it and a hood. But I'm real tempted to go for a rip. The throttle response is wicked - never had a B anything that snaps like this one - lightened internal and a lighter flywheel helps of course. On to the vids. Mosty in the first one you can hear the e-fan...it's jumpered to stay on at the moment. The second it the exhaust note.
<object width="425" height="350"> <param name="movie" value="http://www.youtube.com/v/3JjHVnjlqPc"> </param> <embed src="http://www.youtube.com/v/3JjHVnjlqPc" type="application/x-shockwave-flash" width="425" height="350"> </embed> </object>
<object width="425" height="350"> <param name="movie" value="http://www.youtube.com/v/IxTZauMt008"> </param> <embed src="http://www.youtube.com/v/IxTZauMt008" type="application/x-shockwave-flash" width="425" height="350"> </embed> </object>
This past week was a little nuts with carbs coming on and off and on and off again...Saturday I got the new fuel pressure regulator installed and built a new hardline for the engine (new flex lines were required as well). Dale (245GTI) came down from Calgary to lend a hand (2.5 hour drive!) and brought his fancy camera.
Here's the new lines, pressure gauge, and FPR installed.


We then hooked up the 4th gear lockout switch and the reverse lights...things are insanely clean.

A few details.


Then we bled the clutch and brakes and went for a drive...who needs a hood, headlights, turn signals or bumpers?
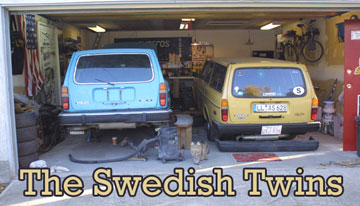
My two 2-doors meet for the first time...

Back to the garage...for more finish work...fast. The transmission shifted great, brakes are very good, valves need to be adjusted again, and I've got an oil leak out the valve cover (IPD rubber gasket is terrible).
I thought I'd post the results here just to add to the history.

All strapped down and ready to go...on to the videos.
This was the pull to 6000 rpm...cam gave no signs of giving up...
[url="http://www.youtube.com/watch?v=_ahajtQaMz8"]http://www.youtube.com/watch?v=_ahajtQaMz8[/url]
So we stepped it up to 6500 rpm.
[url="http://www.youtube.com/watch?v=eimDHKyvNHs"]http://www.youtube.com/watch?v=eimDHKyvNHs[/url]
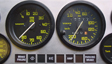
And the results are...Max power 133.2 Hp (wheels) @ 5980 rpm with 135.1 ft/lbs of torque @ 4450 rpm.
AFR's are showing rich (with goofy stuff after 5000 RMP)) - so I'll have to find a leaner needle - yes this thing runs SU's.

This image shows the torque and HP curves better.

That about sums it up.
Craig

Here's a couple of shots of the engine in it's new home.


Now I've got to get the lines made and finish the electrical install and a few other things need to get reassembled. Should fire it for the first time next weekend.
Fingers crossed.