OK - here's my shot at chronicling this adventure. I haven't found much on the interwebz for doing this step by step. It's usually described as being "easy" so let's have a look at how easy this is likely to be. To start this adventure, let me begin by saying that there is nothing wrong with the M41 in the car, I'm just doing this "upgrade" to ensure I don't want to change it later and find that it won't fit into my car.
The following were acquired at various points in time in the near and distant past:
1. 240 transmission tunnel - because you need something that has a rear shifter location.
2. T5 adapter and clutch fork with throw-out bearing and new pilot bearing.
New parts:
1. The dirty T5 from a late 1986 5 L Mustang - that makes it a World Class T5 (as do the tapered roller bearings).
2. Short throw shifter from MGW (
http://www.mgwltd.com/mustang_shifter.shtml)
3. Rebuild parts from Astro Performance (
https://astroperformance.com/)
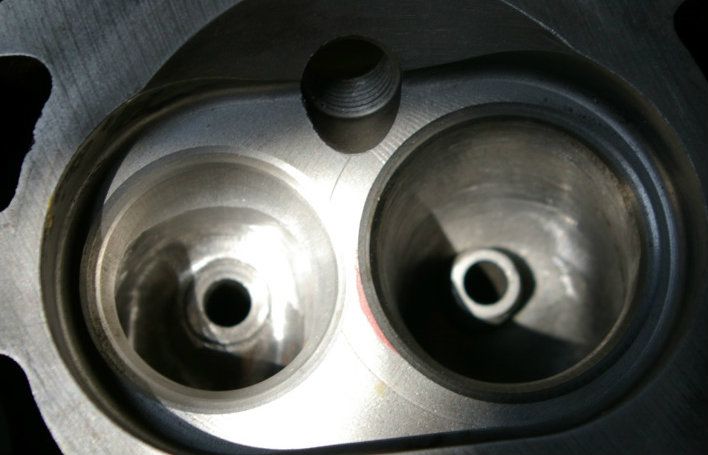
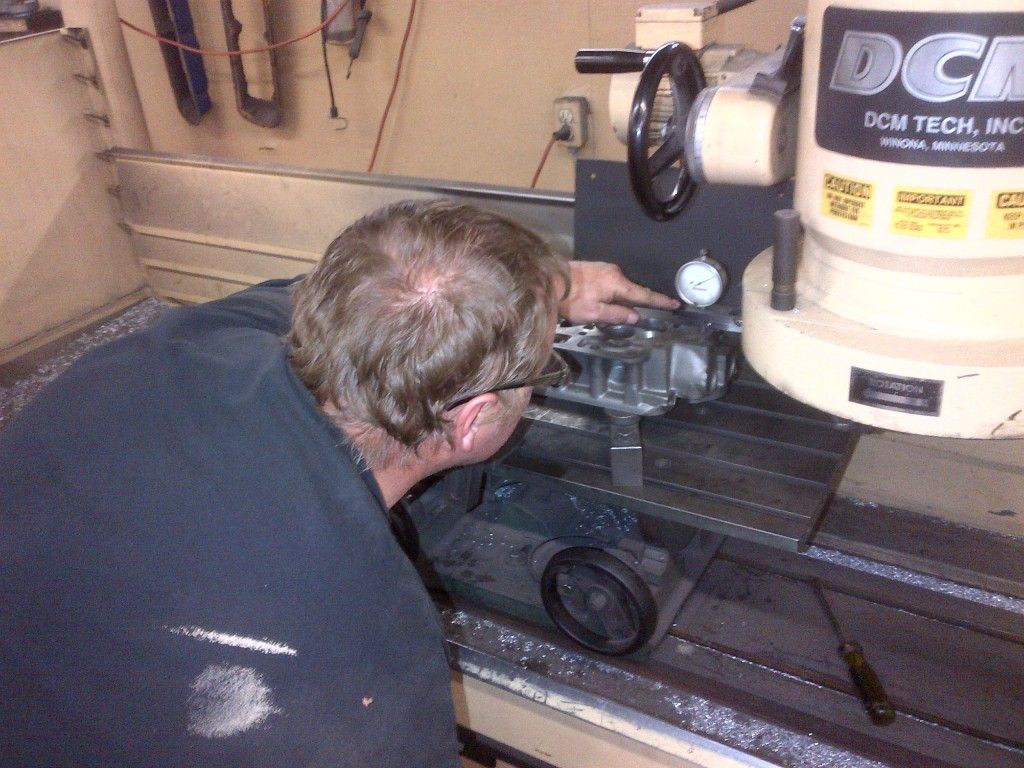
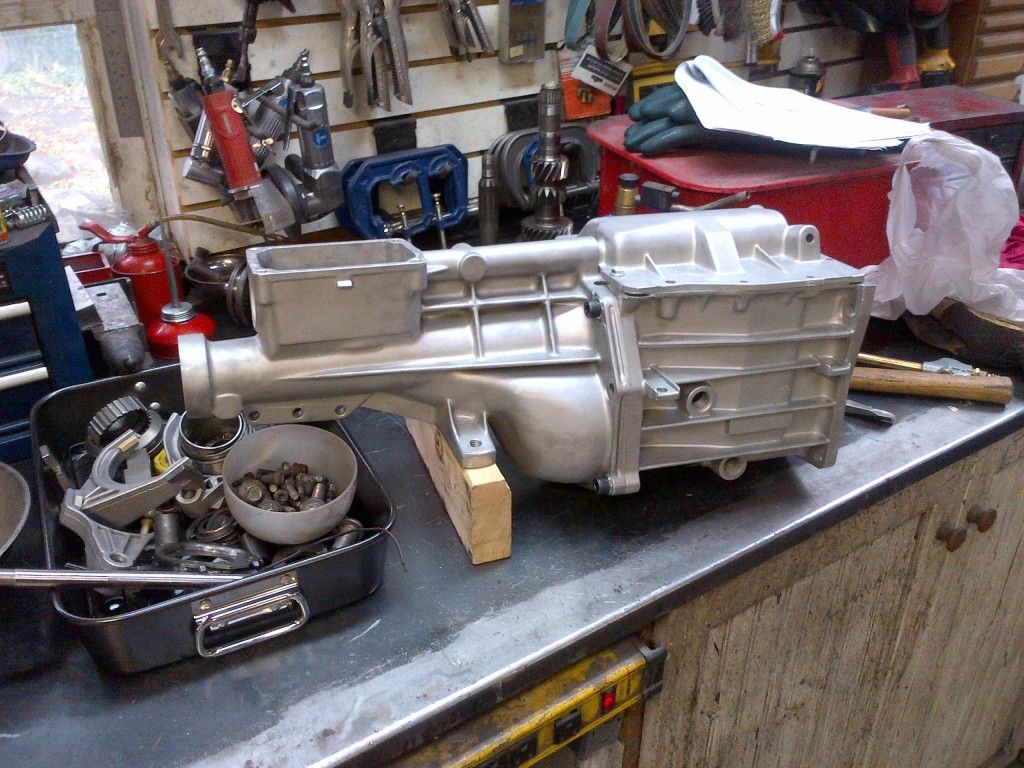
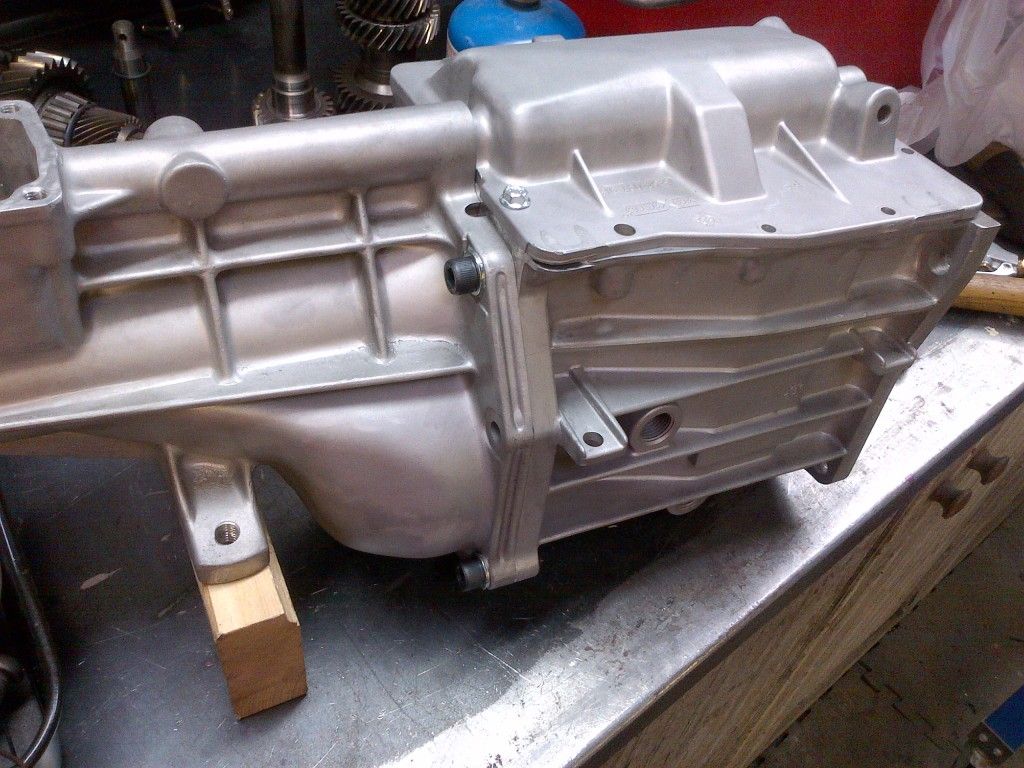
Here's what it looked like at the start - Ford didn't use gaskets apparently!
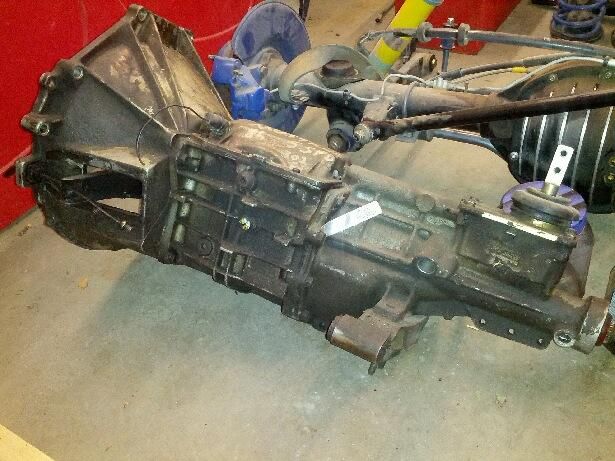

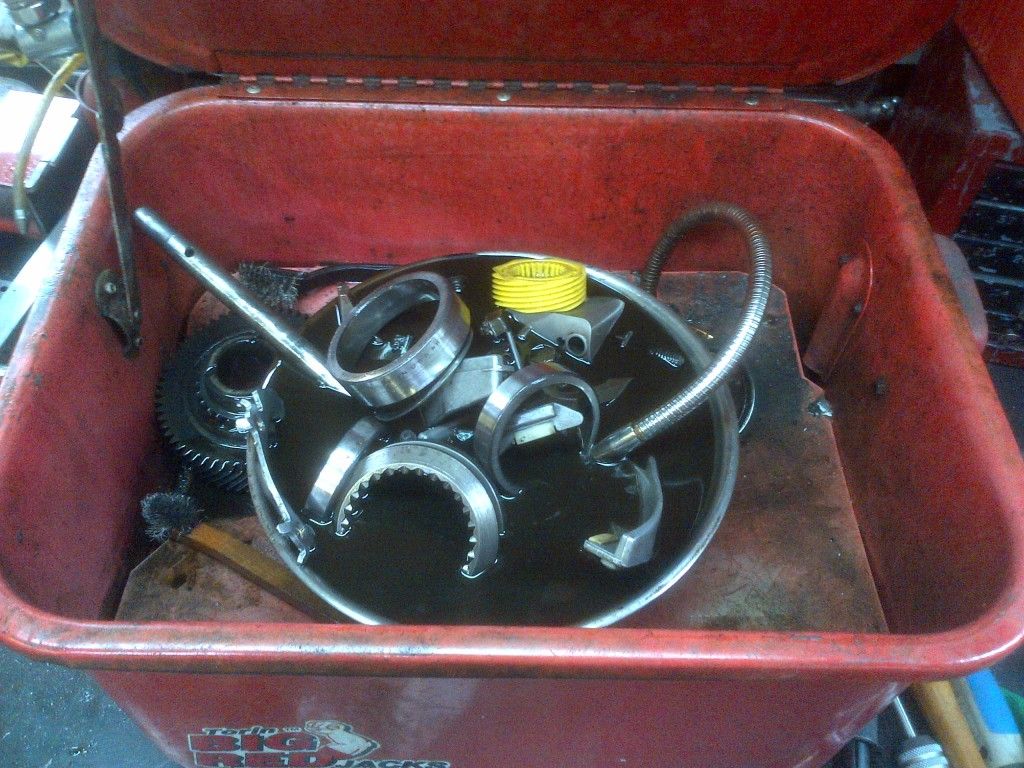
7 cans of brake clean later and it was clean enough to take home from Matt's garage.
The tranny was then stripped and cleaned. I read the manual after, but it wasn't very hard. There is a couple of roll pins to knock out of the shifter and then the transmisson cases could be separated. The top cover is easy to remove (and this one has been rebuilt - so breaking the RTV "gaskets" was ok as the rebuilders didn't really know how to use RTV and the bolts were easy to remove as they were never cleaned so the thread sealant over old sealant wasn't presenting much difficulty).
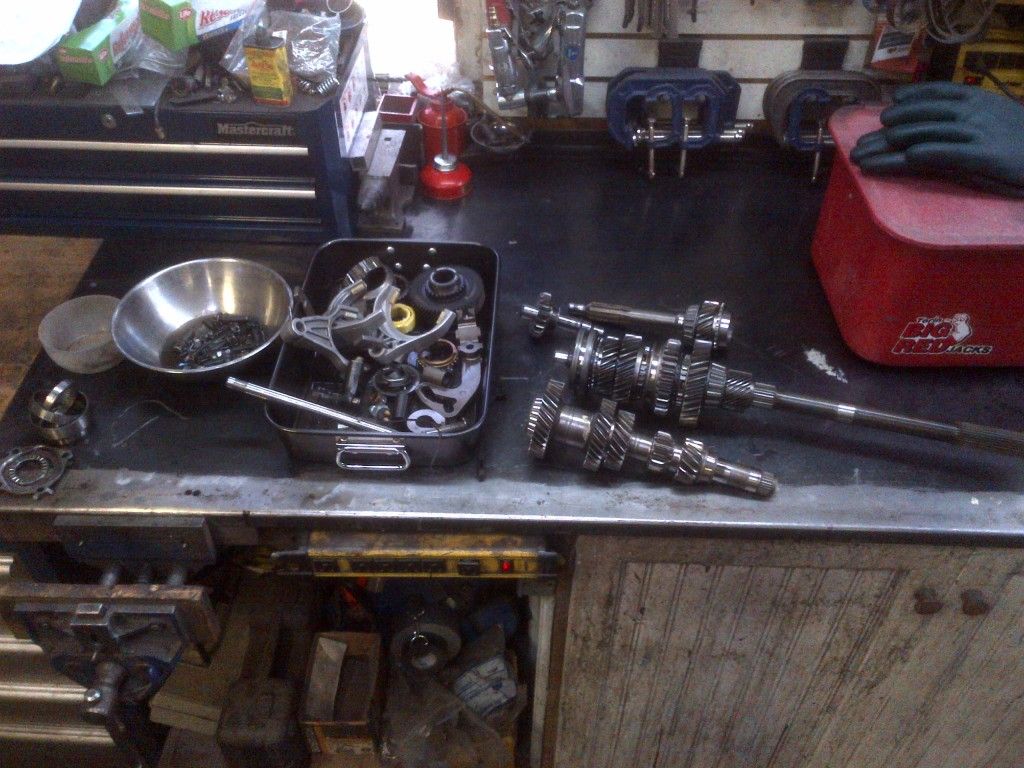
The bearing retainer was removed when the bell housing bolts finally gave way to my impact wrench (different torque settings between bolts is a "feature" of this rebuild). The input shaft comes right out (with a pile of roller bearings - which will be replaced). Then the main input shaft was removed when the 5th gear fork, slider and synchro were removed (sorry no pics). The intermediate shaft was hard to remove as the bearing cage on 1st has to be broken to get it out. I don't think these bearings were ever replaced. The races had ridges and were probably fine, but the rebuild kits include new bearings for a reason.
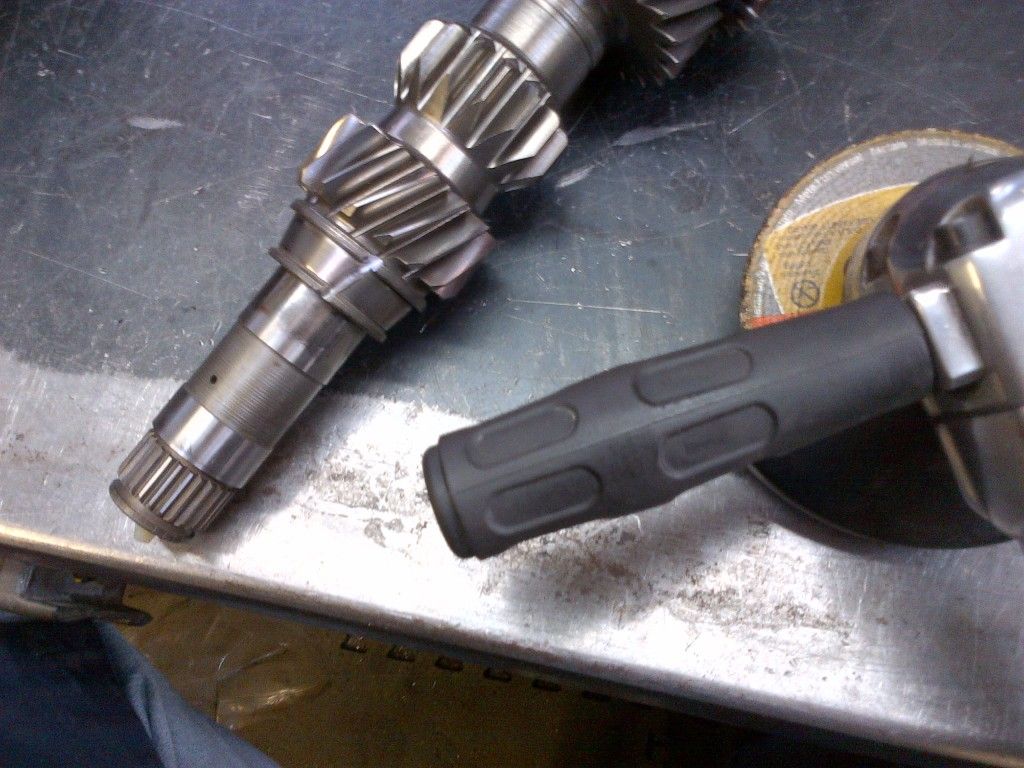
Inspection time (with pics). Things to remember when rebuilding transmissions - the gears are constantly in mesh with the intermediate shaft. The nasty crunching noise you hear is NOT your gears clashing when you miss a shift, it's the shift dogs that allow the gears to syncronize speeds. They are little things and damage easily.
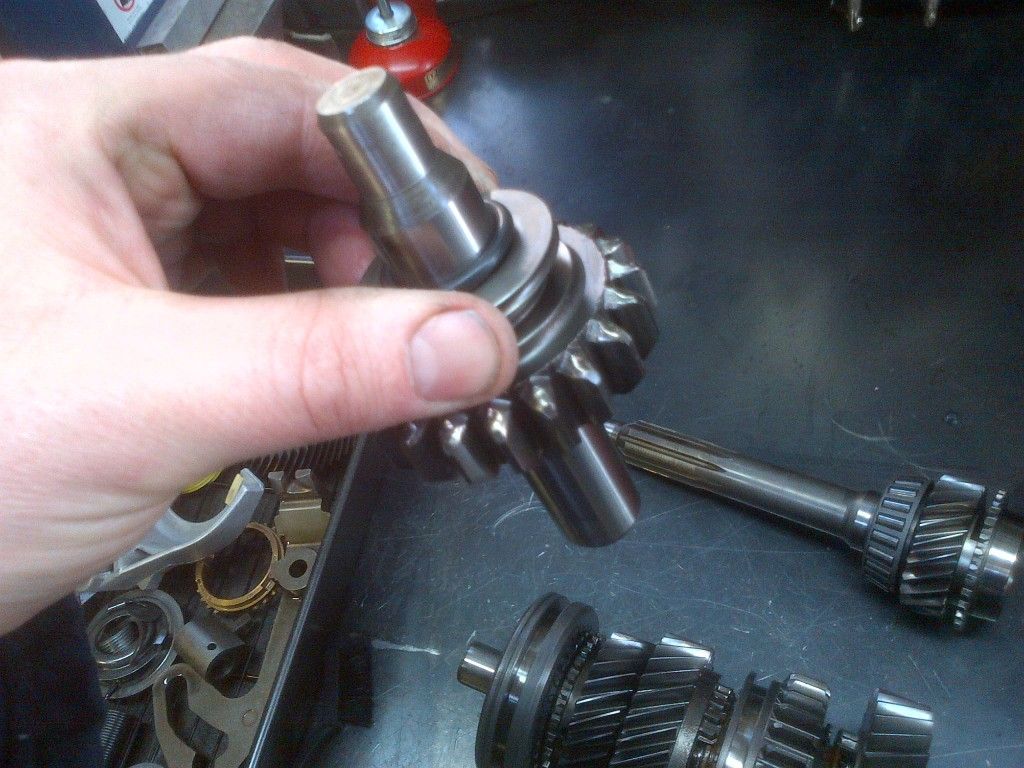
Here's the main shaft:
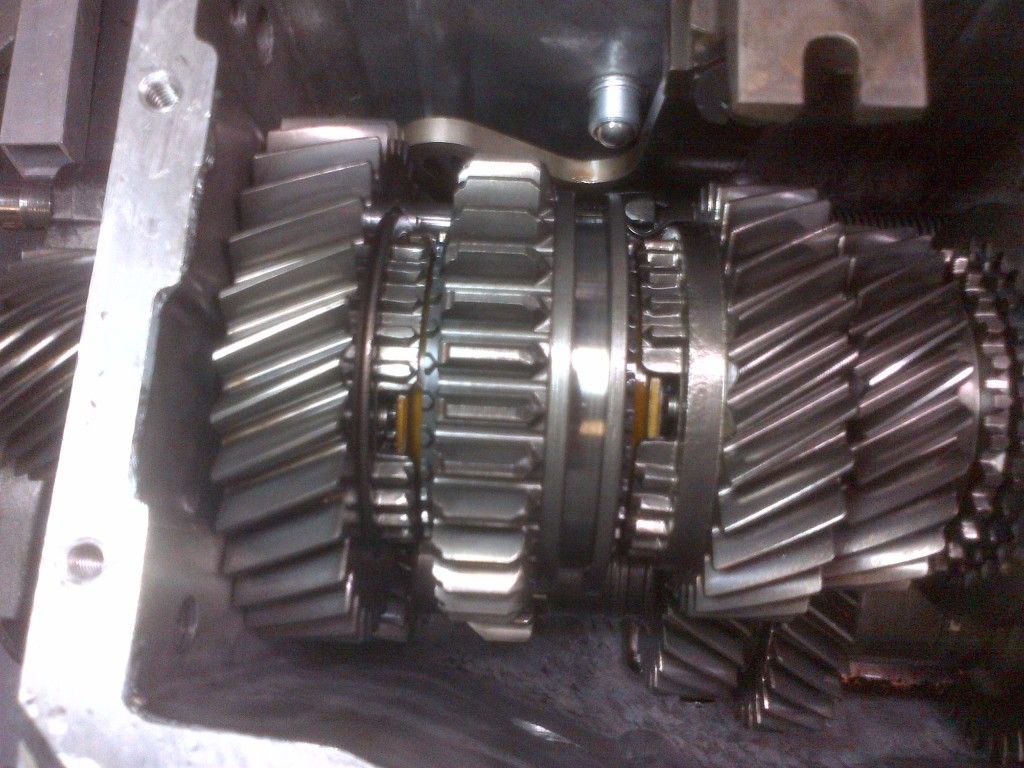
Note that it's pretty clean in the trans case - this is a good sign.
Let's see those dogs:
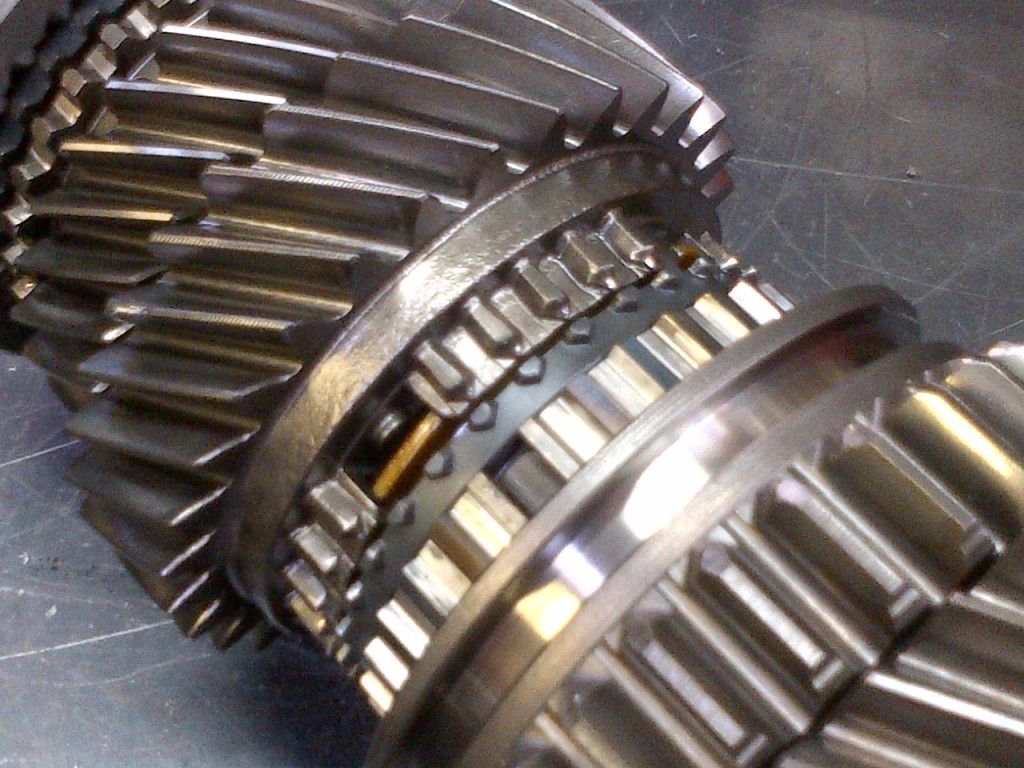
The black ring is the syncro (looks new) and the slider has the grove that connects to the shift fork. Second gear is in the middle of the frame and you can see how the ends of the dogs are not pointy. The wear here would lead to a difficult 1/2 shift (slider moving from back to front). These dogs mate to the slider - so if they're looking like this you have to replace both parts. Gear was $132 and the slider was $45. Third gear wasn't bad, but while I was buying stuff, I replaced it as well.
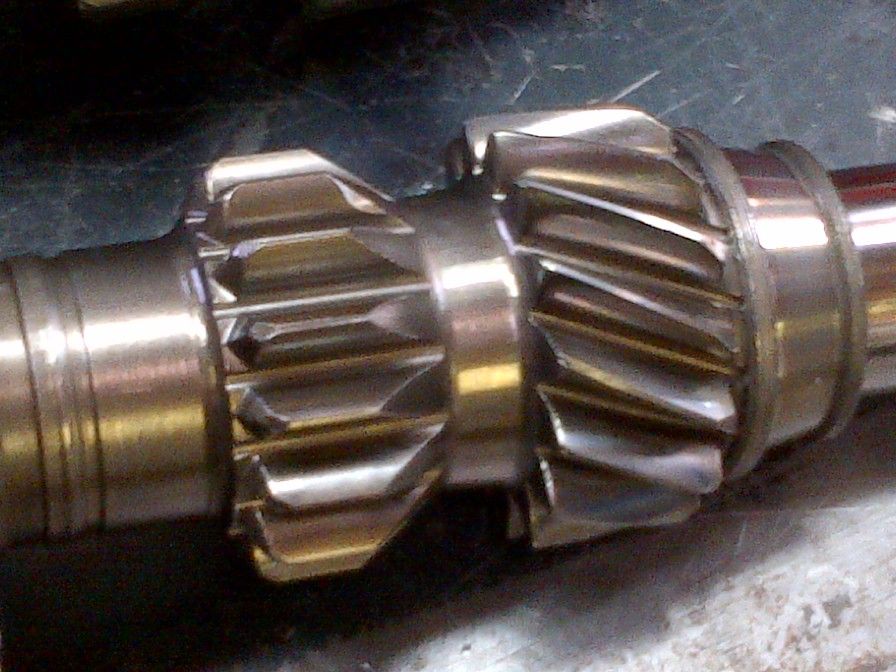
The reverse idler gear also gets some abuse and I don't like transmissions that have hard to engage reverse gears. So it gets tossed as well. Note the rounded leading edge of the teeth - not good.
Inspect all gears for chips and wear. They should be fine, but aren't particularly expensive if you have any doubt, replace. Everything else in my transmission seemed fine. I'll be deburring them a little better than the factory did before everything goes back together...but it's not needed.
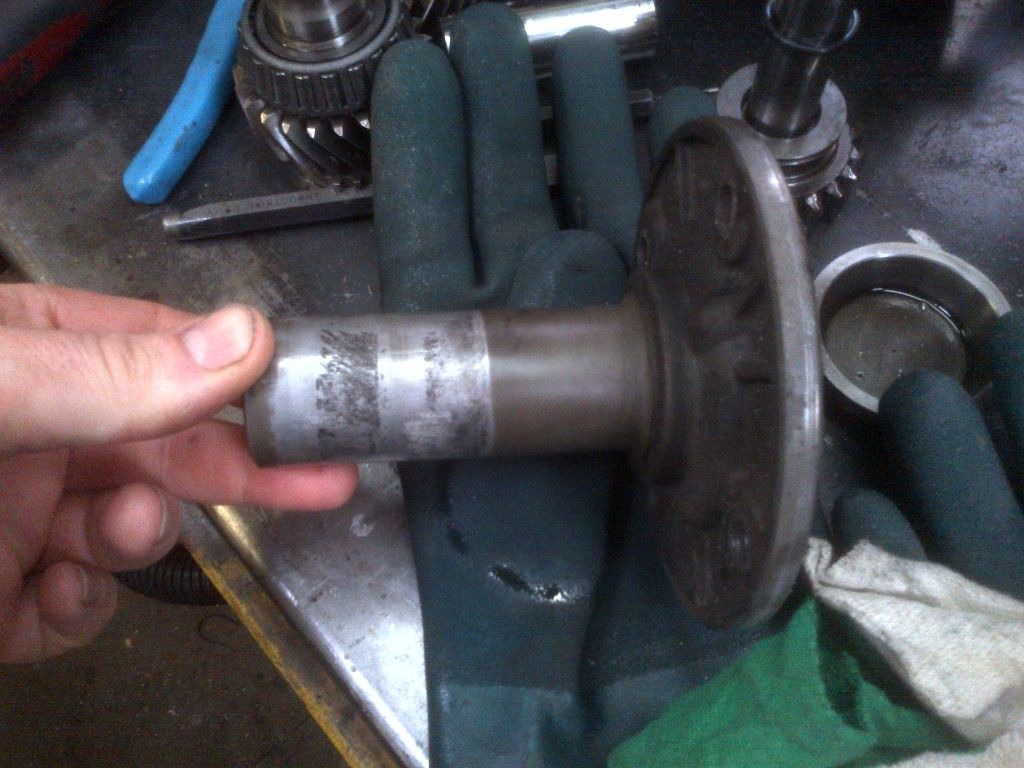
Parts like this bearing retainer and throw out bearing guide are subject to wear...why keep a part like this when the scrap guys will give me a nickel for it?
If you're considering this sort of rebuild, it's good to keep in mind that a Ford Racing rebuild is only $1600. Now let's consider that you're doing this for the long haul and are replacing the bearings. They all have to come off and they all PRESS on - so getting them off is difficult. I have taken a lot of bearings off in my life, so I figured I'd share.
There are three different approaches:
1. Once the cage and rollers have been removed (grind, pry etc.) - if you can get a cold chisel on the edge of the bearing race, you can tap them off.
This bearing inner race was removed this way. Just tap it out.
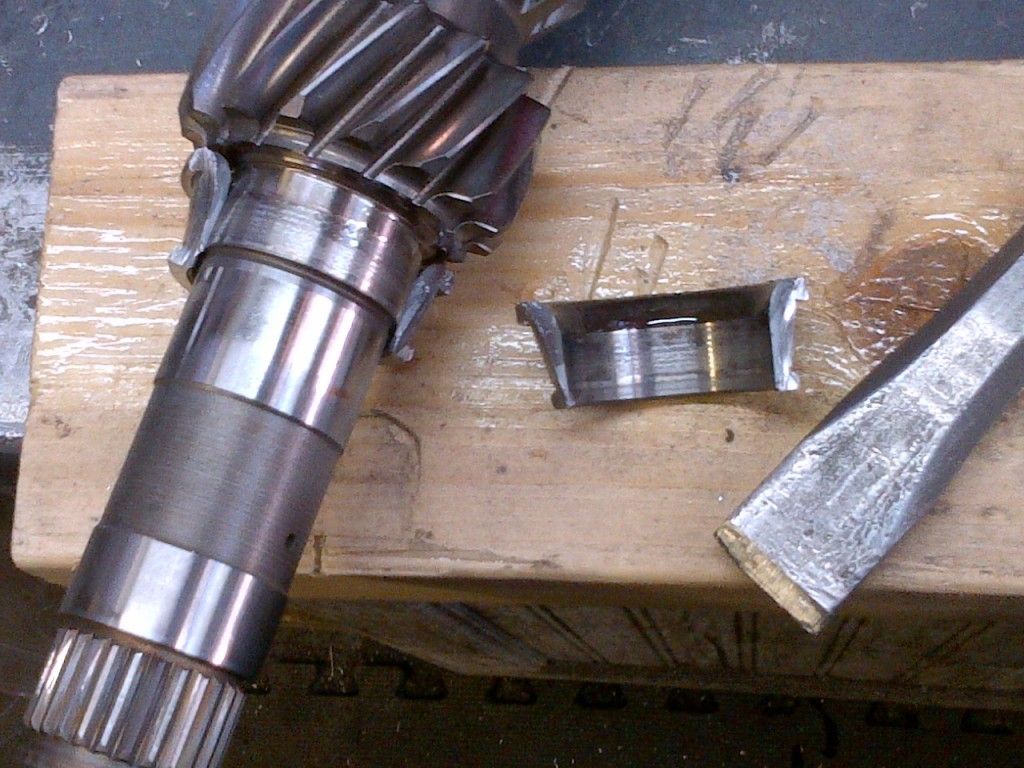
2. Cut a grove on both sides of the bearing with either a grinder or cut-off tool, insert cold chisel into the grove (don't grind too far and hit the shaft). Give it a whack (supported by wood) and it will break like this.
3. Use a bearing puller. No pics - works like a bearing puller for heaven's sake.
OK - now for some cleaning, and there is a lot of cleaning (like 2 full days) to do for this job.
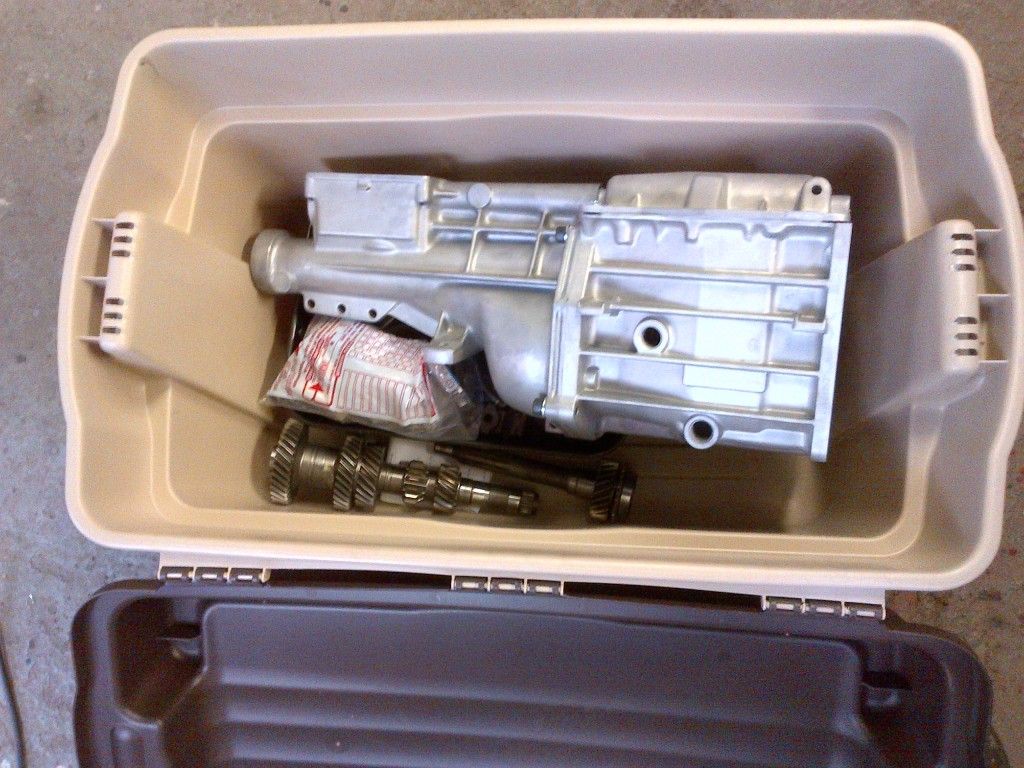
The case was bead blasted once the crud was removed. You can't blast grease - so it's got to be clean before it gets blasted. Into the blast cabinet it goes for stage 1.
There are three parts to do - here they are done.
Looks like new.
Then all threaded holes are chased with a tap (they were filty) and all parts were deburred. It seems that Borg-Warner didn't believe in deburring anything! Sharp edges everywhere. They all were dealt with as well as some smoothing of casting flash that will shred you during installation. I also noticed that many of the clearance holes were not deburred. Technically, if two faces meet and one face is threaded, then the clearance hole needs to be relieved so that it doesn't restrict the hole deformation during torquing. All threaded holes are countersunk for the same reason. I'm not surprised this detail was missed - but I did it anyway. The cases are sealed with RTV, so they have to be flat as well, a quick once over with a file ensures that the faces are perfectly flat.
All other parts are tossed into the parts washer and varsol soaked with the pump running over night. The result is very dirty varsol and some moderately clean parts. Varsol is then tossed (you can't clean parts with dirty cleaner) and the parts are further cleaned with brushes.
Bolts and other filthy things are subjected to another separate washing (gotta keep the clean fluid clean). Clean parts are placed in a tray (cheap at Can Tire at Thanksgiving time) with a rack to dry. All parts are cleaned and brushed at least twice until perfectly clean.
So that's the entire deal on the first stage - all new bolts were purchsed (only 2 on the top cover that are special will be reused) - I don't care how much you like your greasy bolts, unless you have a good reason to reuse the old ones (and I cleaned them in case I need them) - they are junk and cheap to replace with nice new bolts. If you have to loctite bolts, clean new bolts are needed to ensure proper chemical bonding.
Everything is now put away clean with bolts waiting for my parts shipment from Astro Performance.
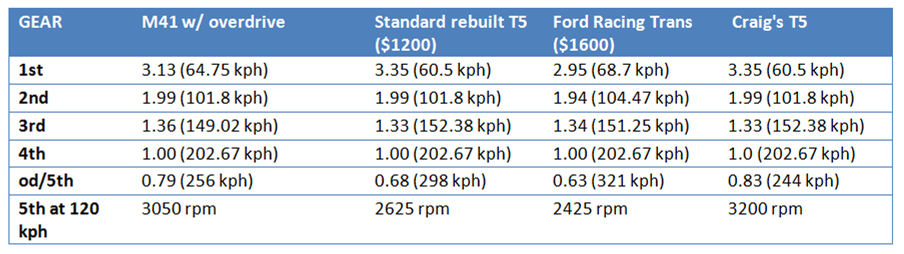
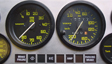
One part I couldn't get off was 5th gear. The stock overdrive ratio was 0.68...which is pretty tall. It's getting replaced with a Chevy set that yields 0.83 overdrive. Final ratios will look like this (6500 rpm redline with new 3.91 rear drive ratio):