Suspension Arms 101: Not that I actually know what I'm doing.The original subframe used eccentric adjusters to alter the toe and camber of the rear wheels. I didn't allow for this provision in my subframe as it's difficult to fabricate and I'd rather just complicate my life. So, I decided to go with adjustable suspension links in all positions (including traction bar). This will allow for complete control of the suspension adjustment within the stock geometry.
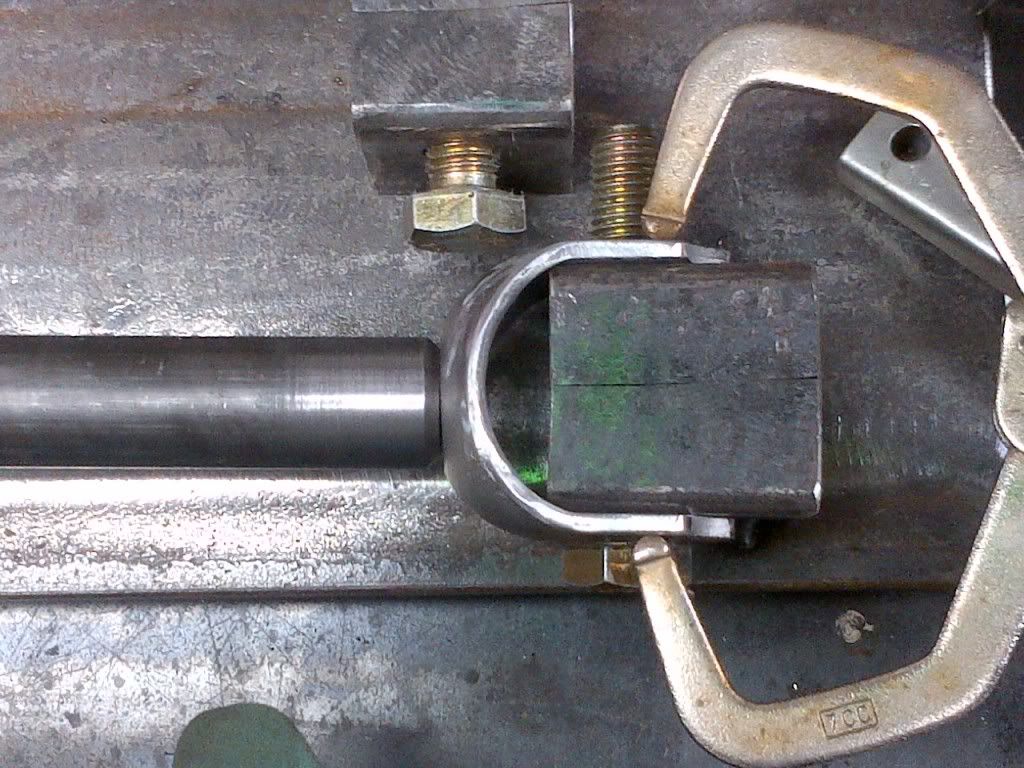
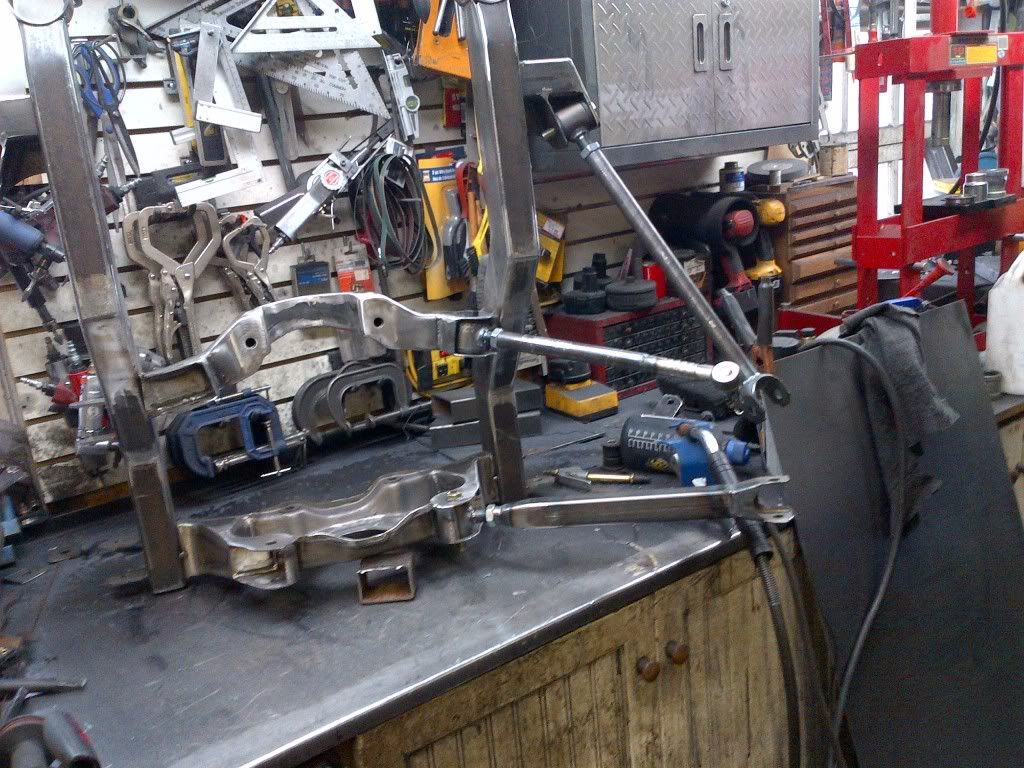
So we start with fabricating a very precise jig using the old arms as reference points.
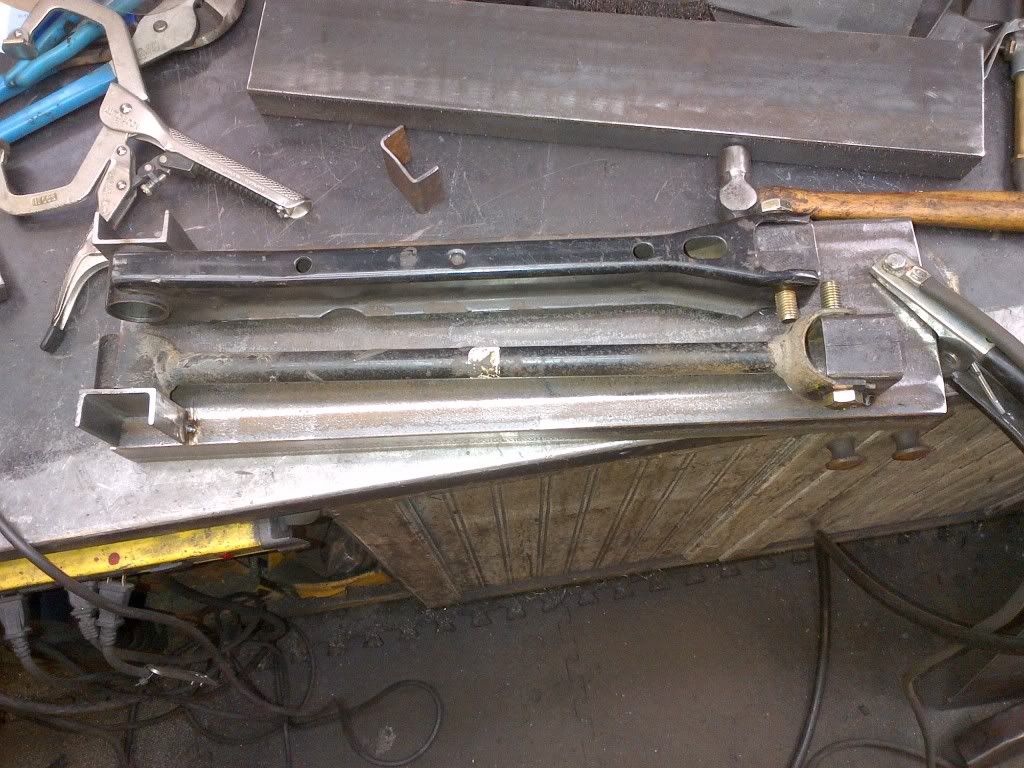
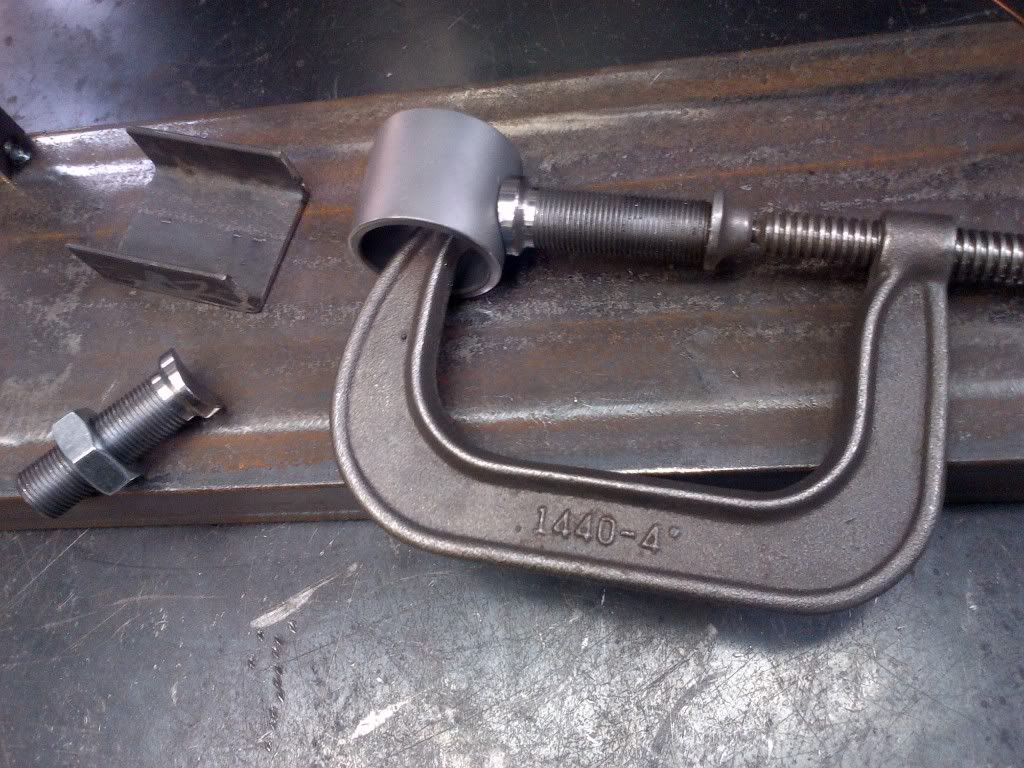
Side registration - sides are clamped and this register picks up the busing and allows you to get the arm out of the jig post weld.
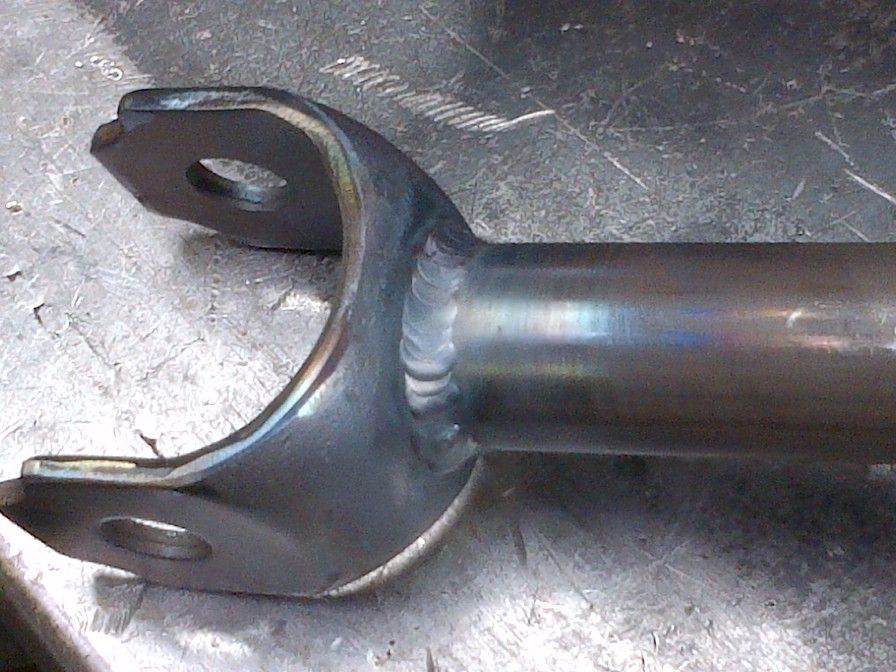
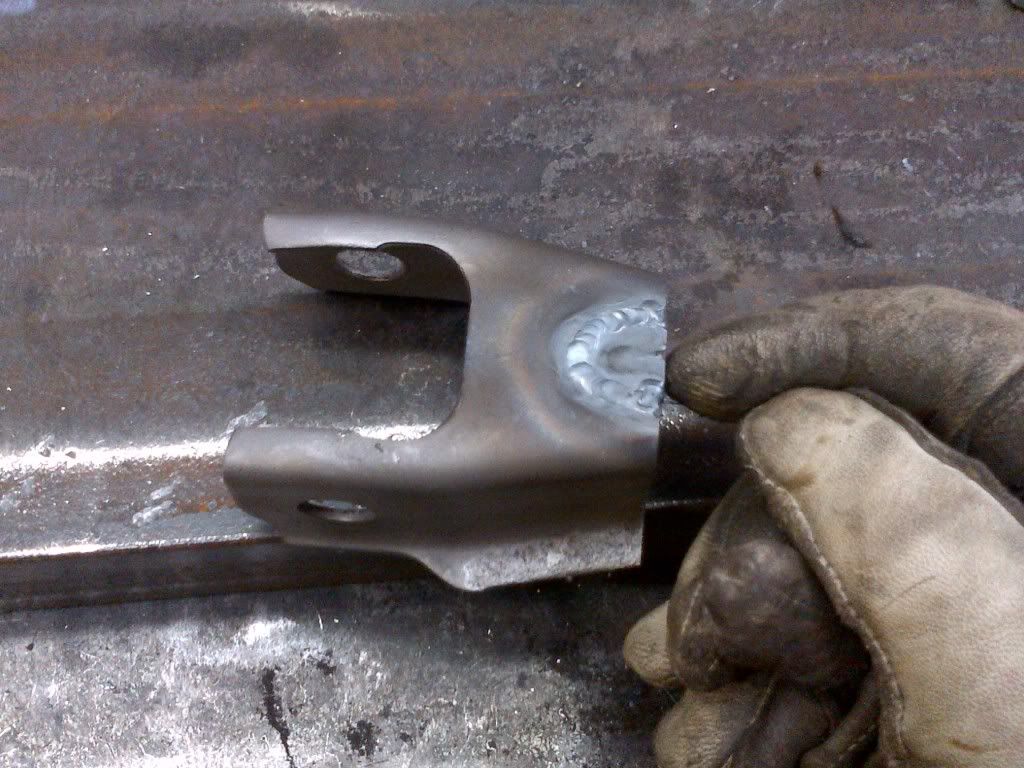
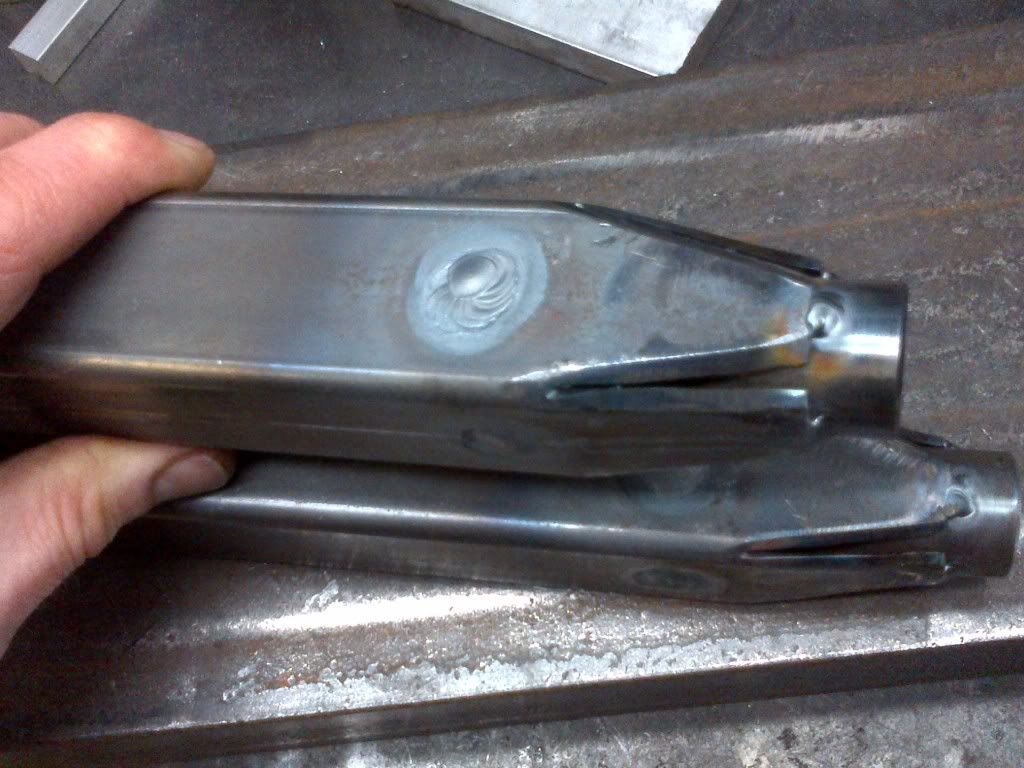
Cut and re-weld tube to make very tight fits to the arm brackets which will be reused instead of bending up new ones. The old ones are perfect and should save some fabrication time.
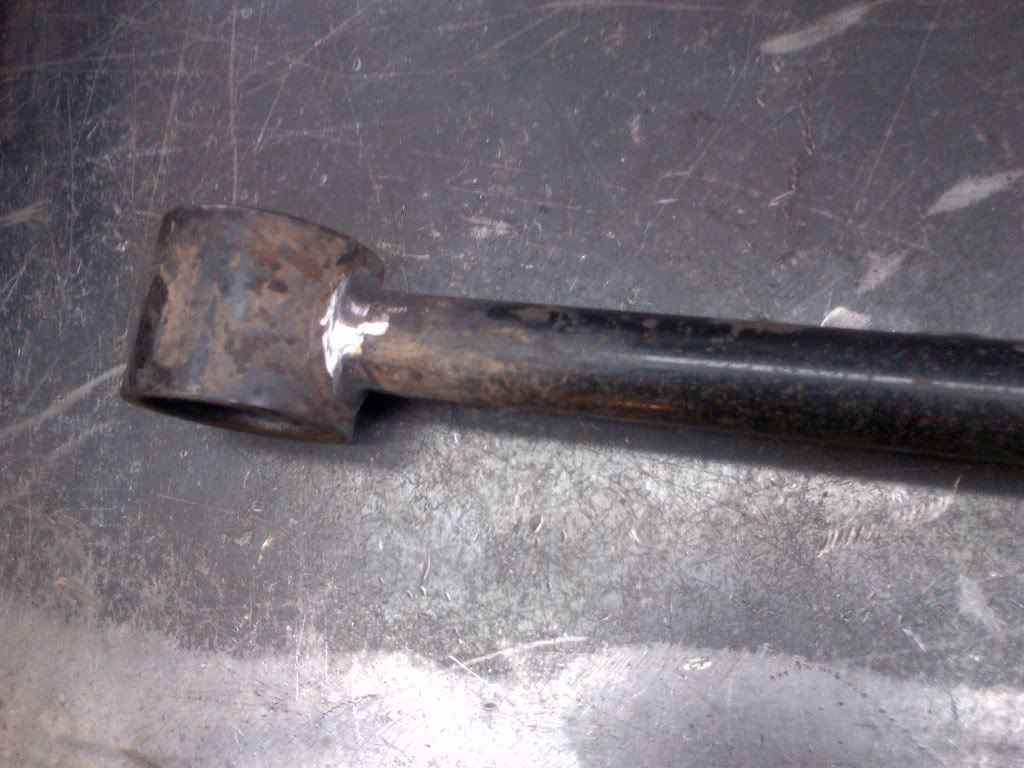
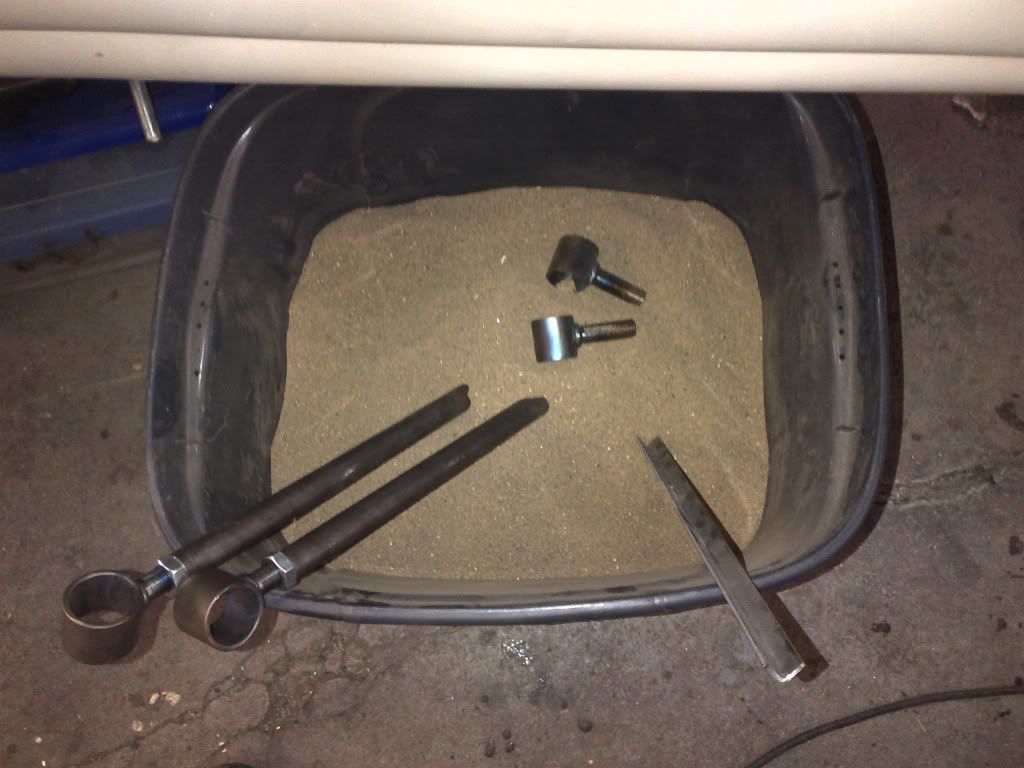
Grind off the old welds very carefully and then cut the old bars off...seamed tube - wasn't expecting that.
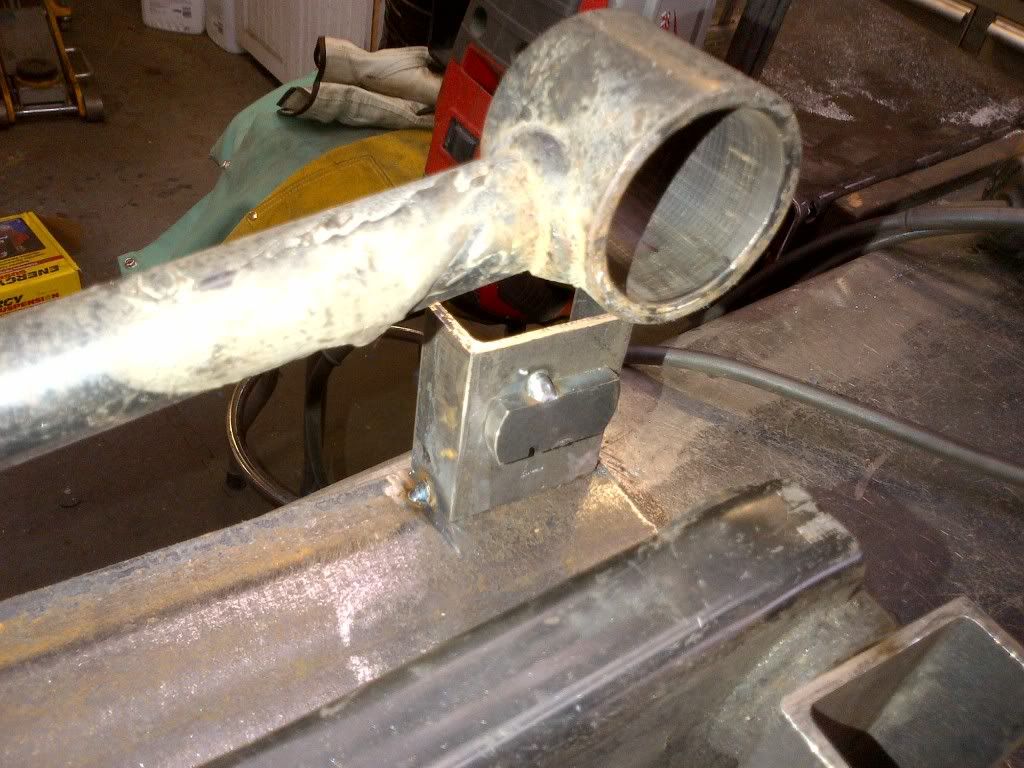
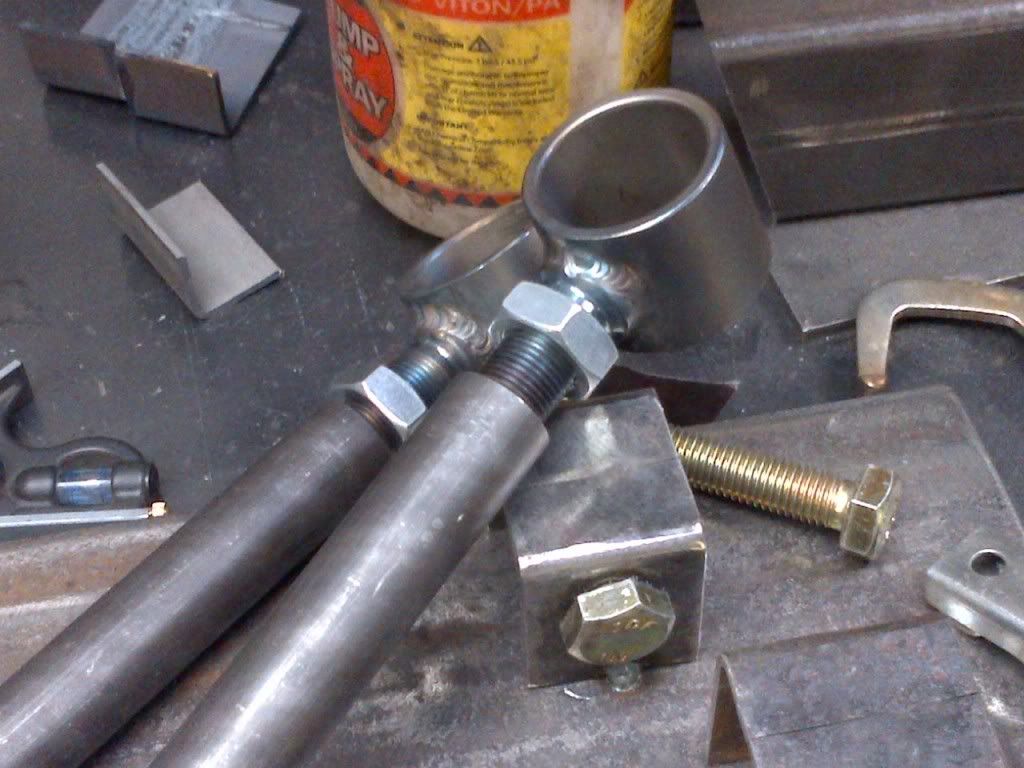
Bushing holders are then cleaned and blasted and fitted with 3/4-16 adjuster bolts. Bigger is better with suspensions as far as I'm concerned.
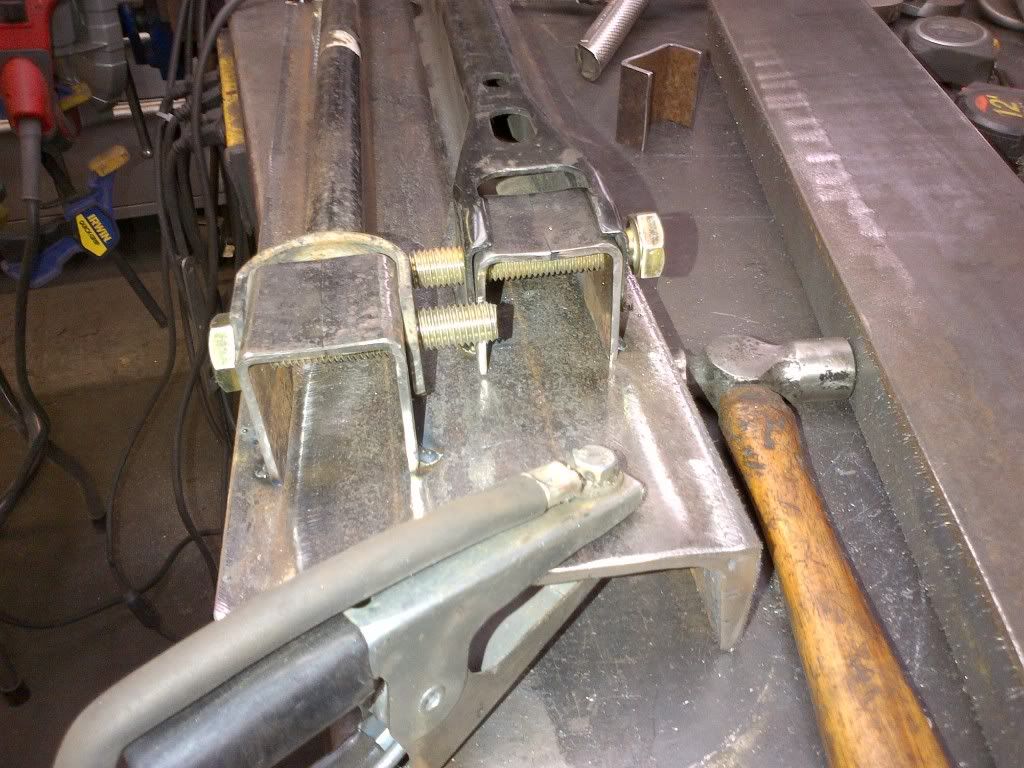
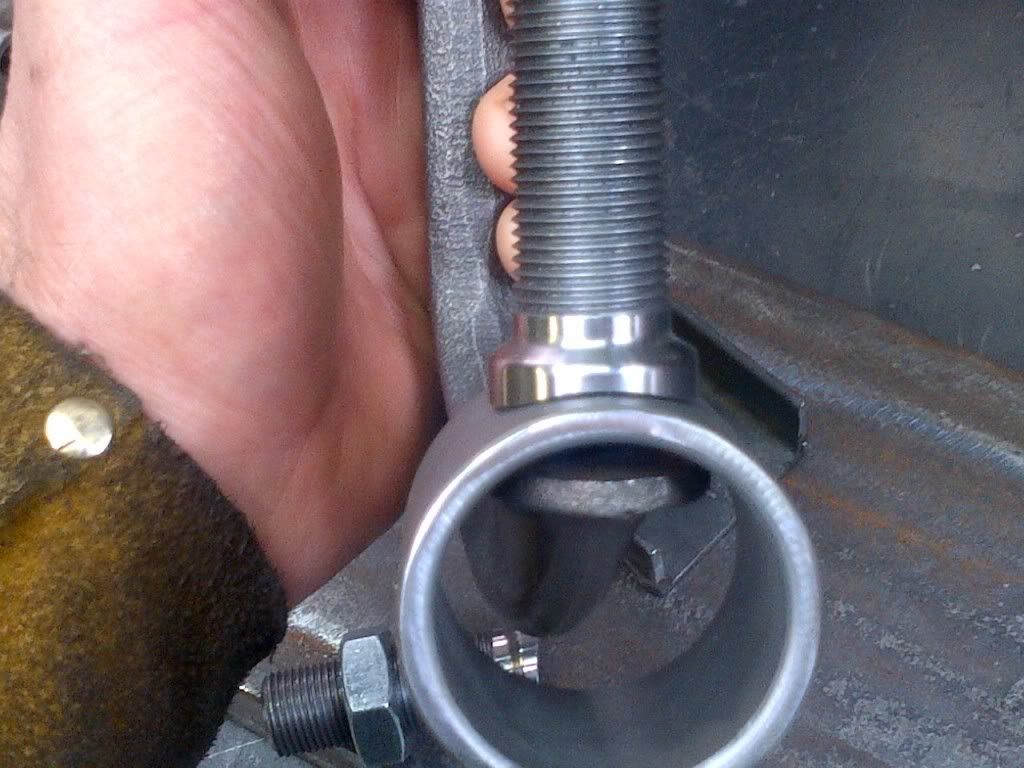
Careful fitting (this takes the time) before welding makes sure everything is going to come up roses.
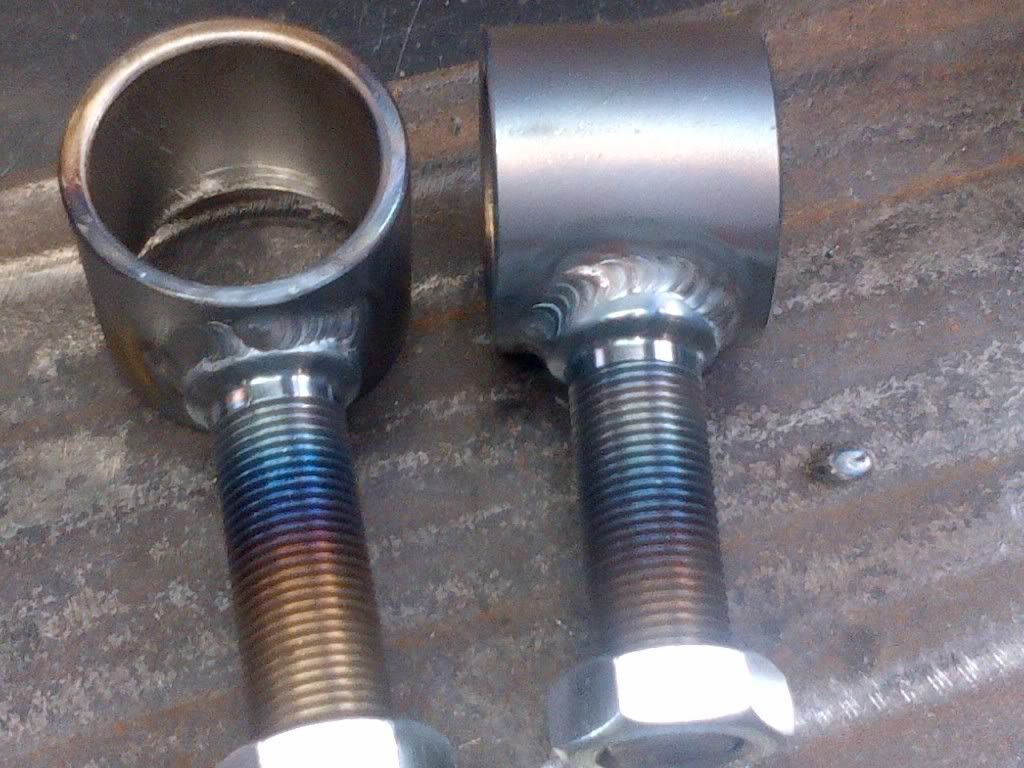
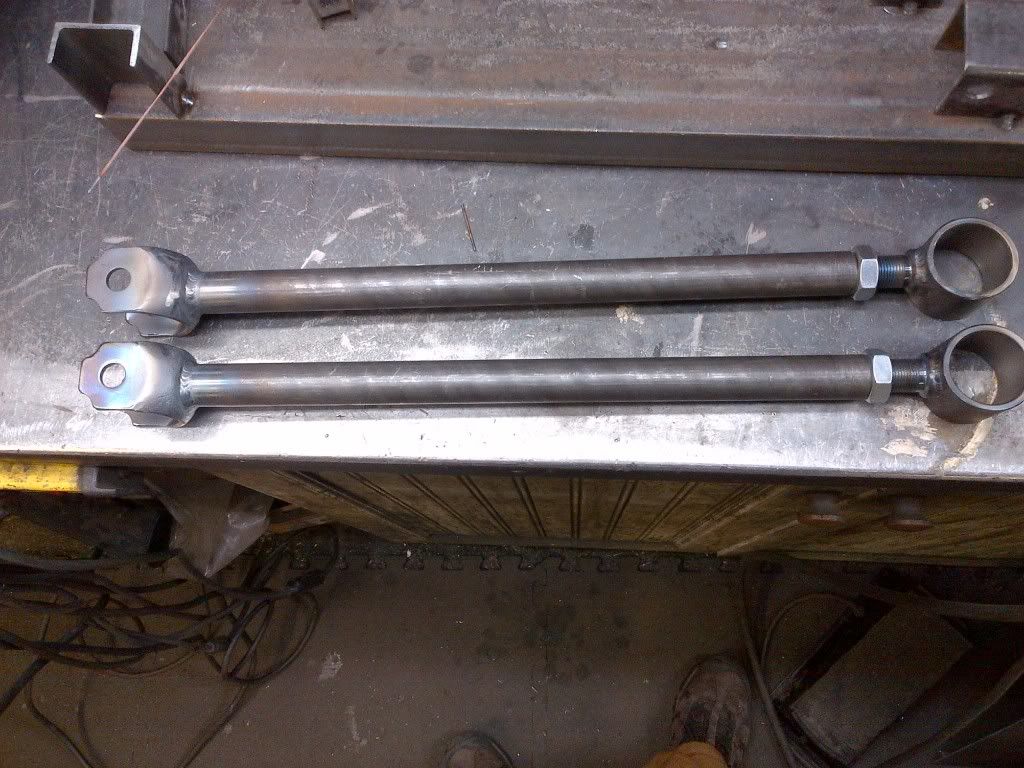
All TIG'ed and ready to party.
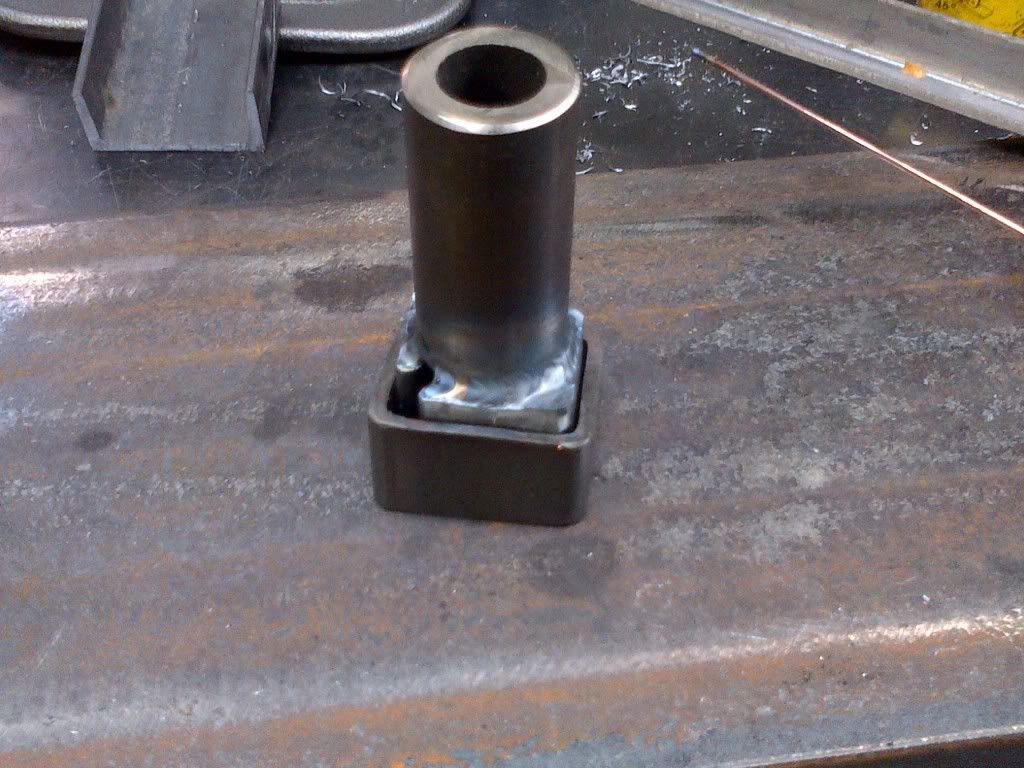
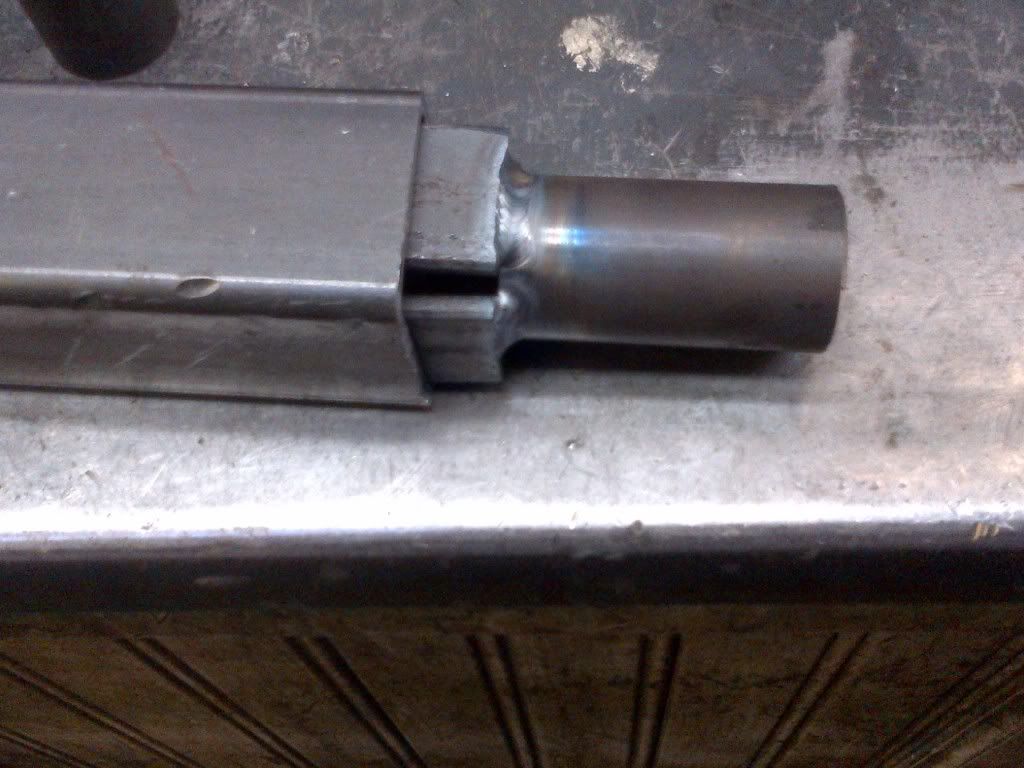
Cut and thread the DOM structural tube...didn't take pictures. Then carefully prep the area for weld with a good weld prep zone and use a little emery on the tube to remove any contaminants - these welds have to be flawless.
And bang - done.
Each set of arms took a day to fabricate (about 4 hours - I have a job people).
All welded parts are allowed to cool very slowly (about 1 hour or so) in my sand pit.
The camber links are next.
First fill a few holes.

Build a long threaded sleeve. I would have used nuts...but I had the tap and more threads are better - actually this allowed for the taper that I wanted.
Tight fit into the tube.
Plug welds and pie cuts.
And done.

For the toe adjuster, I stubbed the end of the original ball joint link with a steel shaft and fit it into the end of the tube. Followed by a good root weld and a cap with the TIG and it's strong as hell. No pictures for some reason.

Here are all the links installed. I had to modify the frame to accommodate the poly bushings as the originals were used for fabrication and the poly adds about 60 thou of width. Total PITA, but it's done. Next time I'll remember to fabricate WITH THE PARTS I'M GOING TO RUN - rookie mistake

.

 .
.