I've been playing with MIG settings and techniques for sheet metal. I will have to start a metal shaping/bodywork thread at some point in the near future, but in the mean time, I thought I'd share a few observations on MIG welding thin metal.
HEAT in the material is your enemy. It builds as you weld and if you're welding full penetration sheet metal - it's hard as you'll start to blow holes pretty easily and that get's old quickly. I've been developing my metal shaping skills and metal working welds so that they are flush with panels. This is sort of the holy grail of body work - panels needing little to no filler over repairs. If you can get your panels to fit really well, then you don't have to use much body filler and that's my goal. So I want a small bead. This is not what's usually produced.
The current technique for welding sheet metal successfully is to string together a large number of tack welds. This technique controls the heat input, reduces the risk of blowing holes in panels, produces a large weld deposit and is relatively easy to accomplish (relatively - you need to develop a feel for heat). This is by far the most popular technique, in fact my big Miller 252 has a specific setting that will allow me to lay these tacks without taking my hand off the trigger. It pulses the wire and is very fast and works great.
Now using this technique you still can't weld more than a couple of inches at a time as the front edge of the weld puddle is still gaining heat as you move. It's important to remember to get out of an area even if it's not glowing any longer. You'll be tempted, then start blowing holes, then get ticked off and frustrated. Not to mention a big ugly blob of nastiness to clean up with your grinder as you fill the holes. Then you'll pound the heat into the panel with the grinder, shrinking it more and probably be left with a thin, weak spot.
Some guys try to control this by cooling the weld with a blast of compressed air. Don't do this...it makes a hard weld even harder. Just move and stay relaxed - if you're starting to make a mess, stop...tomorrow is a better day.
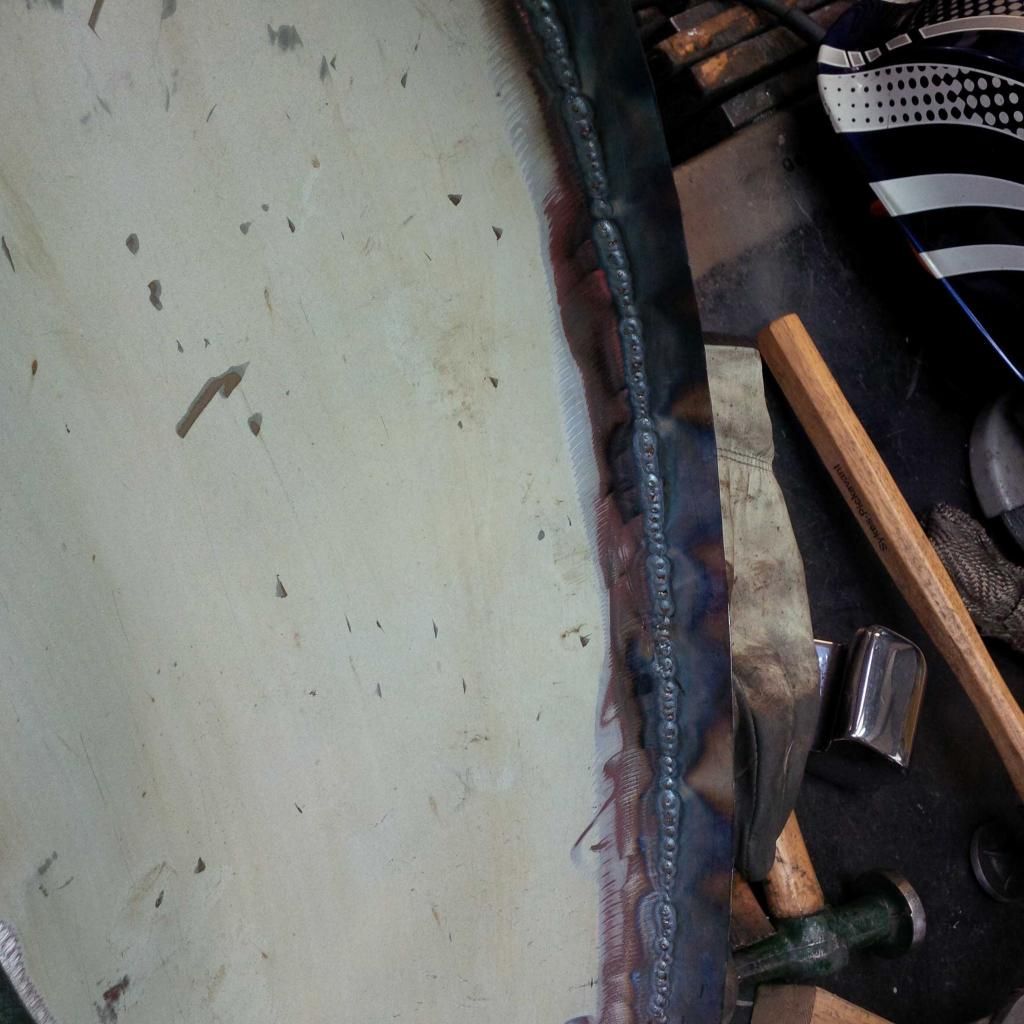
Here's the back side of a panel that I was adding a 3/4" strip to...this was welded using the multiple tack method. Note that there is no way to metal work this seam as the bumps won't form to the panel. They have to be carefully ground and planished to make them perfect. When you grind, only grind the weld. There's hardly any metal there to start with, it doesn't take much grinding to ruin a panel.
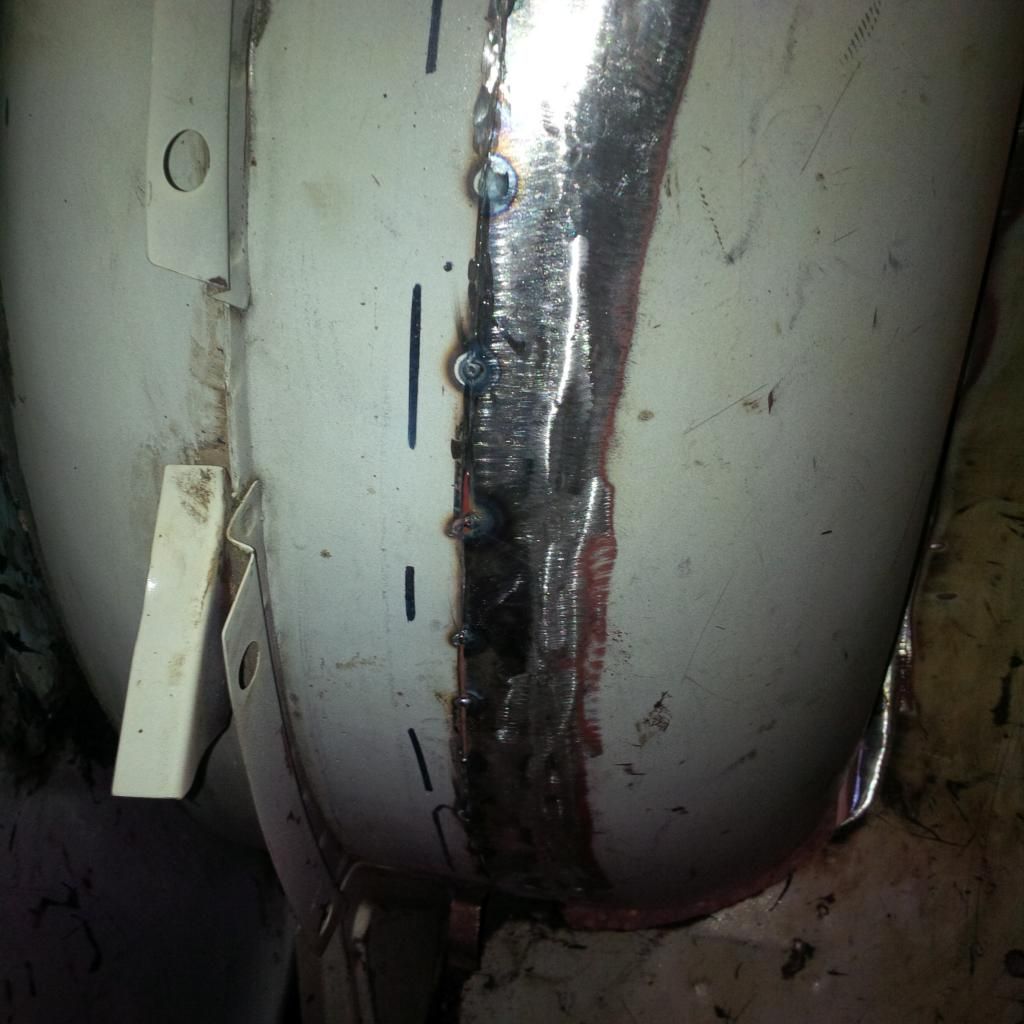
If you grind and carefully file the joint, you can finish with a weld line like this.
Now, to get to that point with this technique isn't easy - and the weld technique is the issue. The commonly held belief is that for sheet metal, the weld bead will be 4 to 5 times the material thickness. This same adage does not hold true for welds in thicker material where your weld bead (on a butt joint) would be no LARGER than twice the material thickness and more like 1.5 if your careful. So why do the rules change with thin stuff...just think about laying a 1" wide bead on 1/4" material...that's insane. Well, I'm going to tell you my theory.
It's easier to lay tacks and get consistent, full penetration welds on sheet metal for technicians without much skill. You then cover your tracks with body filler and it's good, strong and will last. That and it's damn difficult to control things the way I'm going to propose as an alternative.
So what's my gripe with this method. Well, it lays on a relatively large weld deposit that you then have to grind. This can lead to thin spot, brittle areas and everyone knows that body filler is the answer. We're working in our garages, body filler is not evil, but it isn't metal either! If the panels are carefully fitted, there's no reason to not have a nicely finished weld.
With the large weld deposit, lots of heat is applied to the weld zone. This causes the metal to shrink as it cools, this causes a regional low on either side of the weld bead. As you grind the weld deposit off, how do you know that you're not girding too much and causing the sheet metal to get thin? How thick is the weld? The grinder also adds to the heat loading and subsequent distortion of the panel. I've done this plenty of times and found that I hit the panel trying to flatten the weld, left it thin and still had lots of weld. It'll drive you nuts or you just level it out and fill it with body filler. I've never been satisfied with that as an answer to what should be a small bit of filler can turn into a ton of the goop.
So here's the technique I've been playing with. I'm going to start by tacking a panel together every couple of inches and make sure that the panels are butted together relatively tightly (as close as you can get). Guys in body shops flange panels and I've done this for years and it works, but the overlap means that working the joint is almost impossible and sealing the back side of the panel is difficult. So let's not flange unless you're just spot welding (plug welding) a panel. A tight fit is critical to this working. Spend the time to make your panels fit with no gap (or as small as possible). Larger gaps mean more heat.
This is what I mean by tight gap.
You're going to pull a bead on this panel. Yes you are...you're going to move fast, short and carefully. Think and plan each hand move before pulling the trigger. Now start with the tip of the wire on a fully cooled tack on the edge towards the direction of weld. Pull the trigger and MOVE. If the puddle doesn't get established, it will skip and sputter, but not make that big a mess. Once you try it a few times, you'll see that you can pull a small bead about an inch at at time. These welds will be about twice as wide as the material is thick. Perfect.
Penetration will be just through the panel - easy clean up if you can access it, if not, there are no bumps to work around when working the panel. There is also a lot less heat input and less distortion.
Tips to make this work.
MOVE relative fast...you have to start on the tack to stabilize the puddle.
Don't get greedy, you can still only do an inch at a time due to heat input.
You'll still blow holes every once in a while, but fewer than with tacks.
Use two hands on the MIG gun...one on the trigger, the other directing the nozzle.
Keep the stick out really tight...really tight. This is also really hard, but critical. Try different stick out lengths. You'll find it works best if you're jamming the contact tip almost right into the puddle...which makes things hard to see. You'll figure it out. Try it with longer stick out, this cools the weld and it's not going to penetrate. Get it tight and you get full penetration. Get the gun angle so you can just see what you're doing. The welds shown below were done on a fender well - so some of it was welded fully overhead - don't grumble about flat panels being difficult until you've tried overhead.
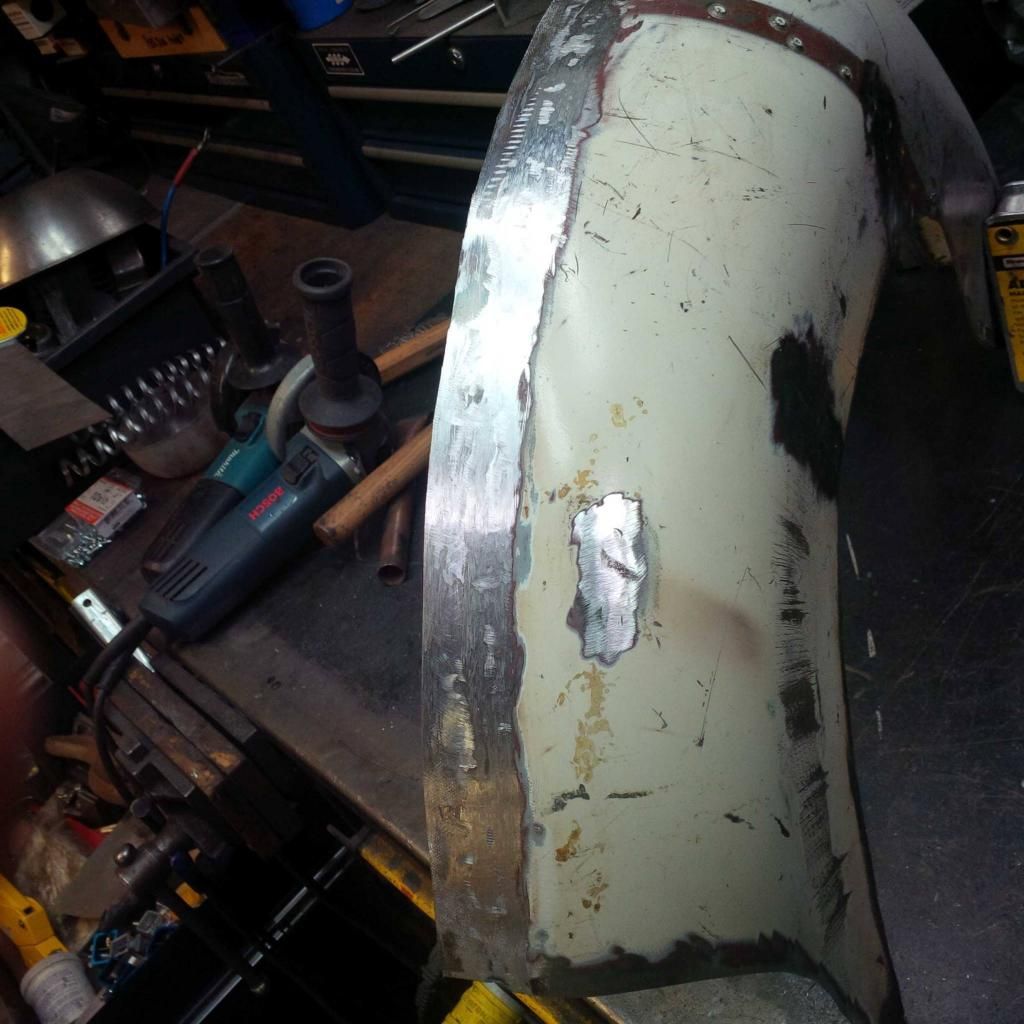
Here are a few examples. Look at the size of the heat affected zone (it's small). It's easy to dress these welds with a grinder and they aren't showing as much distortion. Give it a try and see if you like it. It demands more of the fit-up and that takes patience, but I've metal worked a few feet of these sorts of seams and it's pretty rewarding to have them come out needing only the smallest little bit of body filler.
Here's one that I've run the grinder over just to knock the top off of it...note how consistent the height of the bead was. This is going to clean up really well.

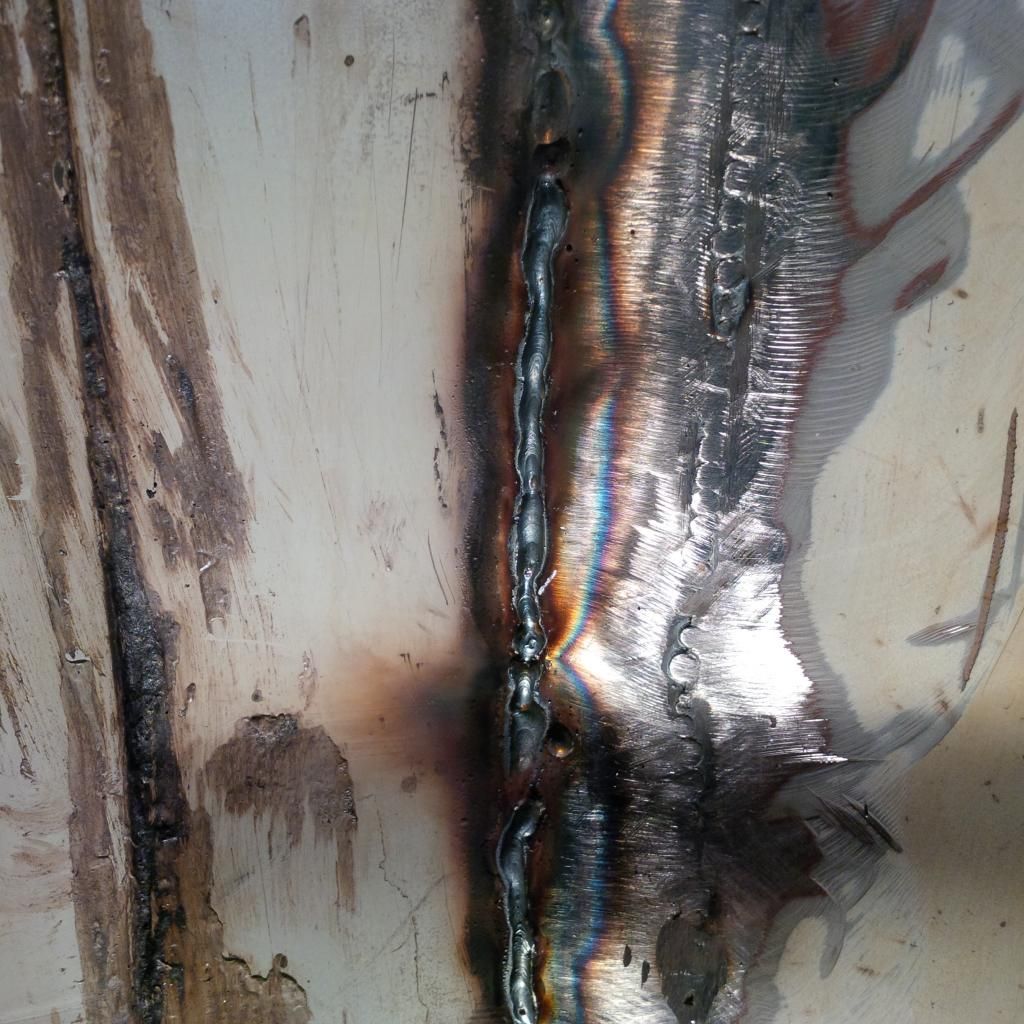
Here the HAZ shows where I started and stopped and also picked up speed or slowed down. It shows the start and stop points really well.


 ).
).


