Part of the reason I bought the car was because it was cheap, and part of the reason why it was cheap was because the brakes were falling apart. It stopped straight but not terribly well and the brake pedal height was highly variable, and when I did have to stop a little harder for a yellow light I found that the pedal height was terribly low afterwards. Time for a bleed.
Being an old car, one should NEVER bleed the brakes unless one has a contingency plan, because one will disturb all that crap in the master cylinder and possibly ruin it. Which is exactly what happened here. It's a good thing my box of expensively-shipped parts from Parts for Saabs showed up (under 3 days from the UK! What a wonderful world we live in.) and I had rebuild kits for everything, because when I cracked the bleed screw on the first caliper and pressed the pedal, it wouldn't come back up again.
So here begins the journey:
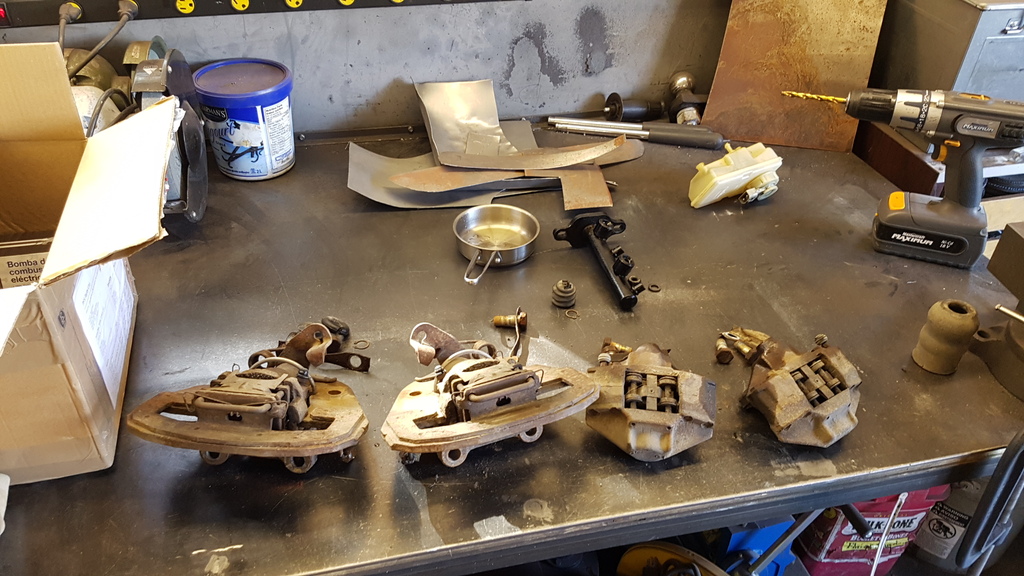
I don't want to do a write-up on how to rebuild brake calipers and master cylinders, so I'll hit the high spots.
The master cylinder bore is very important. It must be perfect. If there's corrosion pitting or scoring from debris it will not seal. If the pitting or scoring is light you may be able to get it out with a brake cylinder hone, but I prefer not to since the bore must also be parallel for proper operation, and you're surely going to concentrate more time on the bad spots trying to get the damage "repaired", so the bore will have more of a classic coke bottle profile. Better just to get a new one unless you're stuck, or at least a better used one to rebuild.
The rear calipers on an '87 are nice and simple, the basic 2 piston ATE opposed design used in the back of all sorts of European cars of the era. Most of those European cars have drum parking brakes integral with the brake rotor, but of course the Saab had better ideas.

Anyway, in these calipers the bore is less important because it's only a guide for the piston. There shouldn't be any chunks missing or large steps or too much corrosion, but the finish doesn't have to be perfect. What DOES matter are the seal grooves. They must be CLEAN and sharp, and they're cut in a conical shape to give the (square cut) seal the proper taper. Don't mess with them! I give them a scrape with a 90 degree pick to be sure all the edges have the goo cleaned out of them and then make sure they're wiped absolutely clean.
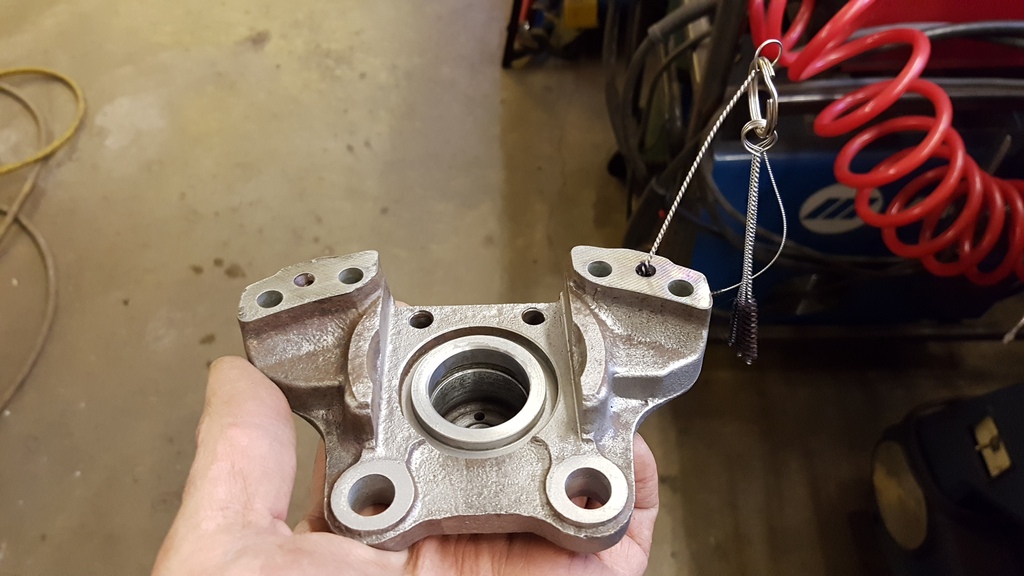
If you get a caliper kit with body seals it makes working on the calipers much nicer. Split them apart one caliper at a time to keep guesswork to a minimum. If you bead blast calipers or master cylinders like I did, be careful not to blast the seal surfaces, or the bores if you can get away with it. I stayed away from the surfaces where they seal together as well - a little red scotchbrite to tidy them up is all that's needed here, as well as scrubbing the bores with red scotchbrite. Only by hand, no material removal required here... just a polish. Get yourself some small bore brushes and clean out the transfer channels as well, mine were NASTY. One was almost plugged with goo so even though my pistons moved freely, I'm really glad I pulled everything apart to clean them.
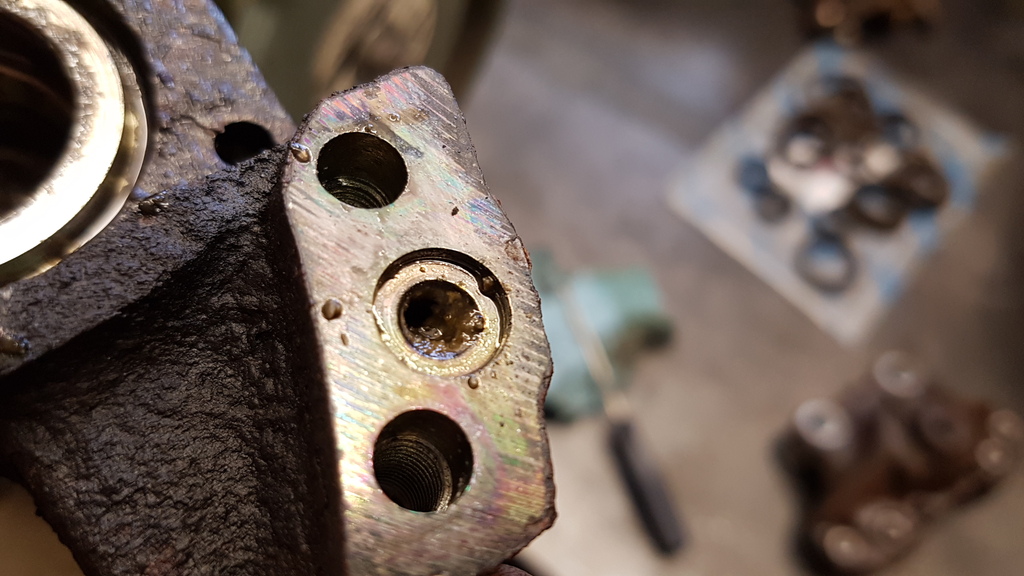
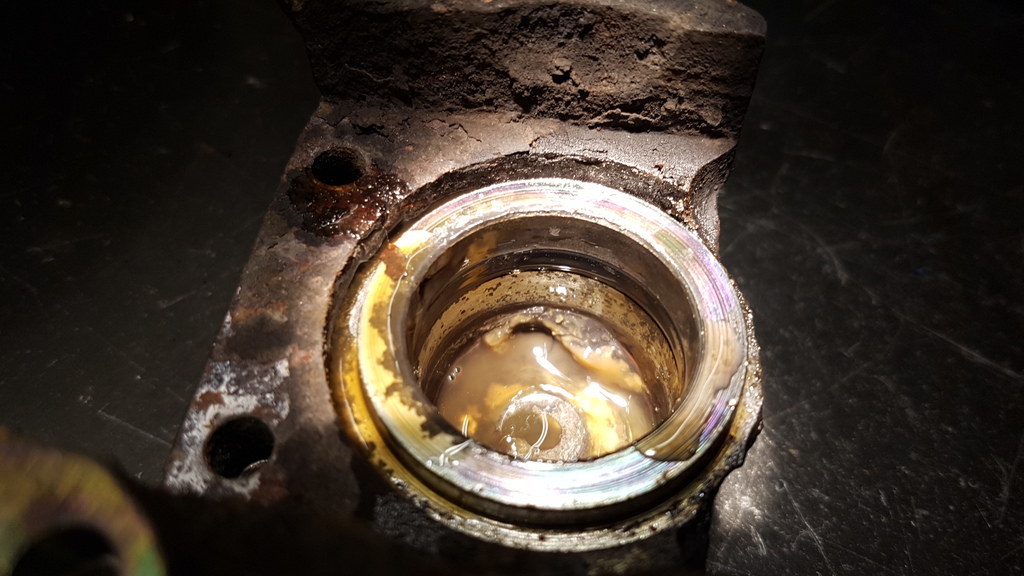
What REALLY matters on these calipers is the piston. It must be PRISTINE because this is what the seals seal on. If they don't look like this with just a little hand buffing with red scotchbrite, don't bother continuing.
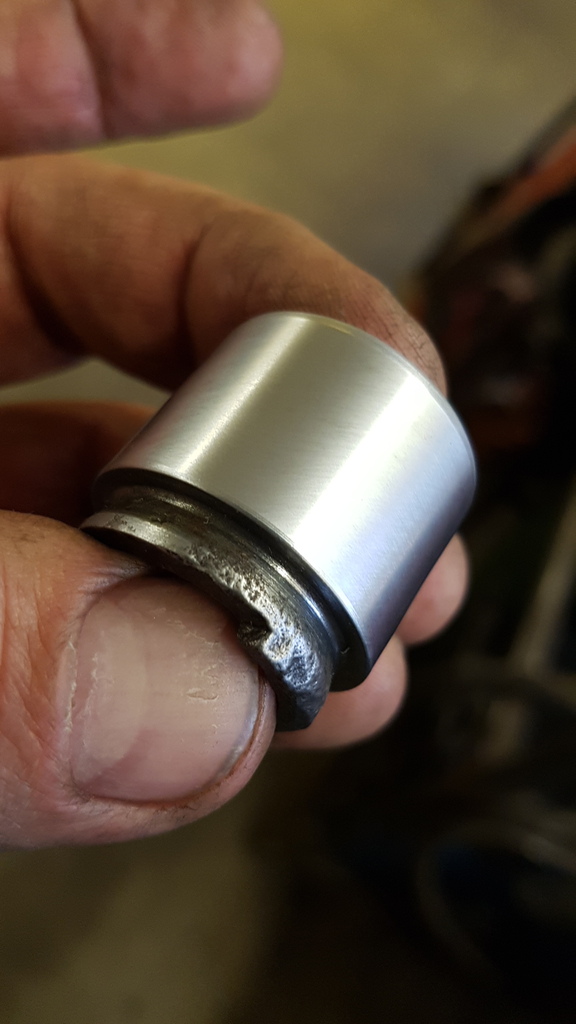
You can attack the rust on the undercut portion of the piston with the wire wheel on your bench grinder, but stay away from the sealing surface.
The pistons on these particular calipers were unlike the ones I'm used to seeing on Volvos, in that they had a step where they contact the pad. On both my calipers the low spot in the step was on the leading edge of the pad, so I assume this is to balance the combined linear force of the piston with the twisting that comes from shear between rotor and pad, to even out pad wear. This is not really a concern with such small pads, but unless I'm missing something I can't think of another reason why they did it.
(notice the bleed port on top and the step in the piston at the bottom - this is the left side caliper)
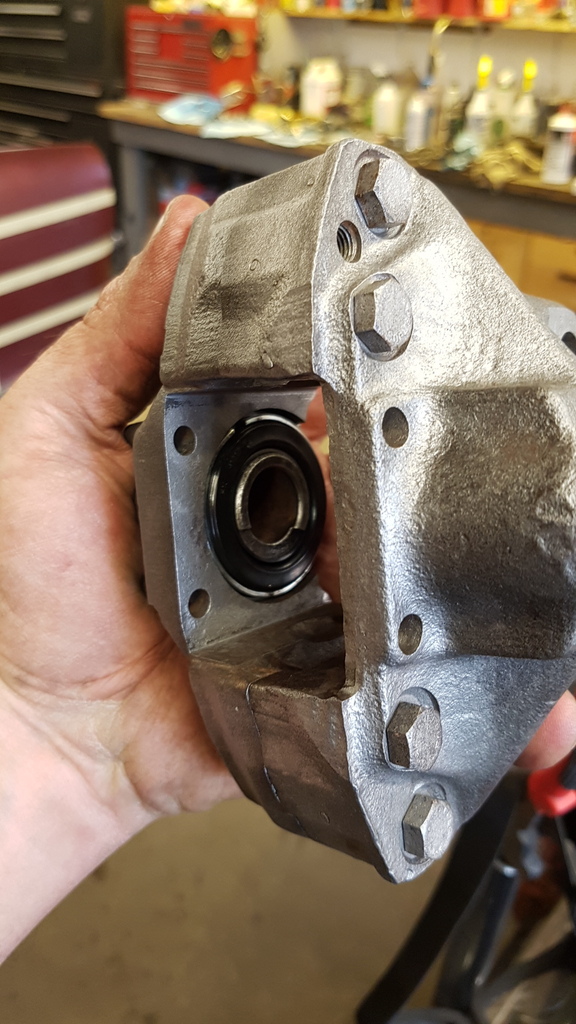
The seals don't matter in which direction they get installed, they're square cut seals. There is a taper cut into the seal groove to give the seal a conical shape. Lube the seal with clean brake fluid and wipe off the mold release, lube again and install into the bore. If things don't go smoothly, you can disassemble it again by grabbing onto the piston undercut with locking pliers but DO NOT pry the pistons out using the bore as leverage, and DO NOT grab the seal surface or you've ruindeded the pistons. Remove, disassemble, clean, re-lube, and assemble. These are your brakes, they are your life, do them right.
My brakes were dragging like crazy and the rear pads were very unevenly worn as I'd mentioned, so I expected a seized rear piston. Happily this wasn't the case - the inboard pad was rusted solid into the caliper, and the pins were very difficult to remove. Before I paint these calipers I'll be sure the new pads fit properly and will adjust things with a file if necessary. I doubt it will be though, as the bead blaster removed a whack of rust. Grease your pad guides, people!
This is as far as I got for the half day this weekend I had available to me. Front calipers are next.


