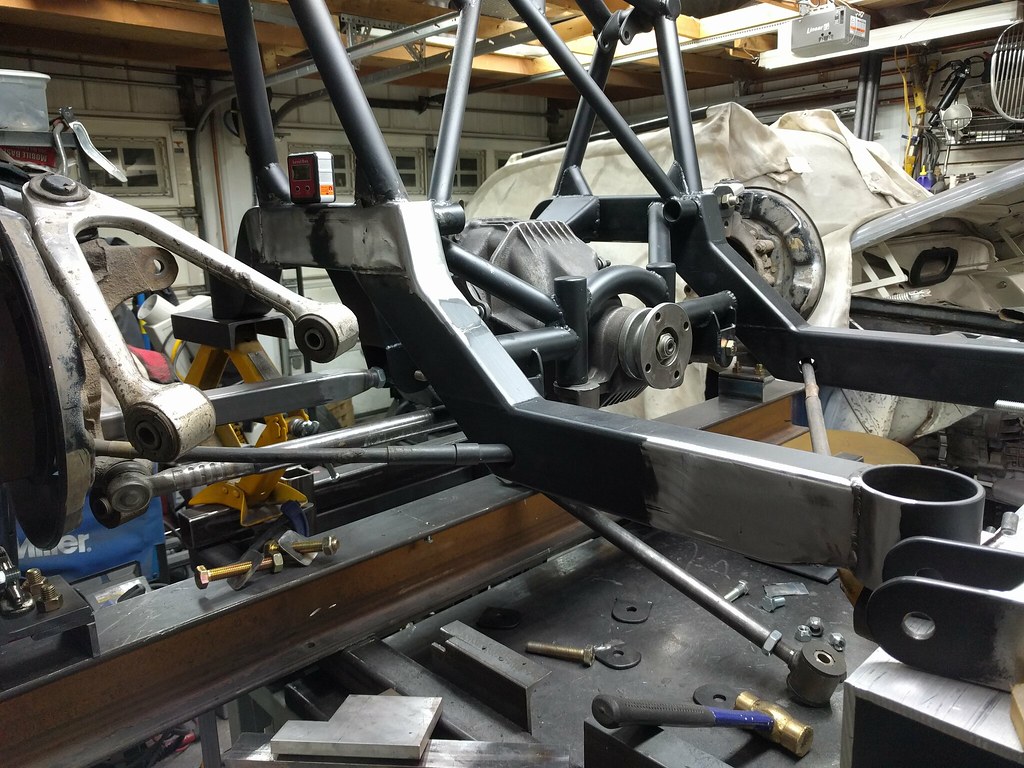
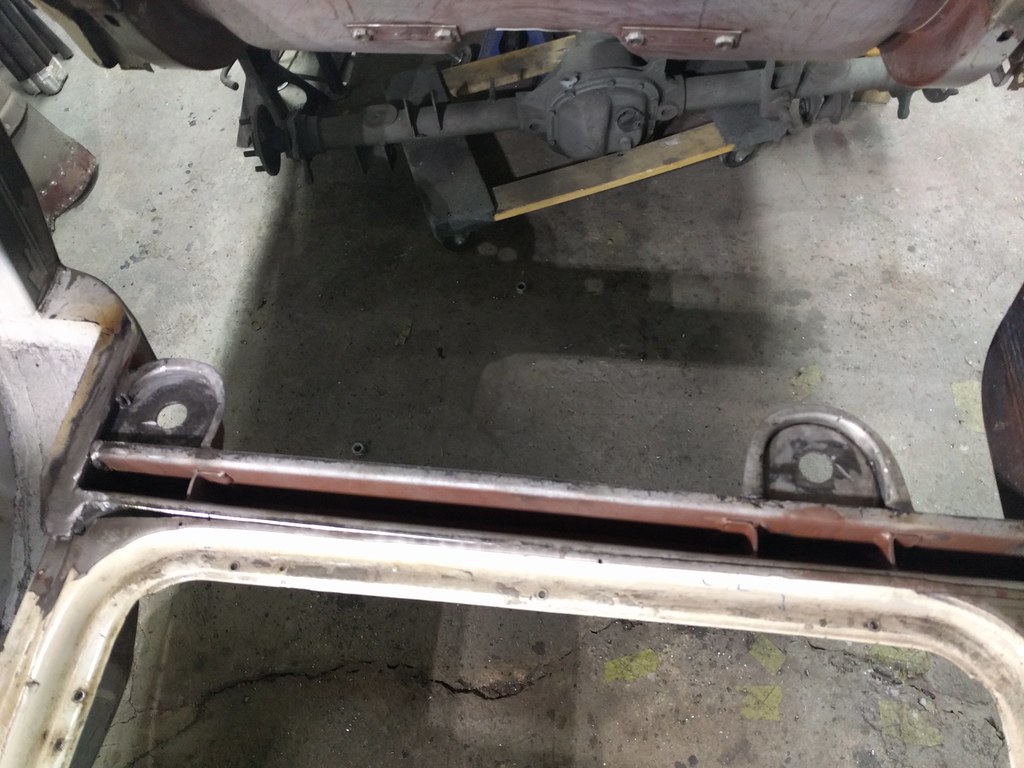
laser cut parts came in as did the rails from Art Morrison. So we're right back to where we were a couple of months ago. The rails came flat packed in a box (I do make a few IKEA jokes in the next video). The final analysis and design of the new suspension is covered on the YouTube channel. This thread is a little a head of the videos...because editing that stuff takes a lot of time.
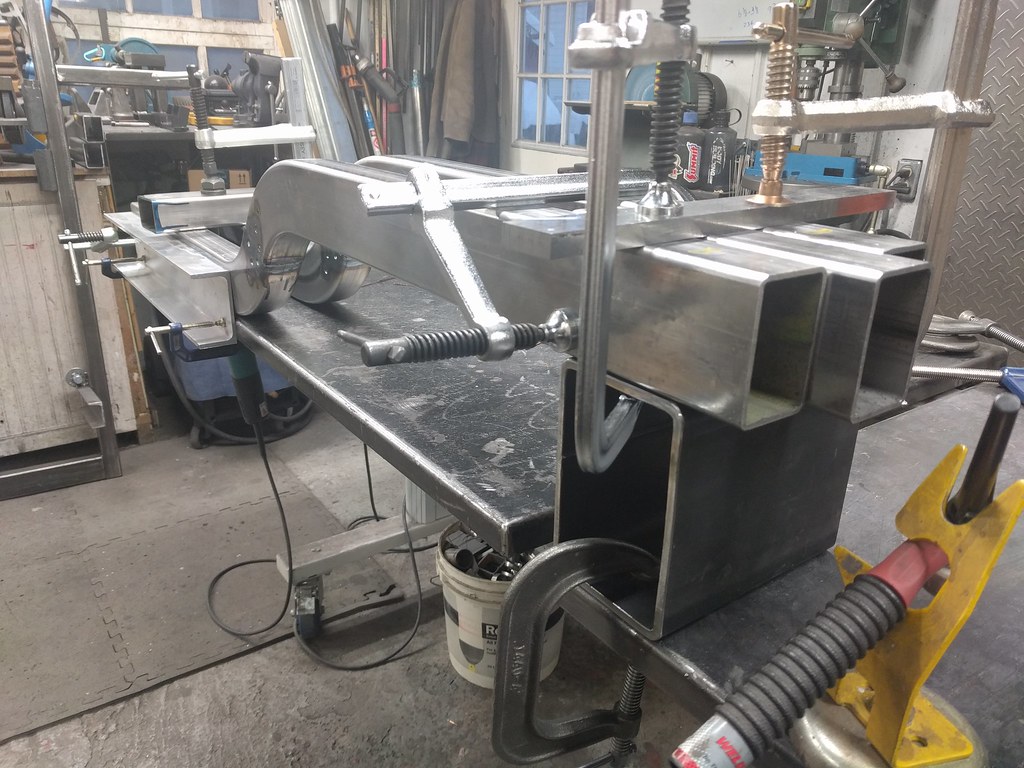
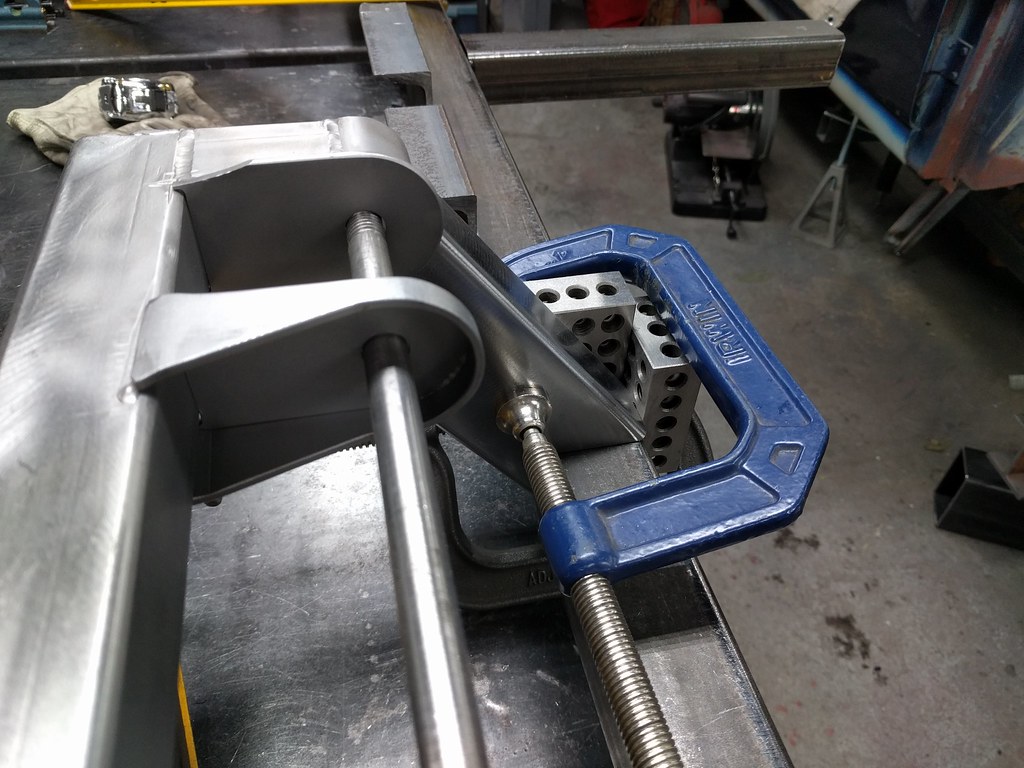
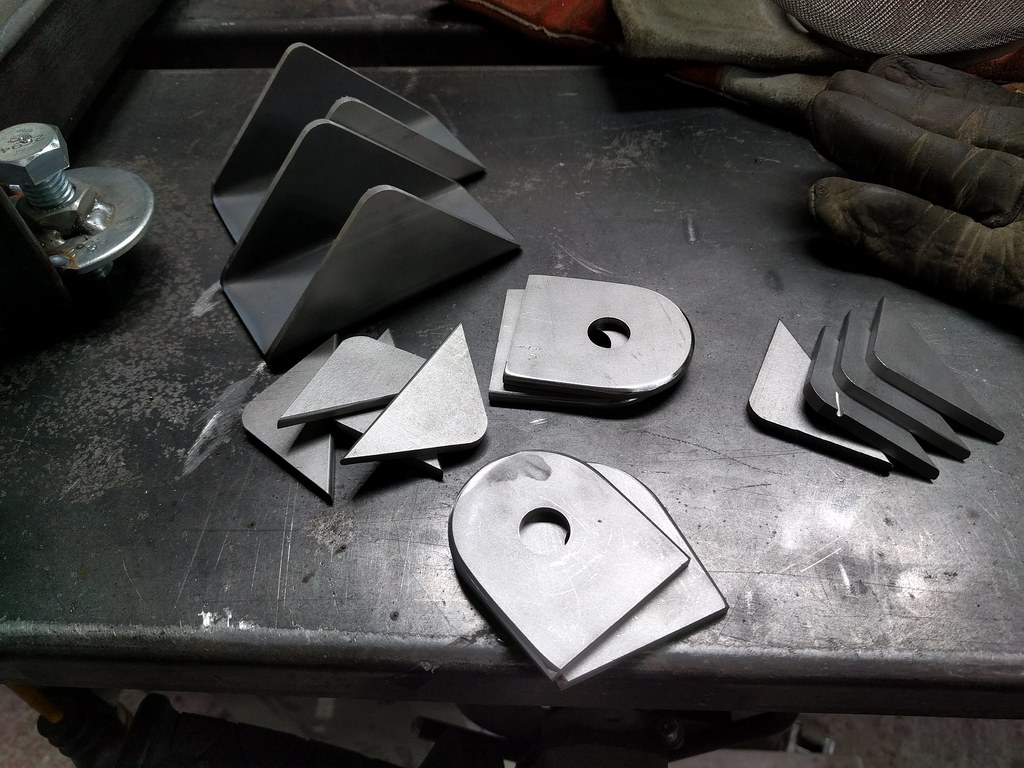
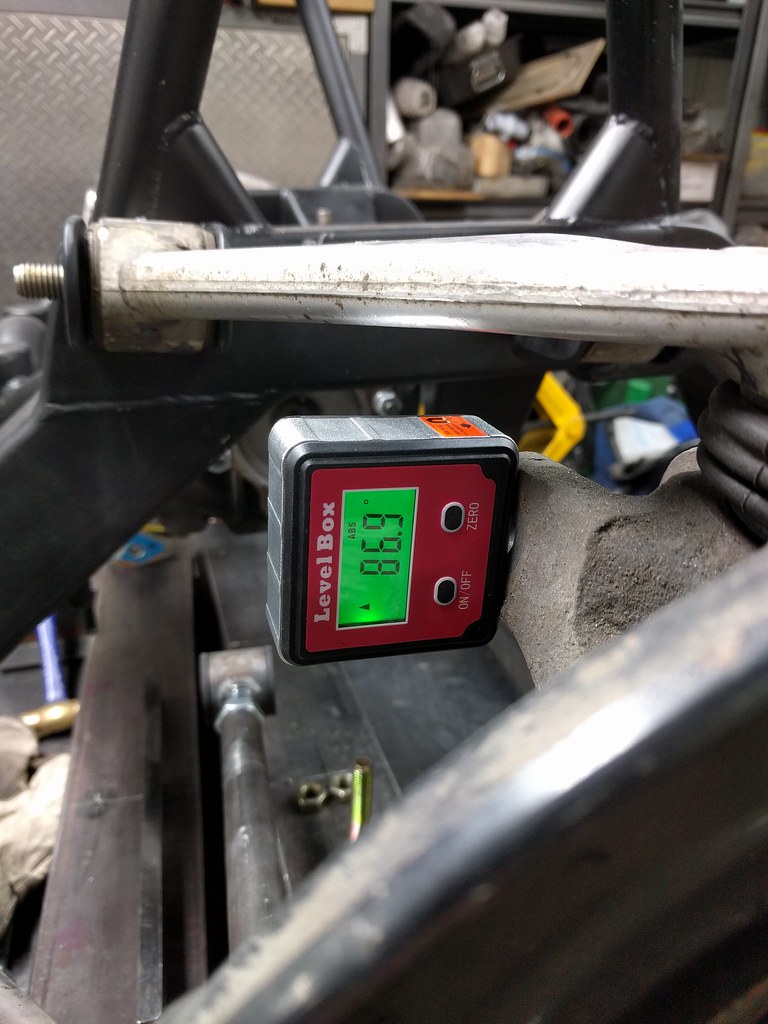
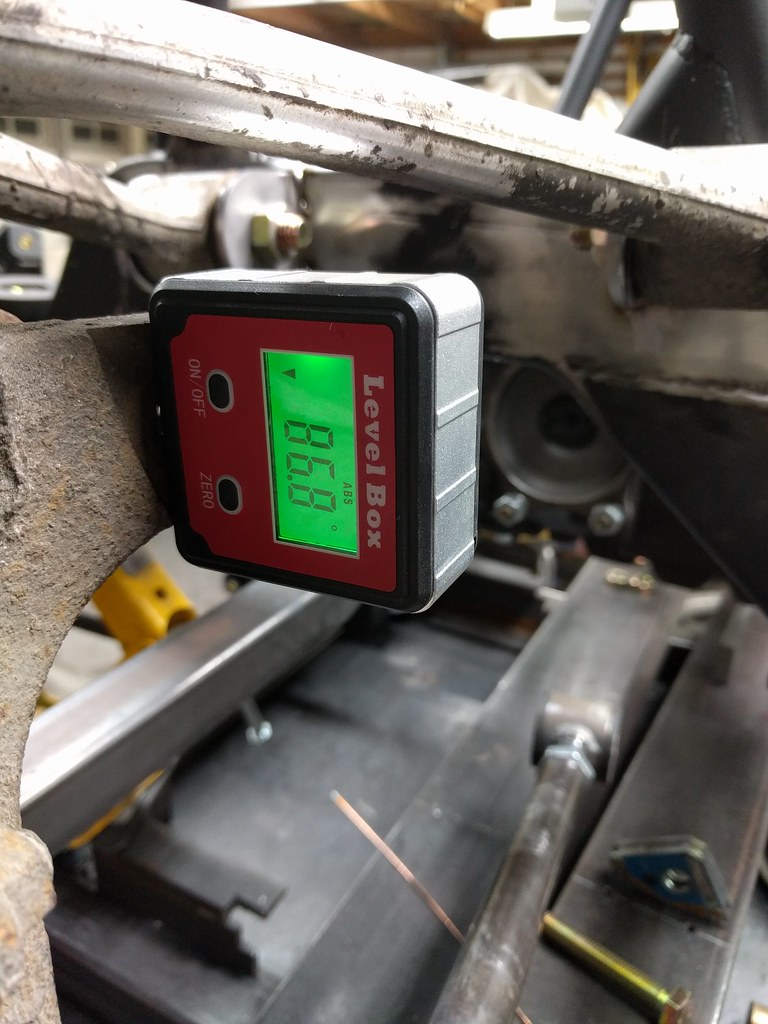
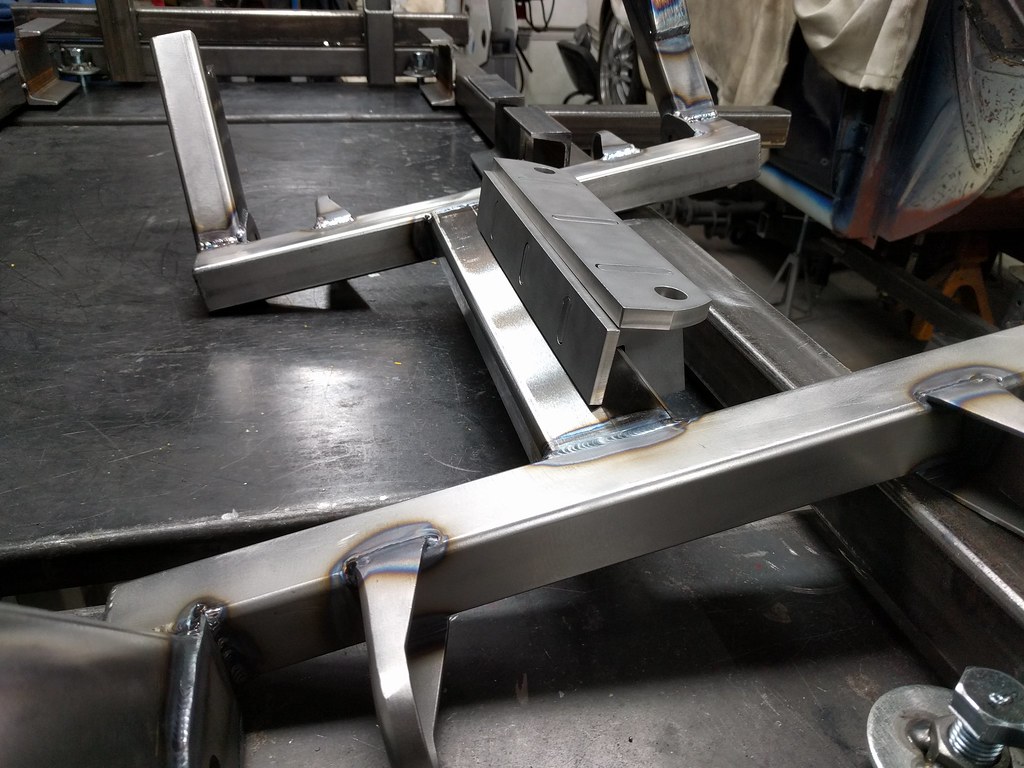
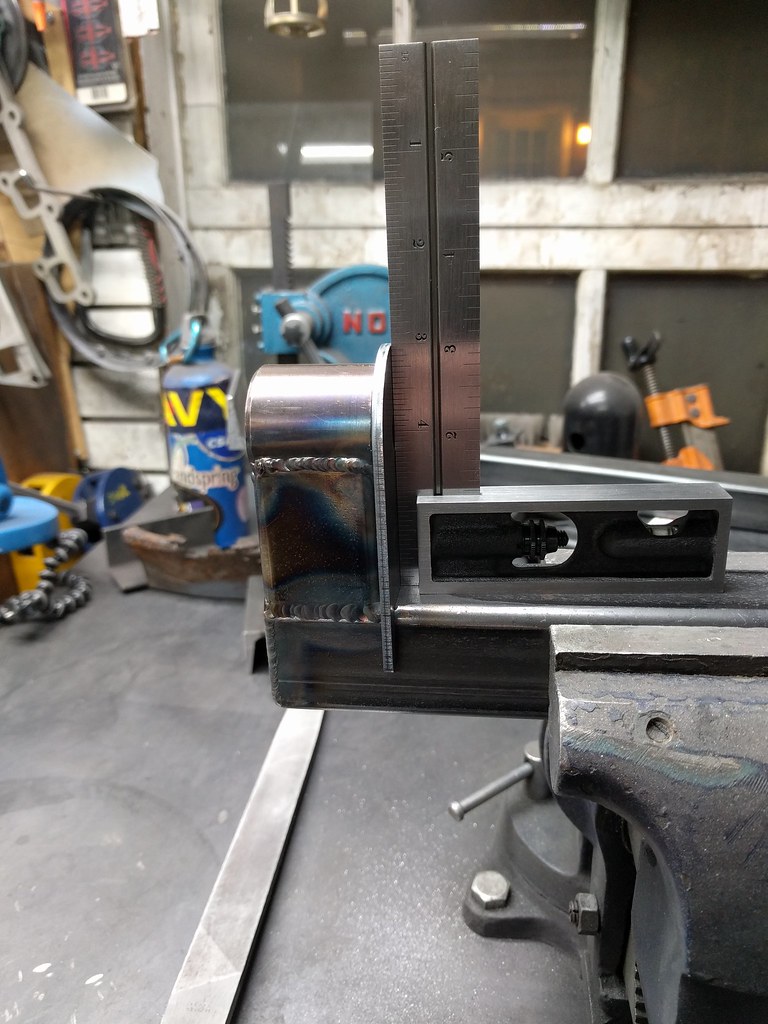
Ok - so we're working on those LCA parts of the new cross member. They needed to be perfectly square in all dimensions. Sure do wish I had a mill - as doing this with a file is terrible work.

Can you believe that I spent about 6 hours making these perfect? Neither can I - I should make better choices.
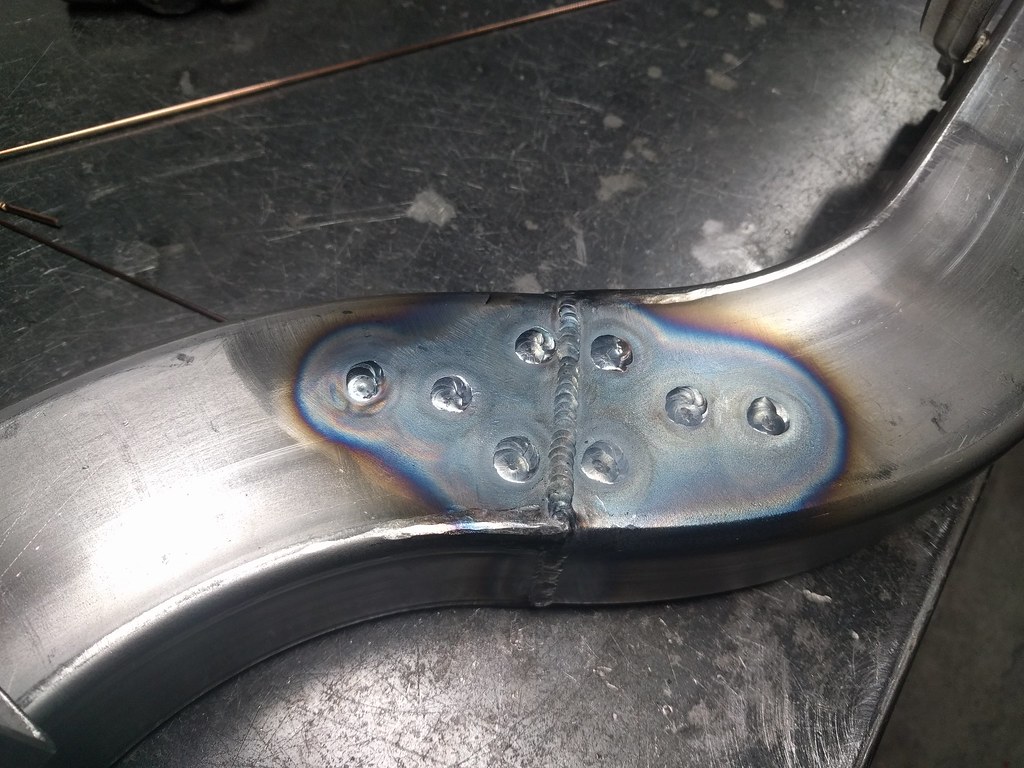
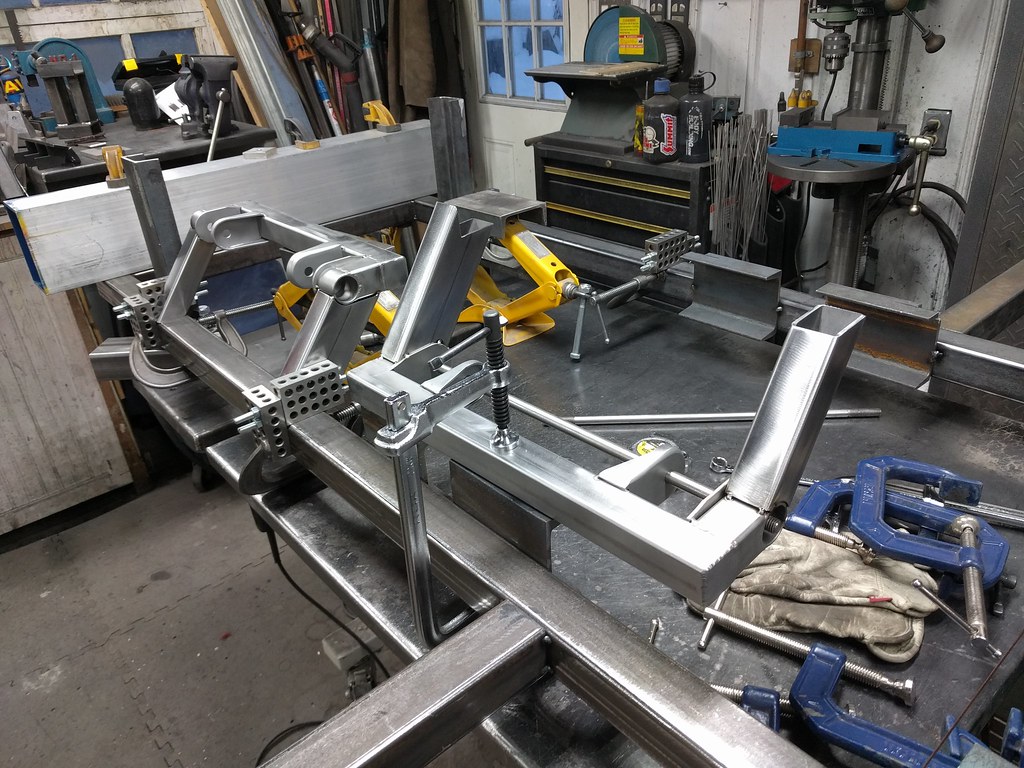
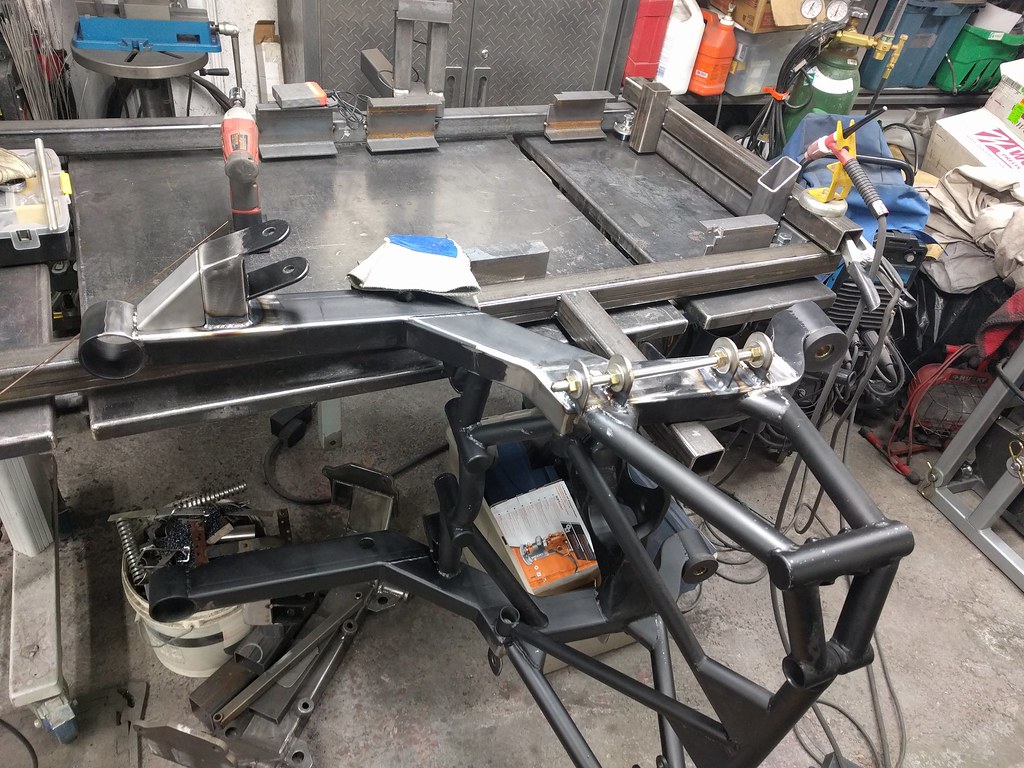
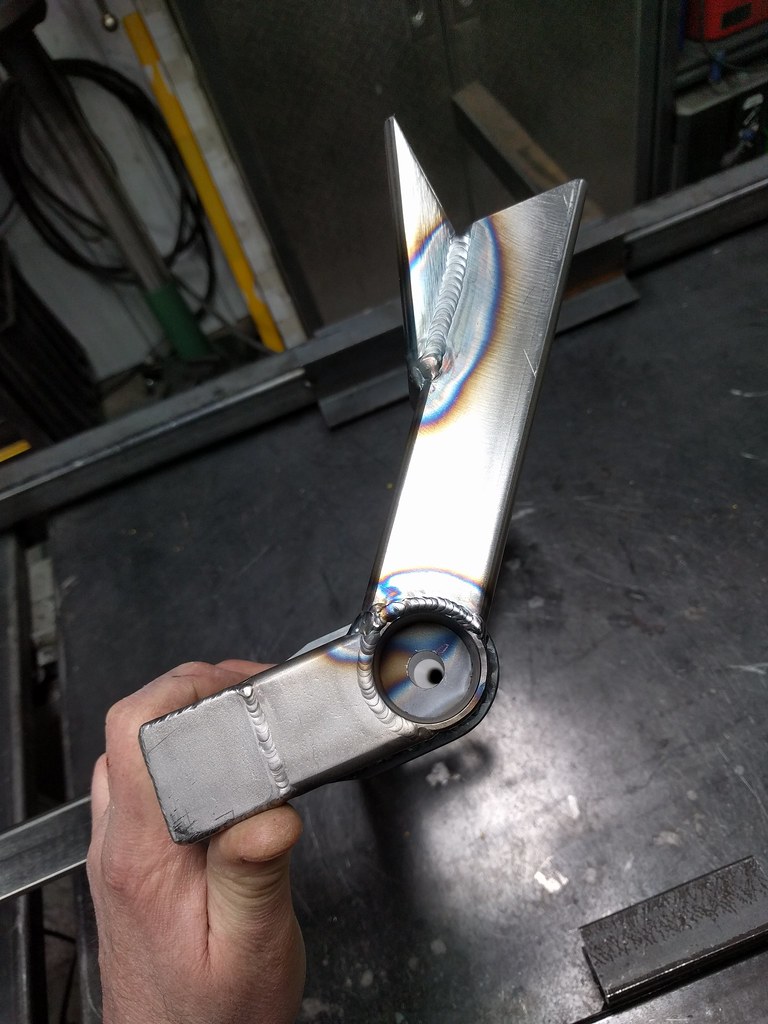
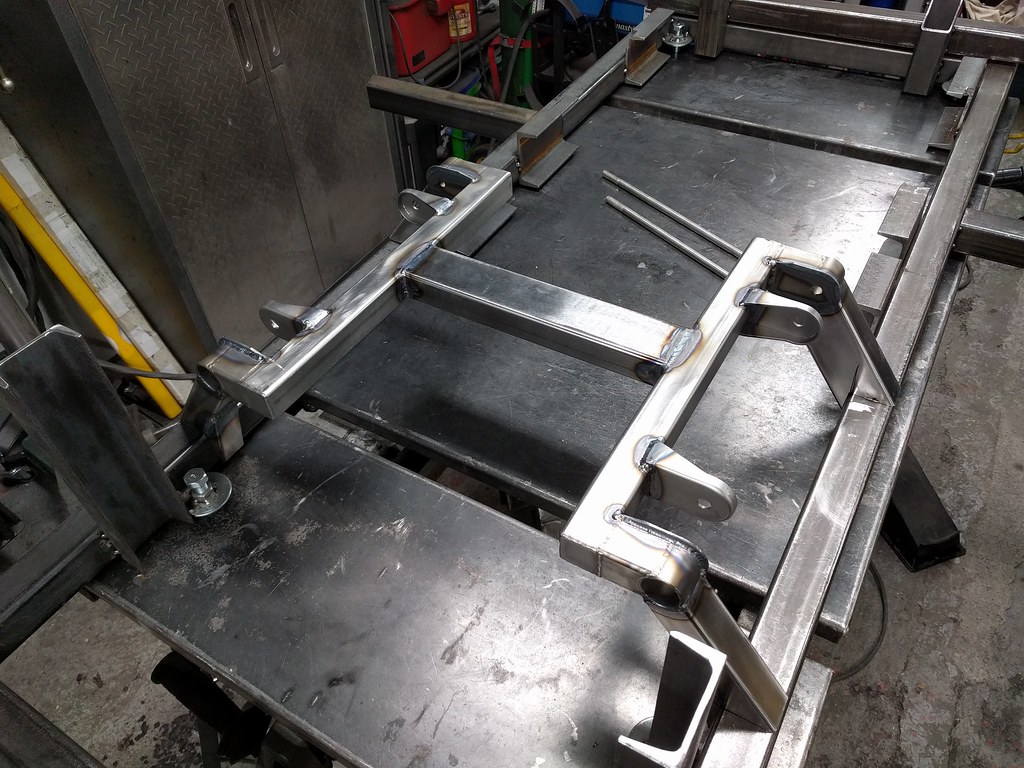
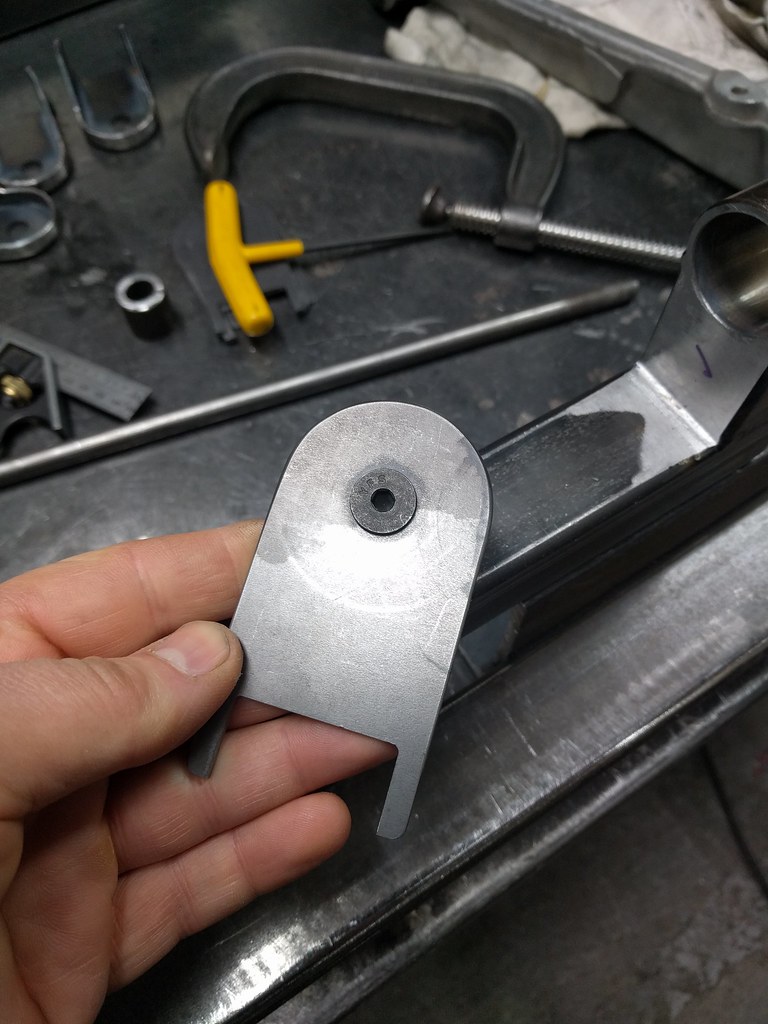
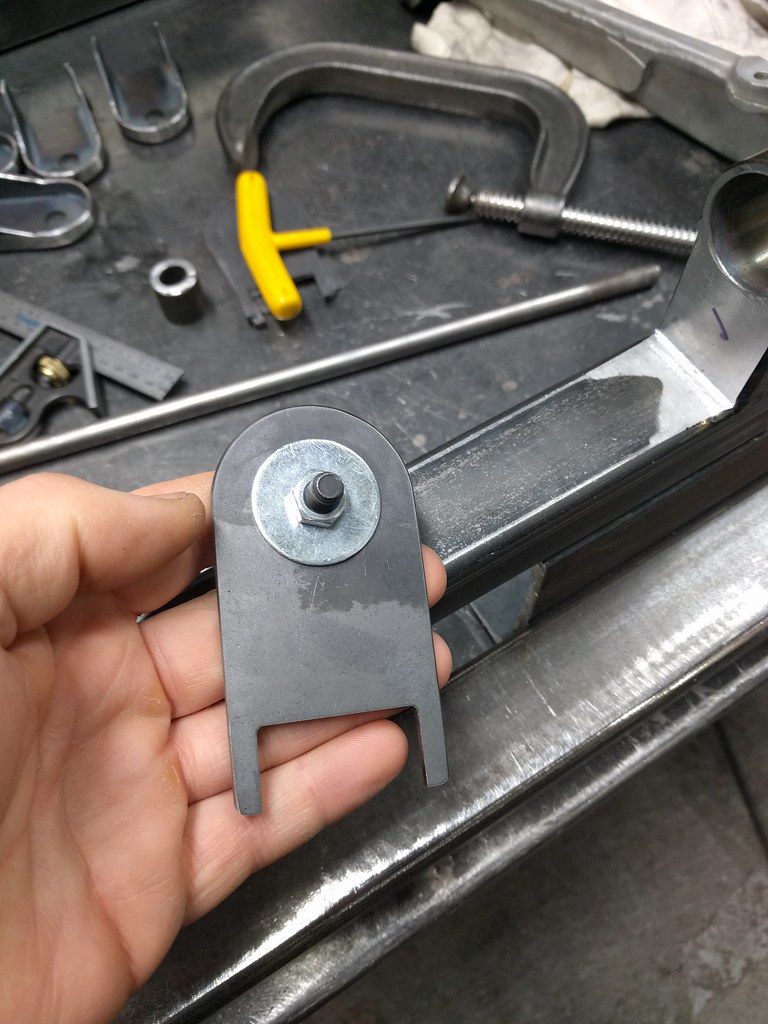
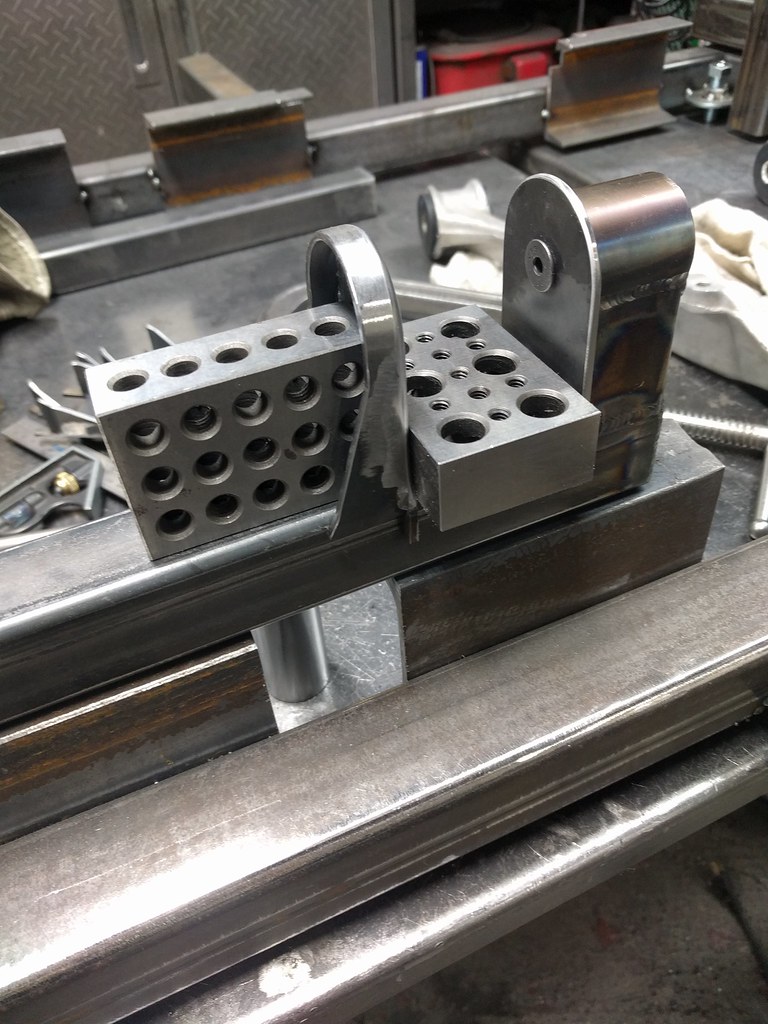
So the idea is to mount the tabs to these as shown above. Then to put the bolt in double shear, I made these mount brackets.

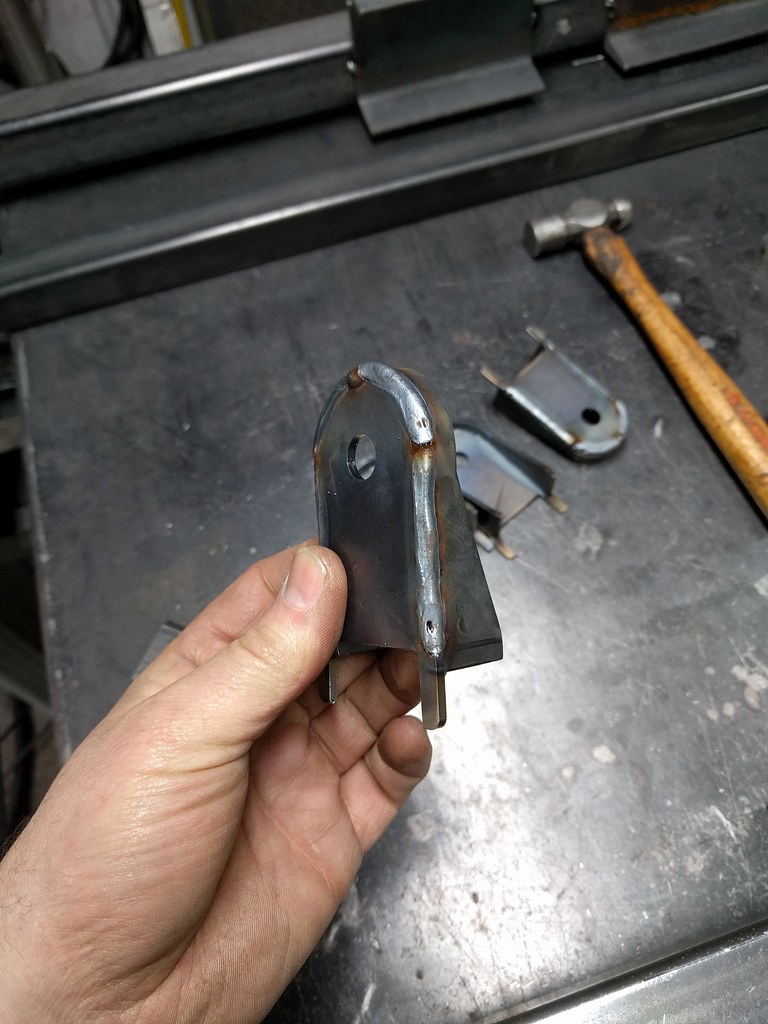
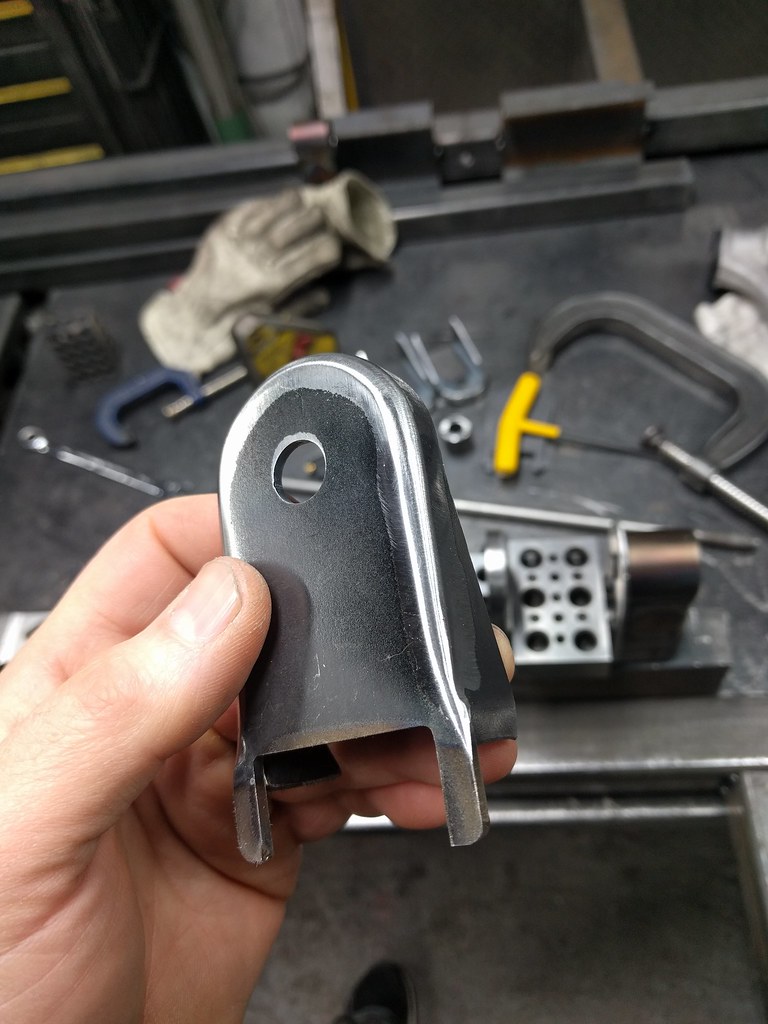
A little clean up.
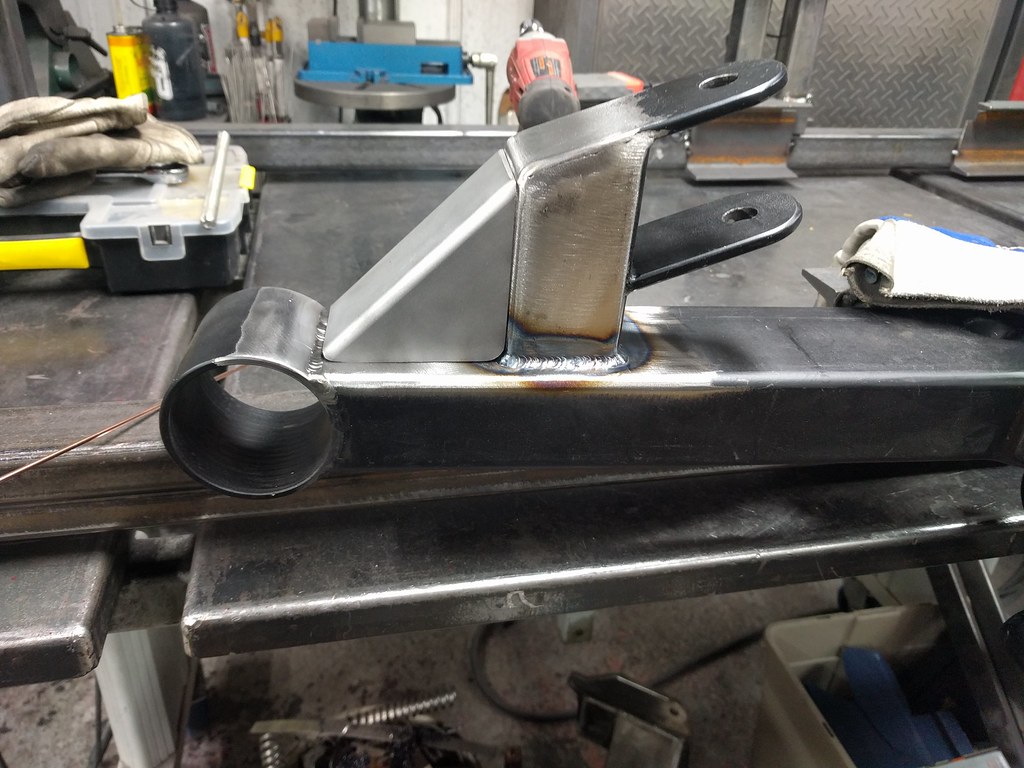
The way I wanted to mount these required a little bend on the bottom to make the join nice. This way I can reference the top and both sides of the tube when they get welded. I also wanted the full bushing to be captured on the LCA. So the difference required this design. The laser guys cut all these parts...so cheap.
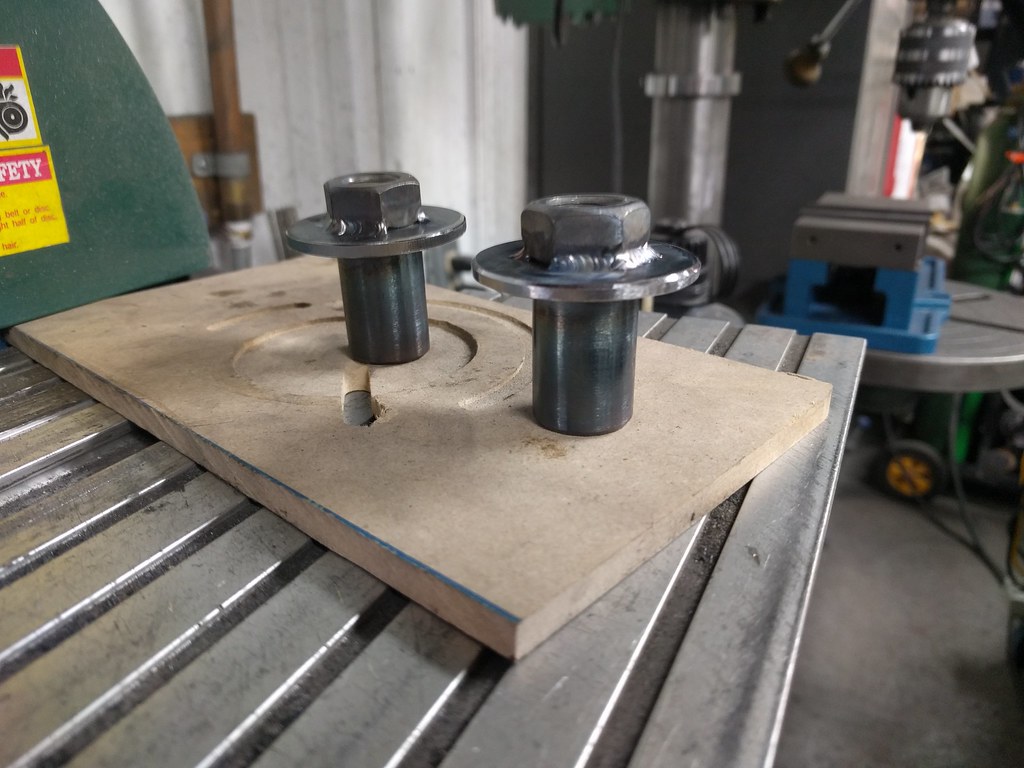
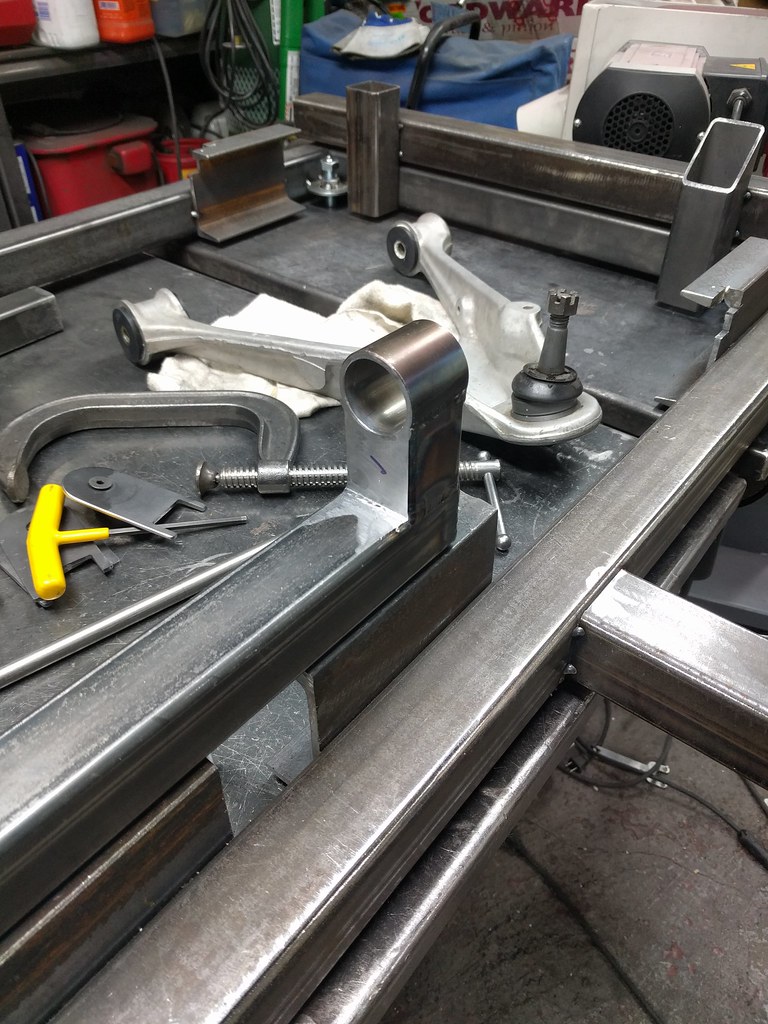
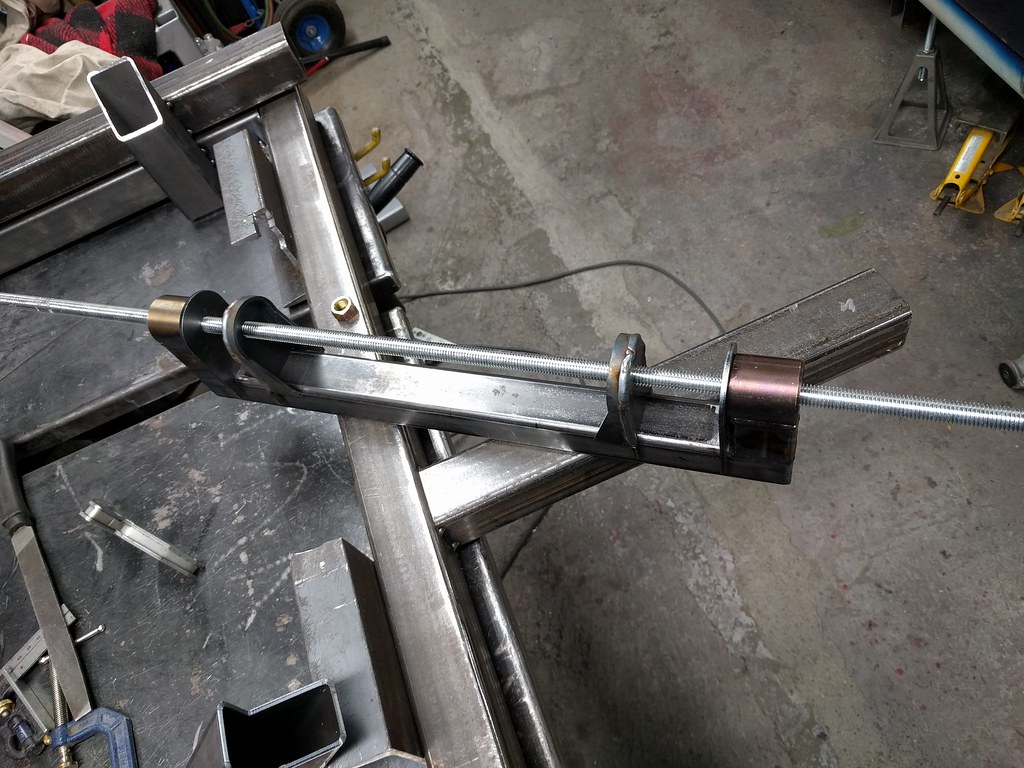
Jigging these parts isn't easy either. I got lucky and the following looks like a winner. First a flat screw to pick up the centre of the laser cut hole.
A washer mounted and squared to the back was exactly the right size to sit in the tube (like tap with a hammer). What luck.
Bam - that looks like a winner.
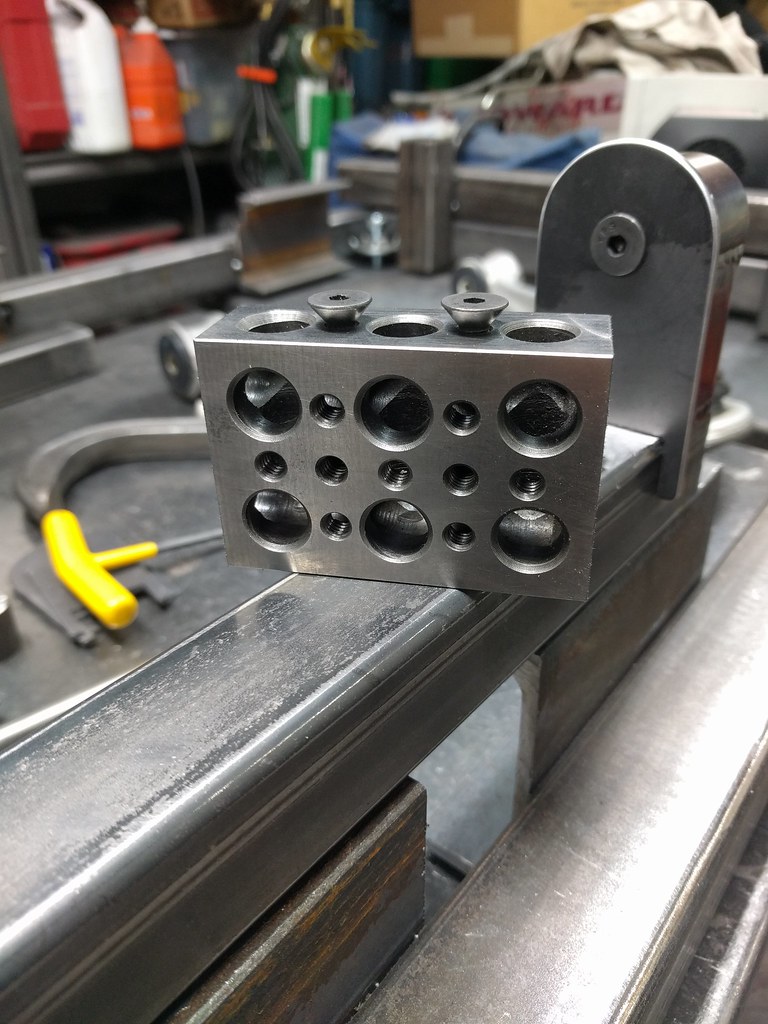
Added some flat screws to the 1-2-3 blocks (these are my "good" ones - can't use them for welding...but for show only). Set the screws to exactly 57 mm.
Then something like this (did I mention I could use a mill?).
That should work.
You get the idea.
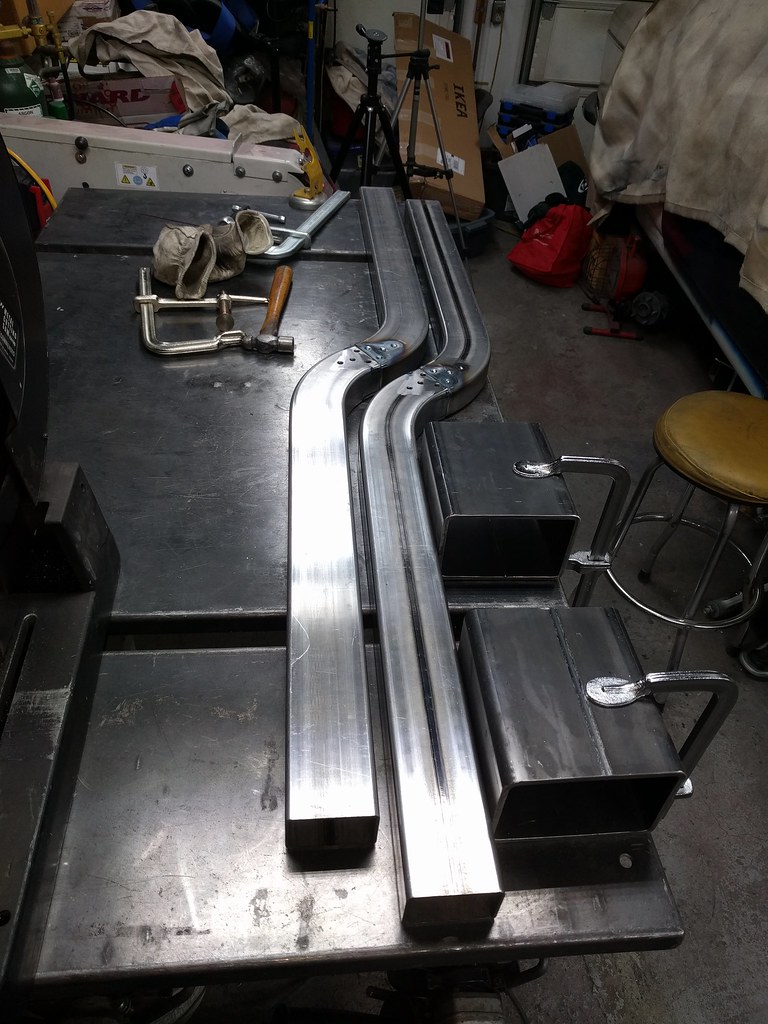
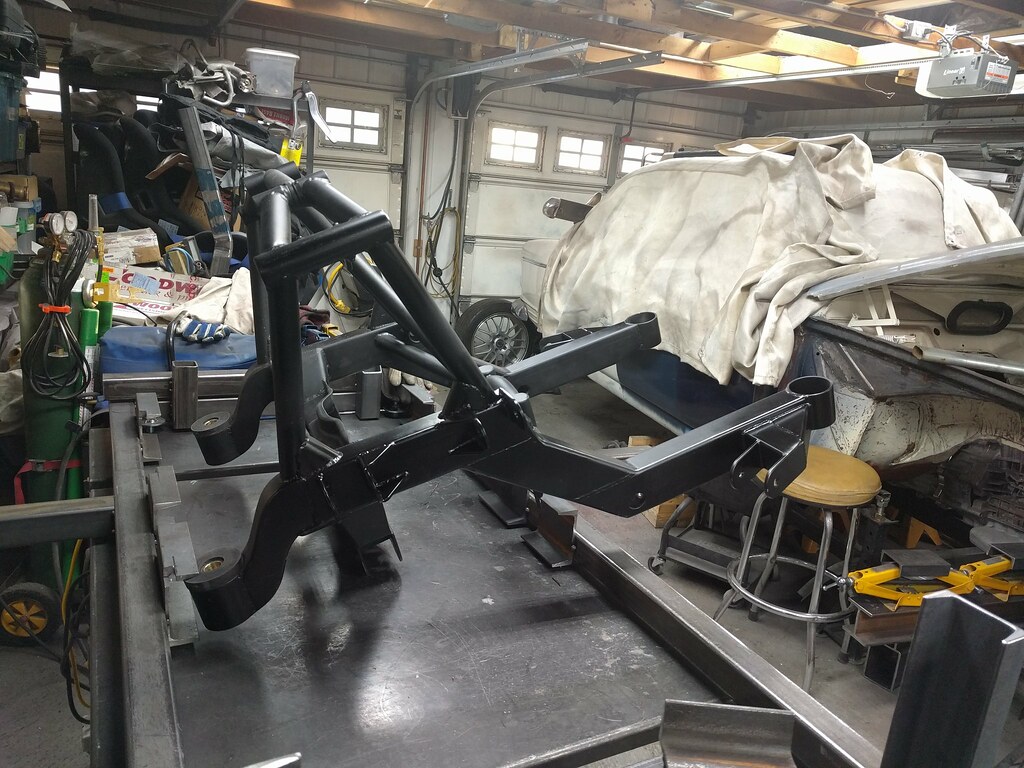
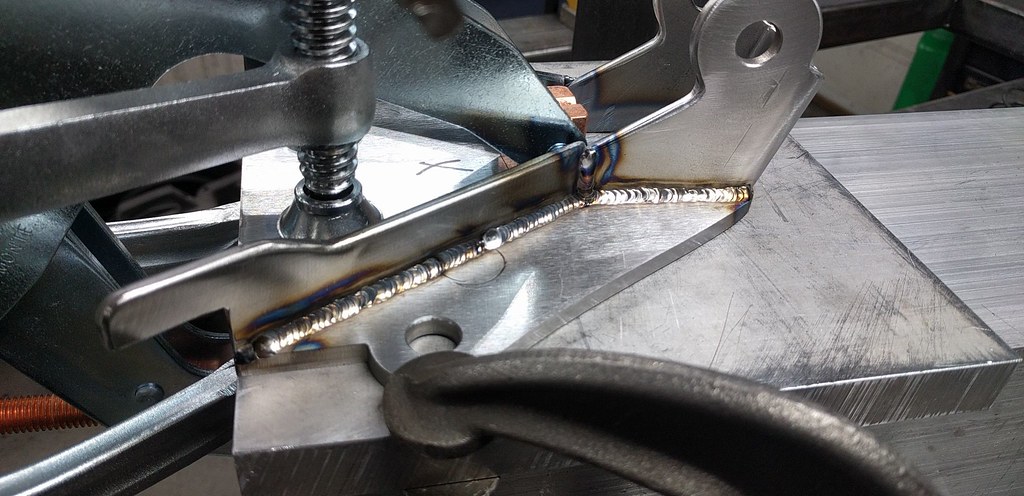
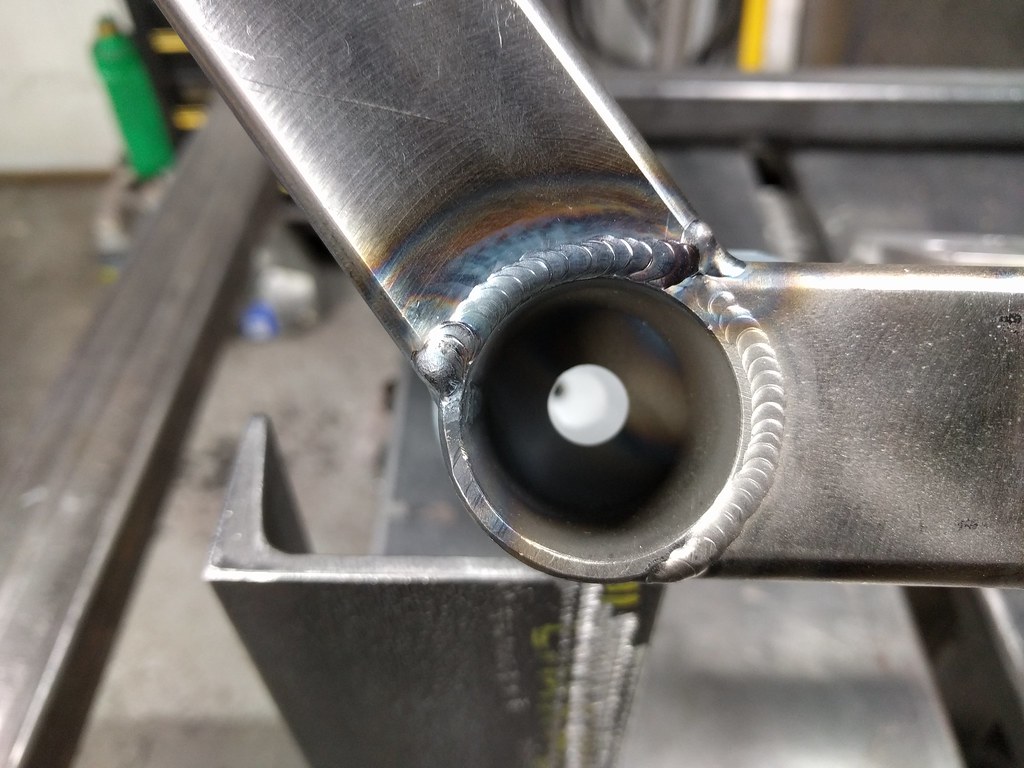
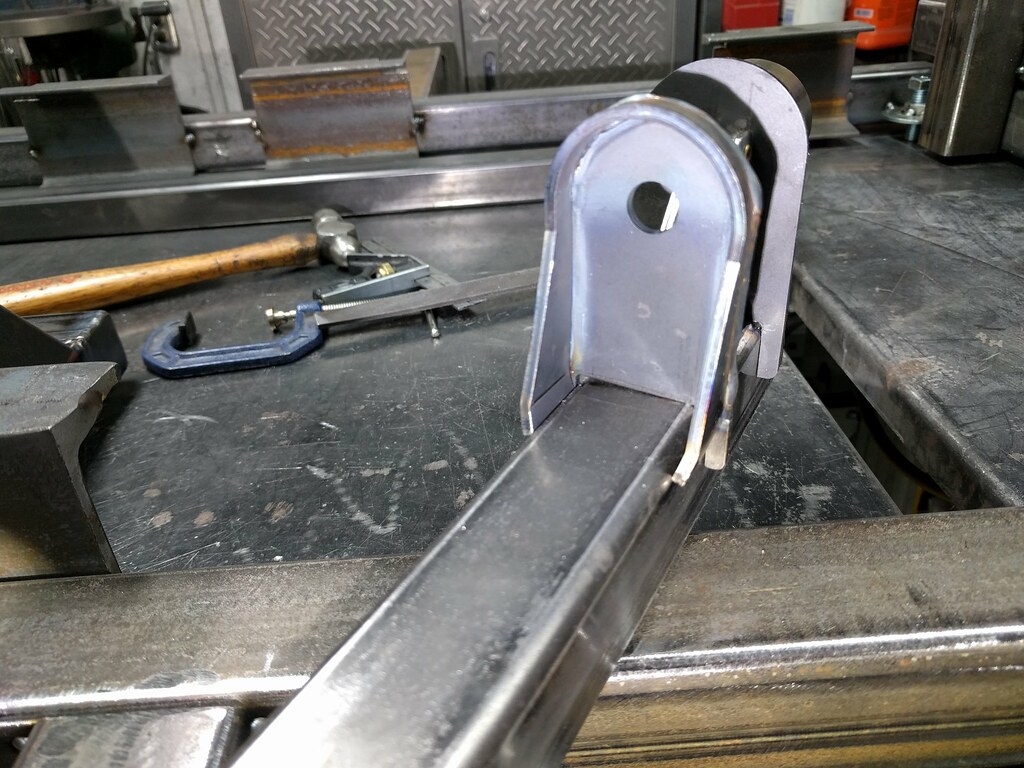
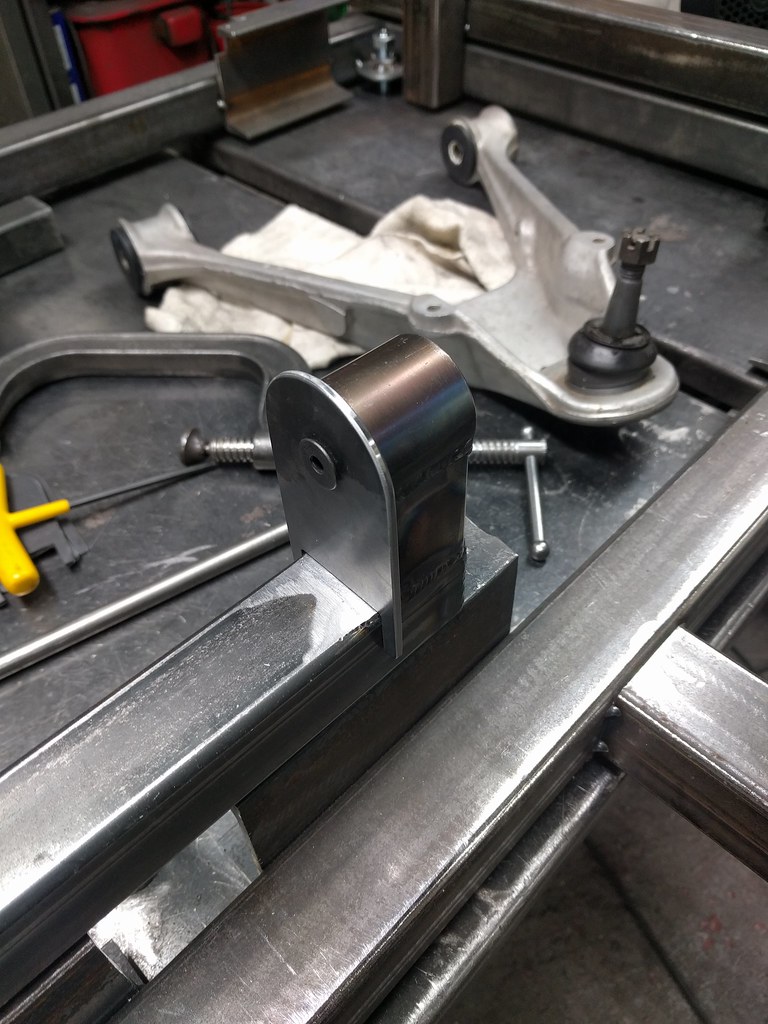
I then have to weld on the laser cut tubes. So nice to not have to cut this stuff with a hole saw.
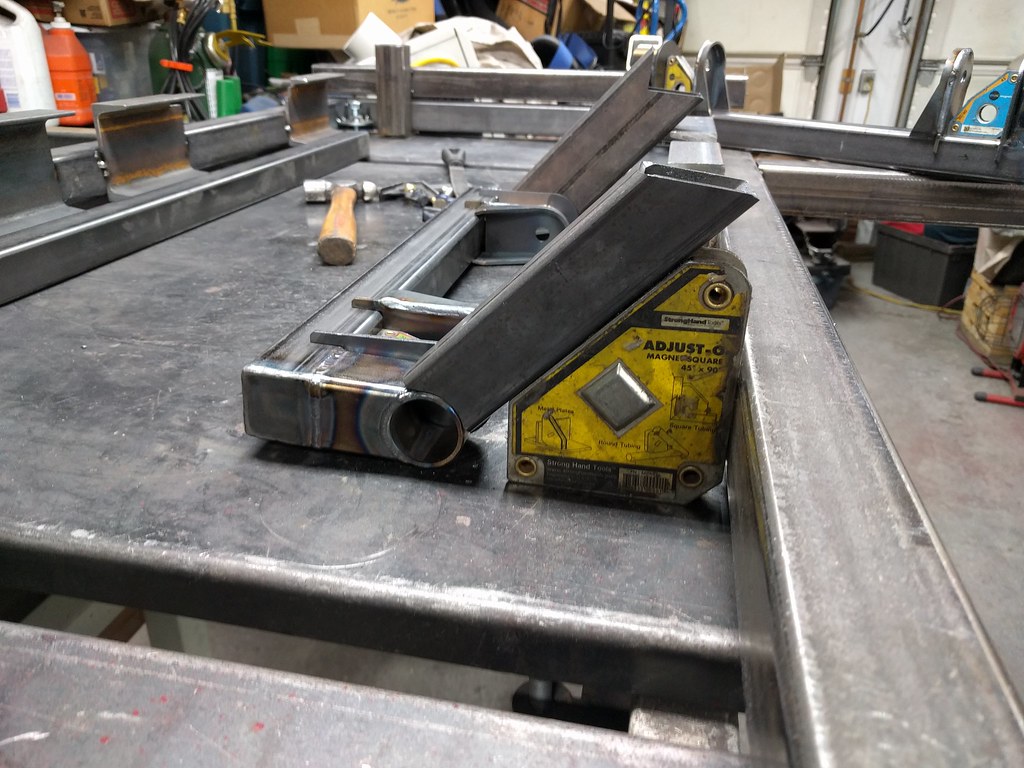
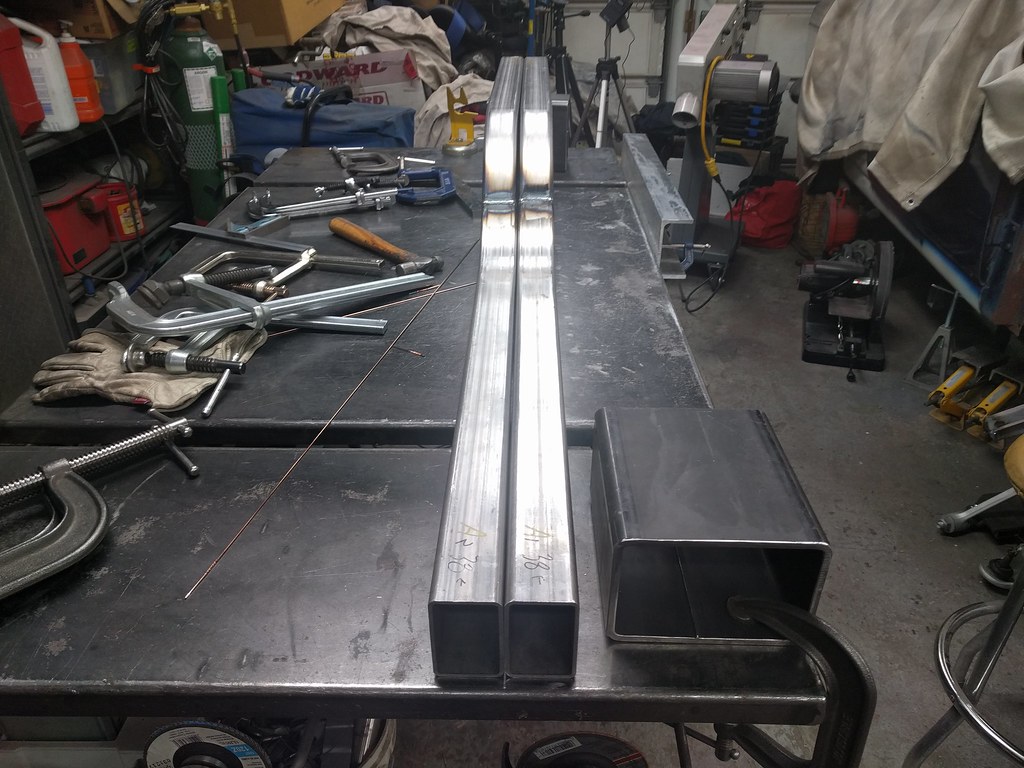
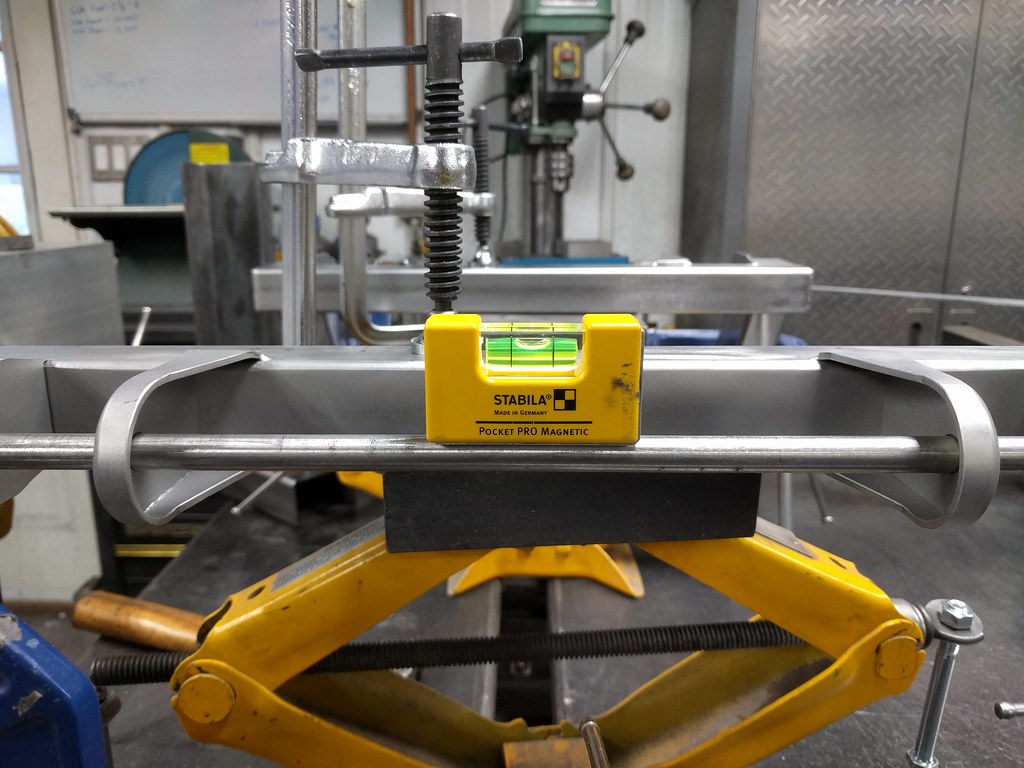
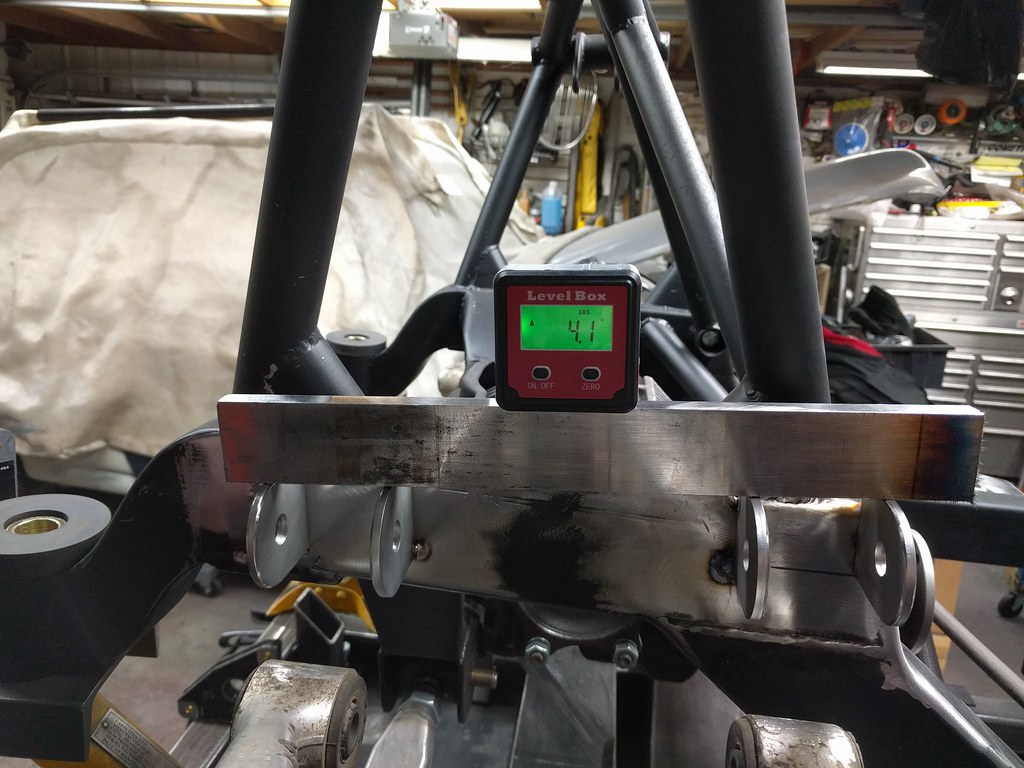
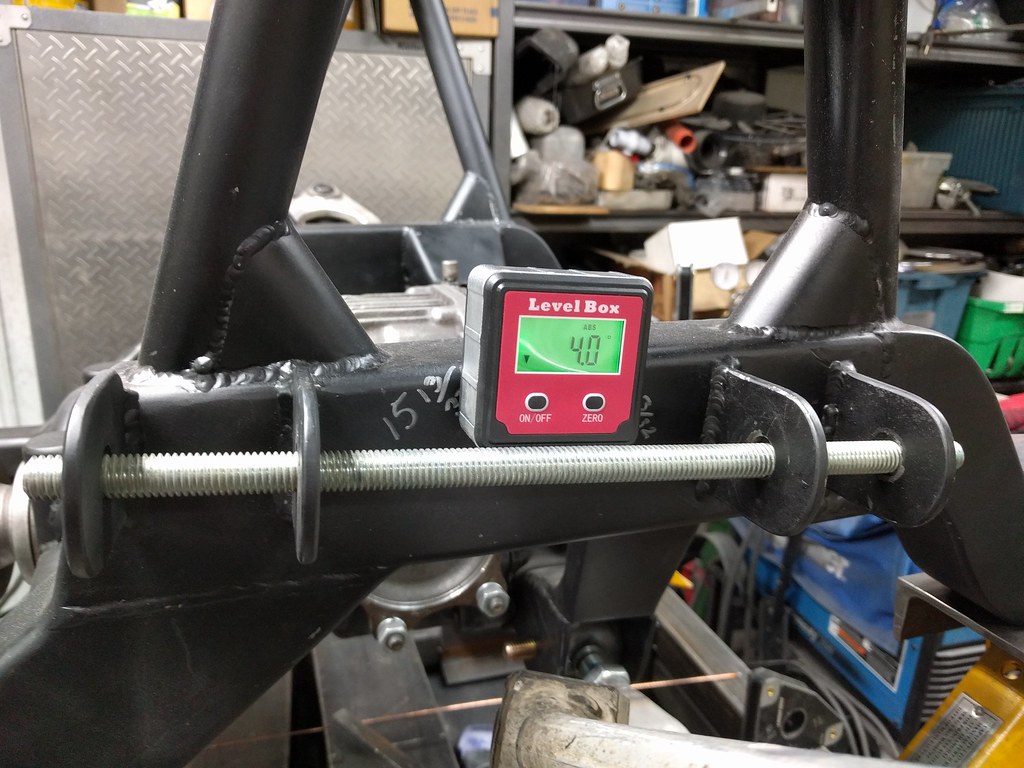
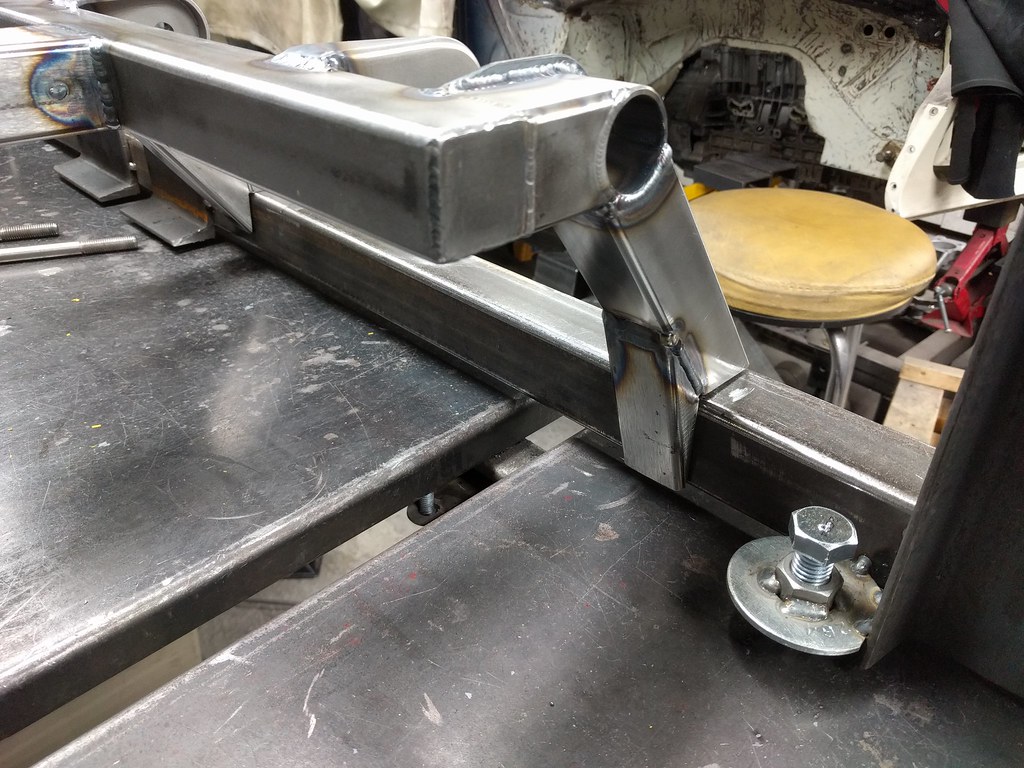
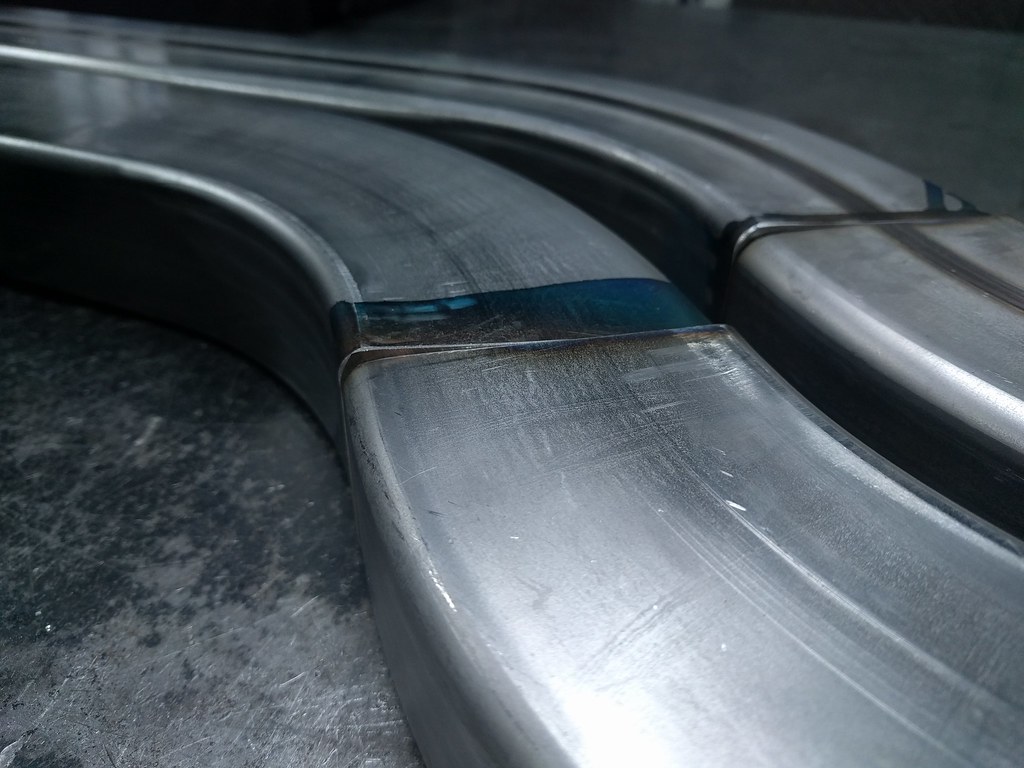
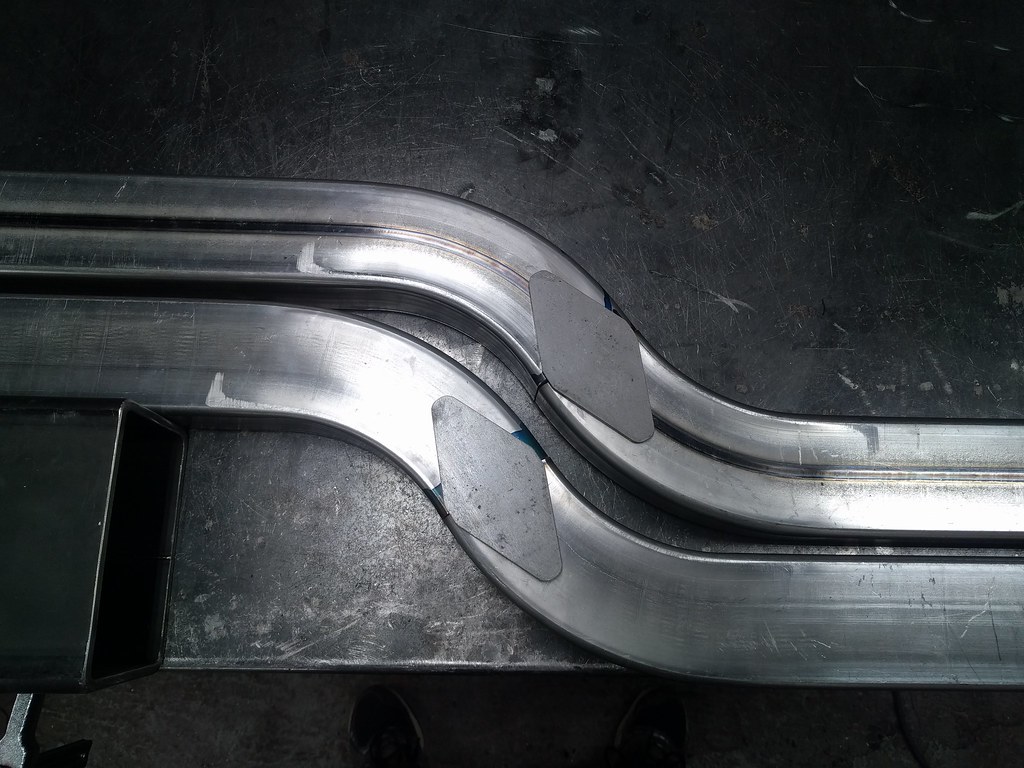
Next up was cutting the AME bent rails. I turned the welding table into a frame rail jig with a little tube. This took several hours of measuring to get right...cutting and fitting the rails was simple.
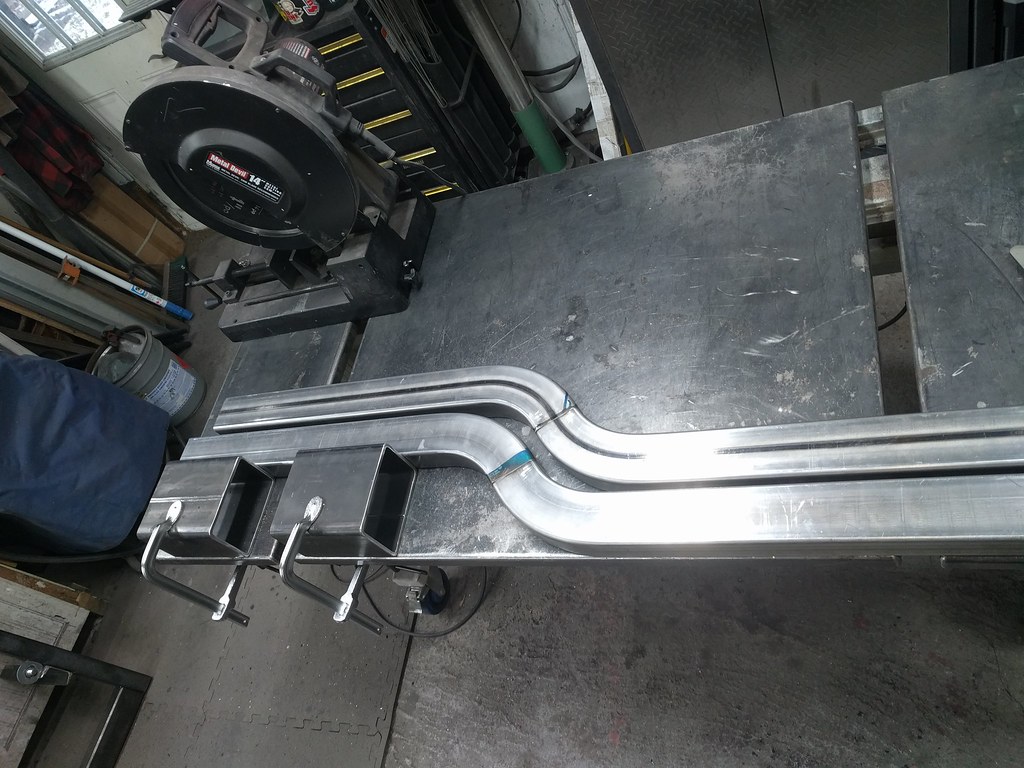
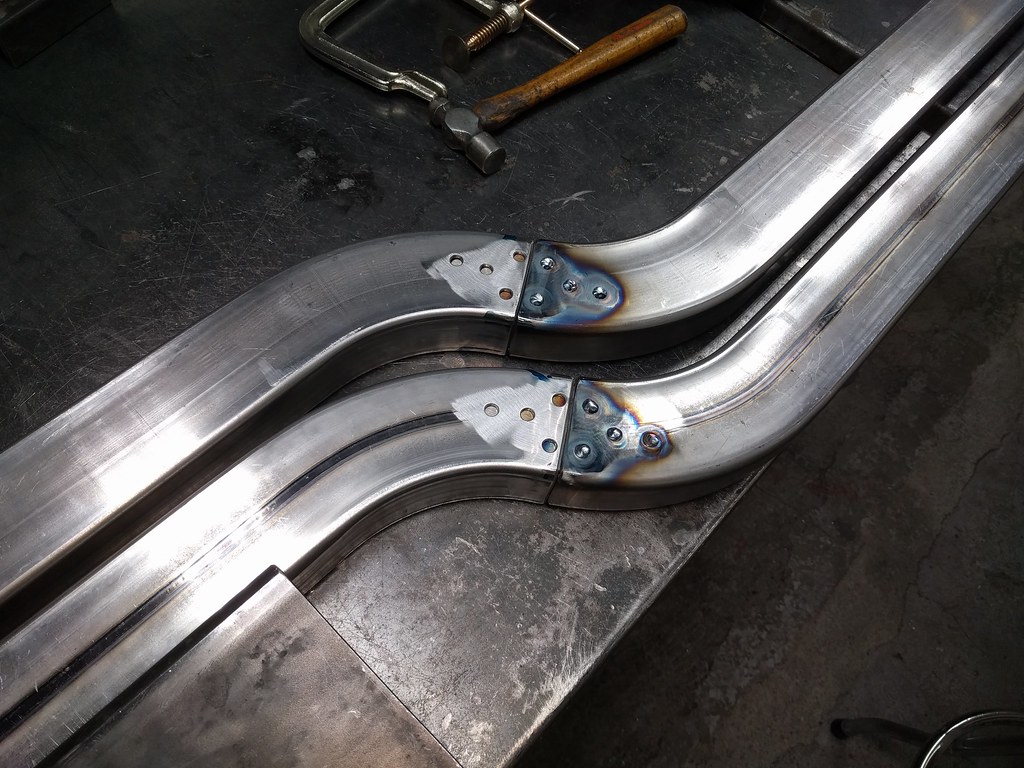
I appreciated their efforts to give me a matched pair with weld lines on the same side for the bends...but the bends did have a little twist in them. Nothing I can do about these.
A little gusset can't hurt - these are going INSIDE the tube for a less agricultural look.
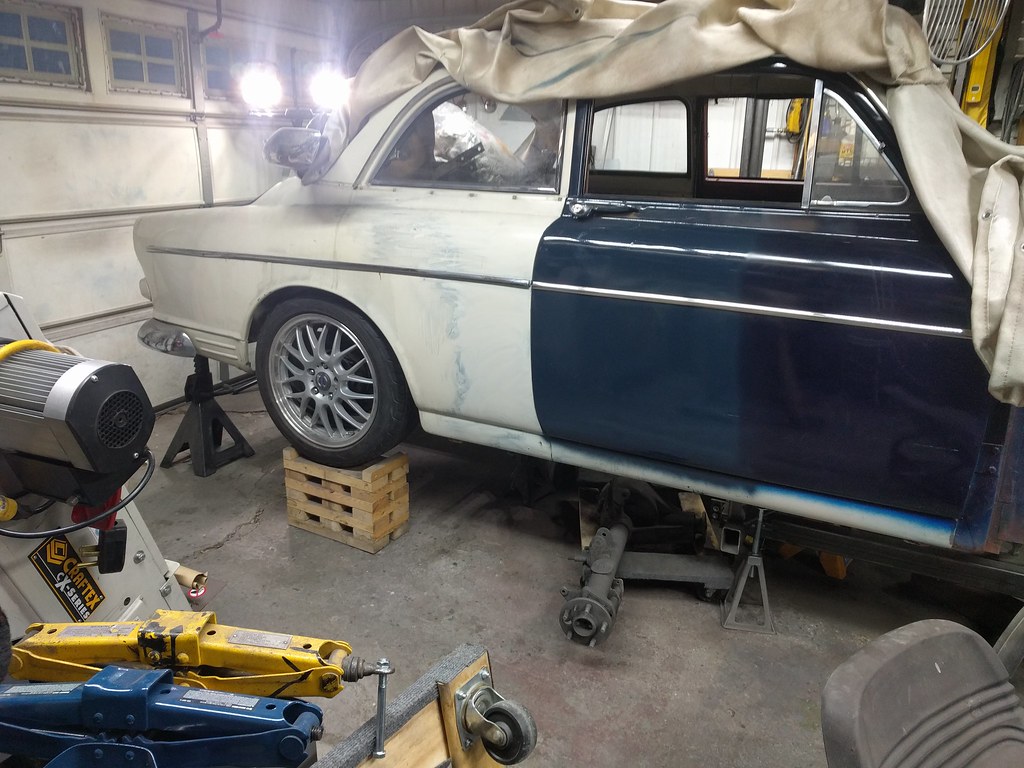
Nice TIG button welds. I've not finished these just yet - you're as up to date as can be. With luck, we'll get the rest of this done over the weekend.