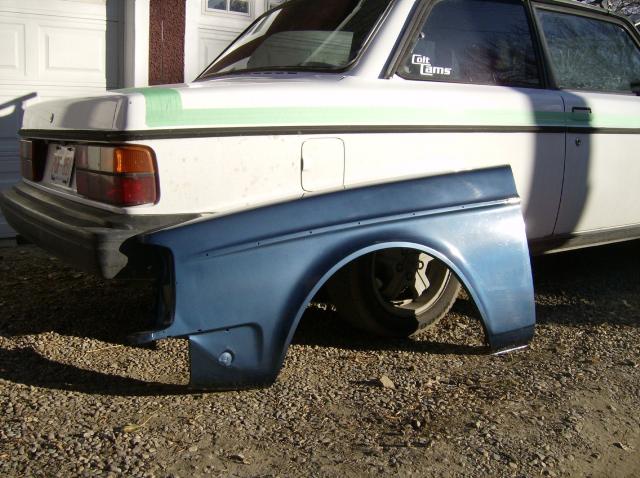
OK - on with the bodywork...I'm very happy to announce that the white car is going to be derusted and straightened starting now. GO. For those that have never seen the car, the clear had peeled and some idiot had painted over it giving it less prep than I would my fence. It is horrific.
So the first order of business was to lift some panels from Matt's collection. He was more than happy to donate to the cause as there seemed to be a garden of panels to select from - all different colours sprouting up around his yard. I chose the green one and two red ones.
I thought the green one was going to be a winner as it was very shiny and looked like it had been well cared for - only one small dent was visible. Magic, I thought.
So I get the parts home and let them season for about a year (no sense rushing into things). The other day while waiting for my furnace to be installed, I decided to derust the panels and weld up the trim holes.
It goes something like this.
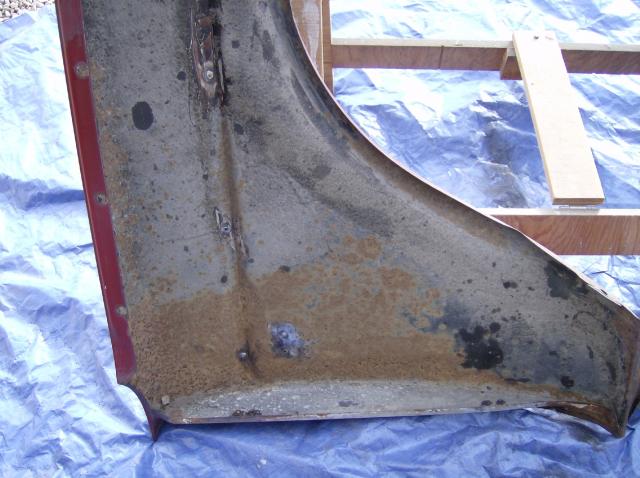
First, you can't weld over paint, rust, goo from the factory, or any other crap - so I cleaned the green fender and a red fender (the other red fender was painted blue for a test).
Clean the backsides with a heat gun to get the undercoating off and then wash with thinner or hit it with a surfacing disk. This is just before washing and prepping with the surfacing disk. A heat gun does work on this stuff - skinks though.

Then using a heat sink (copper pipe flattened in vice) weld up the holes from the BACK side using the sink against the front side of the panel. Keep the heat down (using 0.023 wire lowest heat) and make nice little welds. Take your time as you don't want to warp the heck out of the panel.
Done.

Front side - oops forgot to clean all the paint off the front.

This is much less work to fill in the end compared to welding on the front side. The heat sink makes the spot almost level as the heat is directed away from the sheet metal into the sink (making it hard to hold

).
Now - inspect the panel - look for dents (some are obvious like this one, some need to be found).

These have to be taken out with hammer and dolly work - no filler until you can't get it straighter. This dent is around 5 mm deep and was enough to stretch the panel (when I beat it out - the panel was flexible like an oil can). This then required shrinking (don't fill oil-canned sheet metal, it will just pop off). The technique involves either a shrinking disk or a torch. I opted for the torch this time as it was handy. Just heat the spot a little at a time (not red hot) and quench it with water. This shrinks the metal back to it's original shape. It takes some practice, but don't stop until you get the panel to the point that it is fully tensioned again. Took about 20 minutes - no pictures I was holding a torch for heaven's sake!
Look for other nasties - rusted bolts (there were 2). They look impossible to remove - but grind them clean on the back side and then weld on a bolt. Like so.

The heat helps - then just wind it out when hot.

Chase the holes with a tap (oil them up in advance) - this cleans out the rust.
Last but not least - take the fender out to be blasted clean of surface rust. The green fender didn't survive. A little surface rust ended up being not worth repairing as I was able to blast right through. Then I was stuck with the panel that I had painted 2 coats of paint on as a test.
Wash off fresh paint with lacquer thinner - weld holes first...go into house with solvent buzzzzzzzz

Done - (note dents removed).
Before.

After an hour with the thinner...


