Time for a little update. I've cleared out all the other "work" in my shop and I'm back on the 122 project. I really hope I can ward off all the requests until I get MY car done. Facebook keeps reminding me how long ago it was that X part arrived and I think - "wow, has it been that long? Yikes!"
So up first, seats. I hear you need these in a car. The Acura seats I got from Matt were test fitted last year and I even started brackets. I just never got them installed. There were problems with getting the brackets fitted properly with all of the weird angles and rusty rear foot wells. It took a long time to work out what to do to get seats that are level. First, it was impossible to do this with the existing floor configuration - which is sloped to the outside of the car (only for the outside bracket) and towards the front. The seats need a level mount platform.
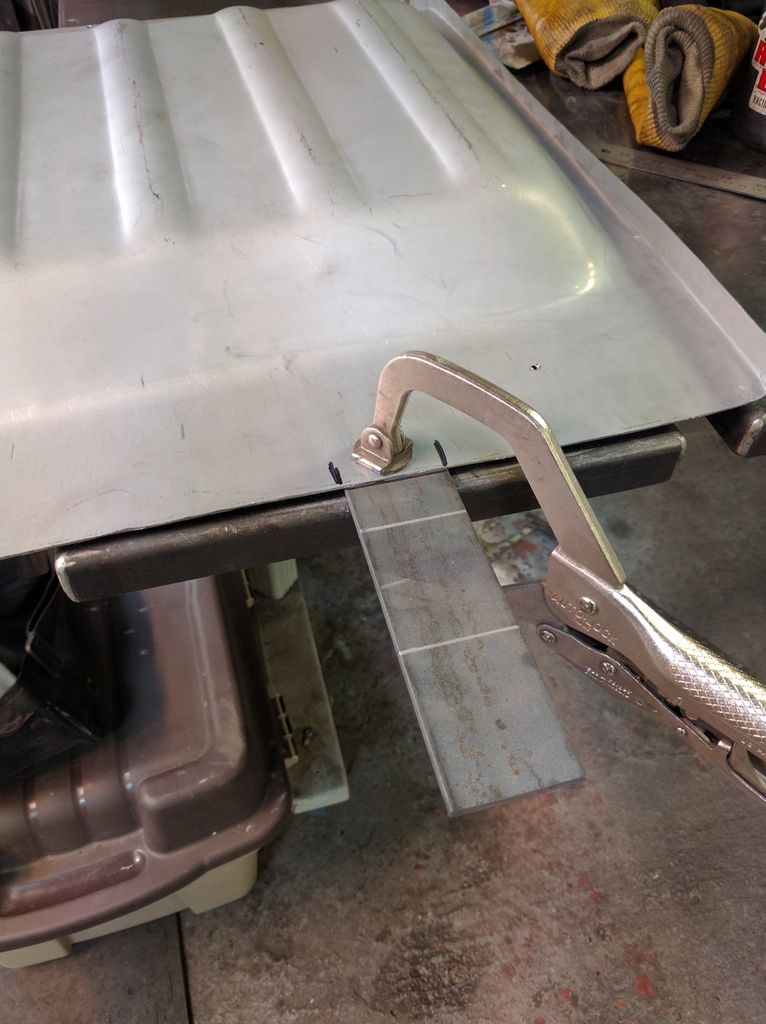
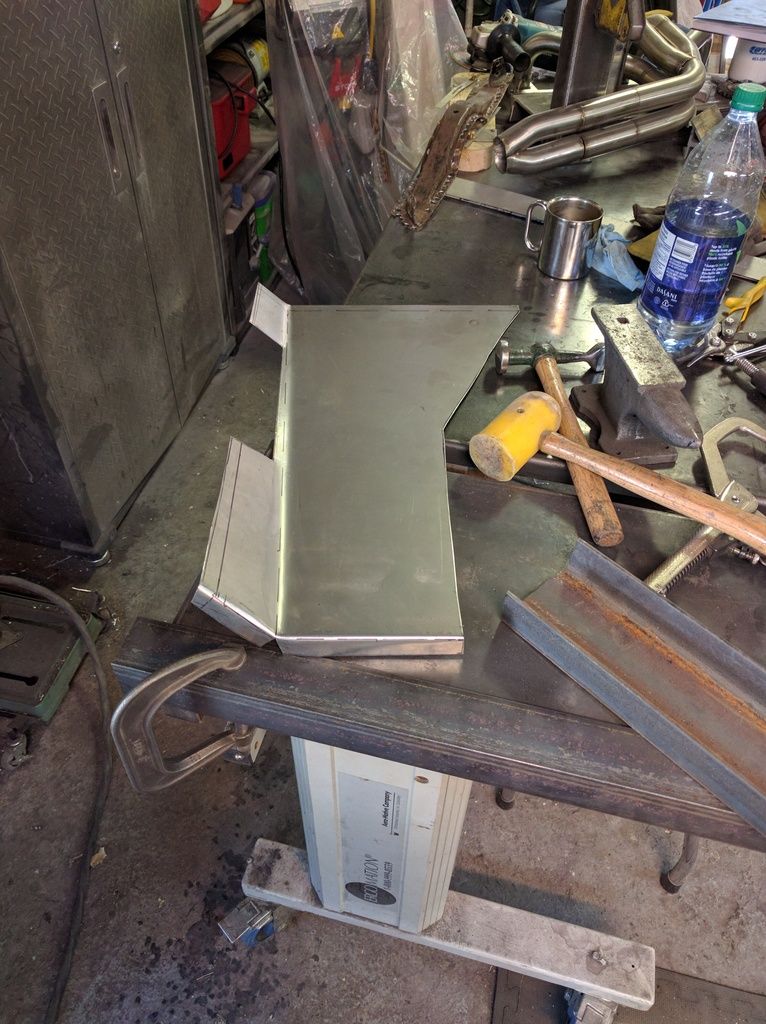
So I made some little sheet metal boxes. I don't have a box brake, so I make due.

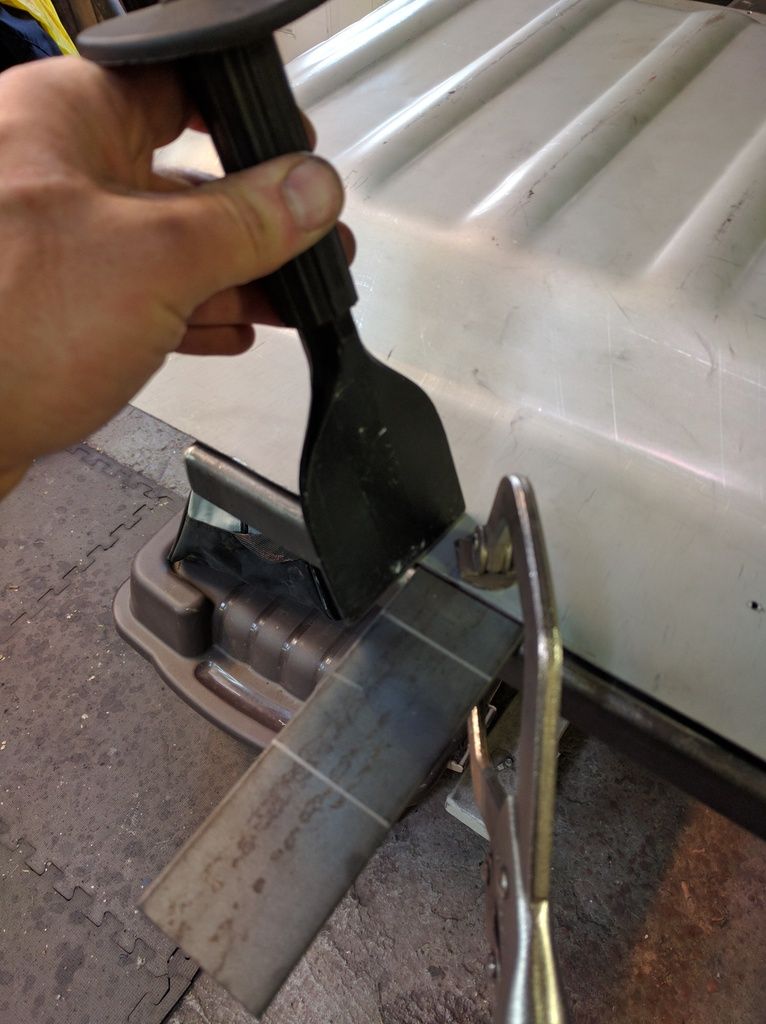
Tap it with my sheet metal chisel - with a radius edge.

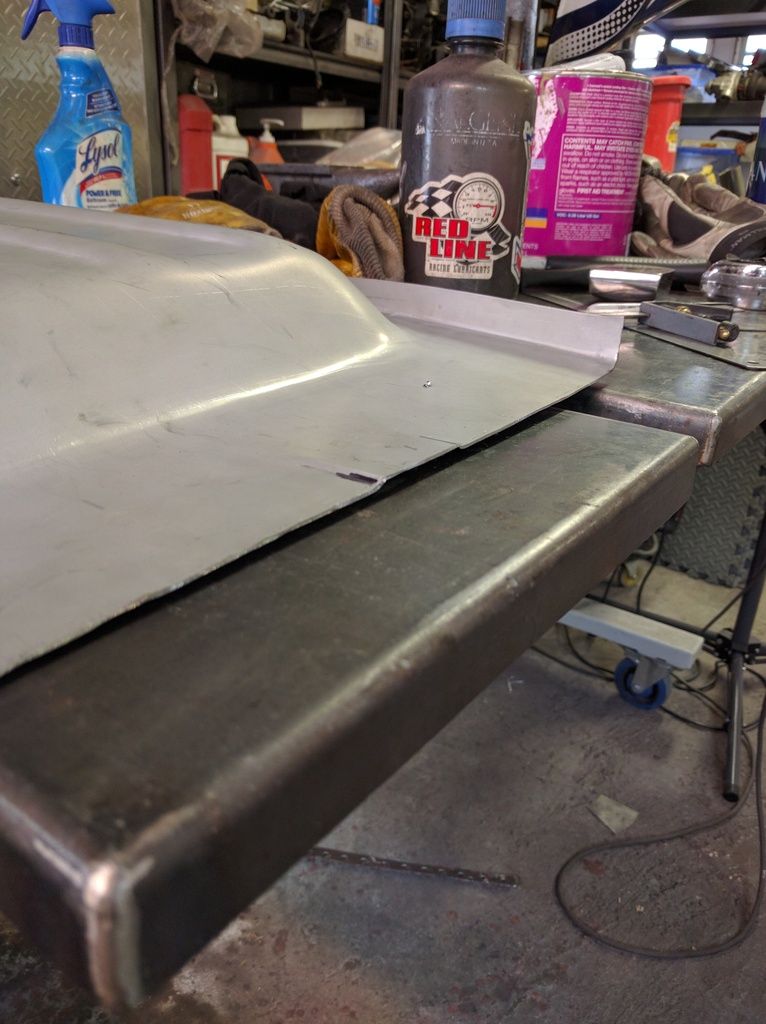
Sheet metal magic.

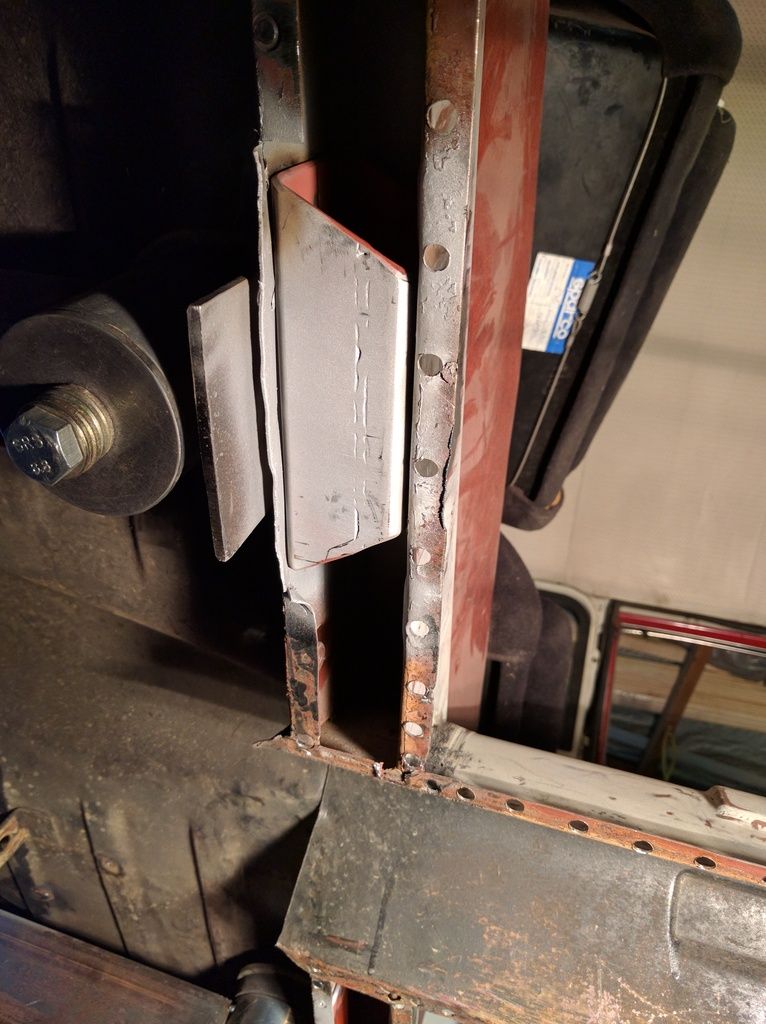
These will sit through the floor and hold the bracket level.

Chop a hole in the floor and find a way to level the pad.


That'll due. Note the angles needed to get things level.

Welded in.

Then I was freaked out because this might not be strong enough to hold the seat without a cross member. So I doubled up the base and joined it to the cross member. I will join it from the trans tunnel to the sill on the top side when I'm done working on the tunnel.
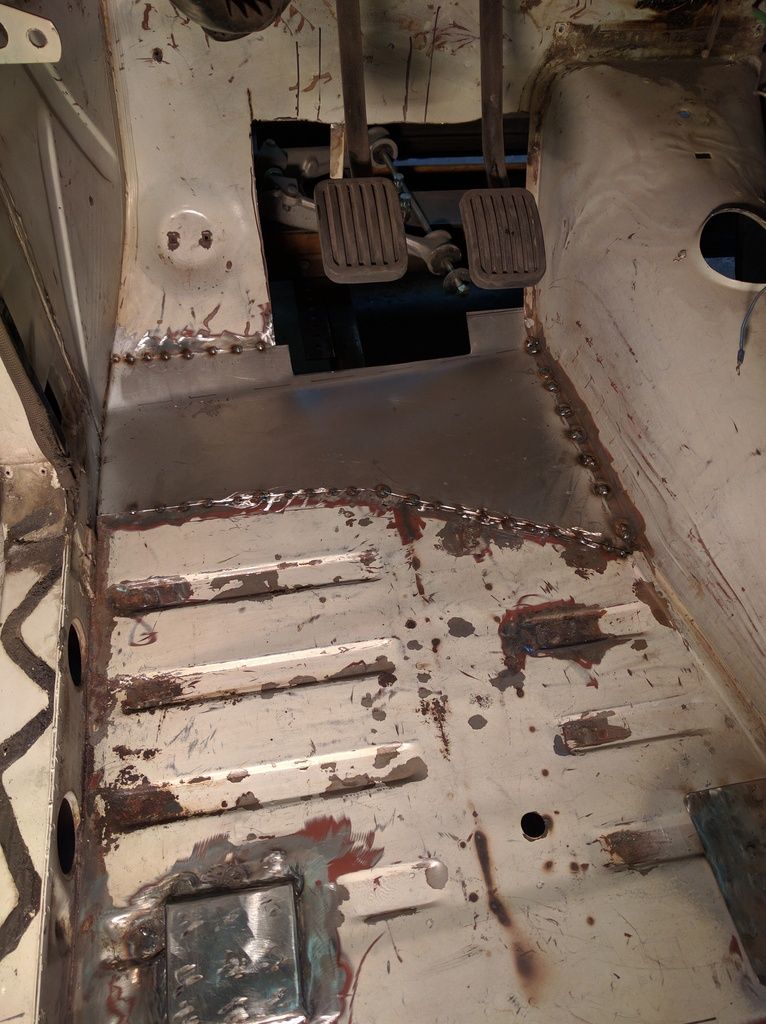
In the mean time - some plug welds.

Weld through primer to keep it rust free.
Jacked up from below and ready to weld.

Should be stiff enough when the top side is fixed.

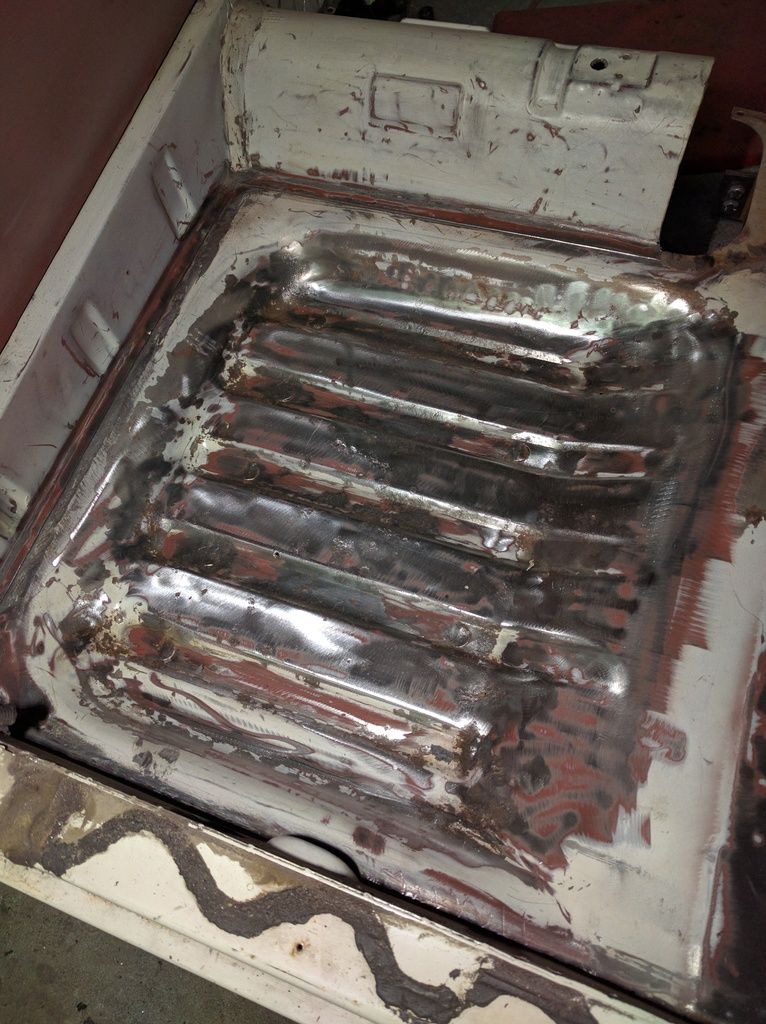
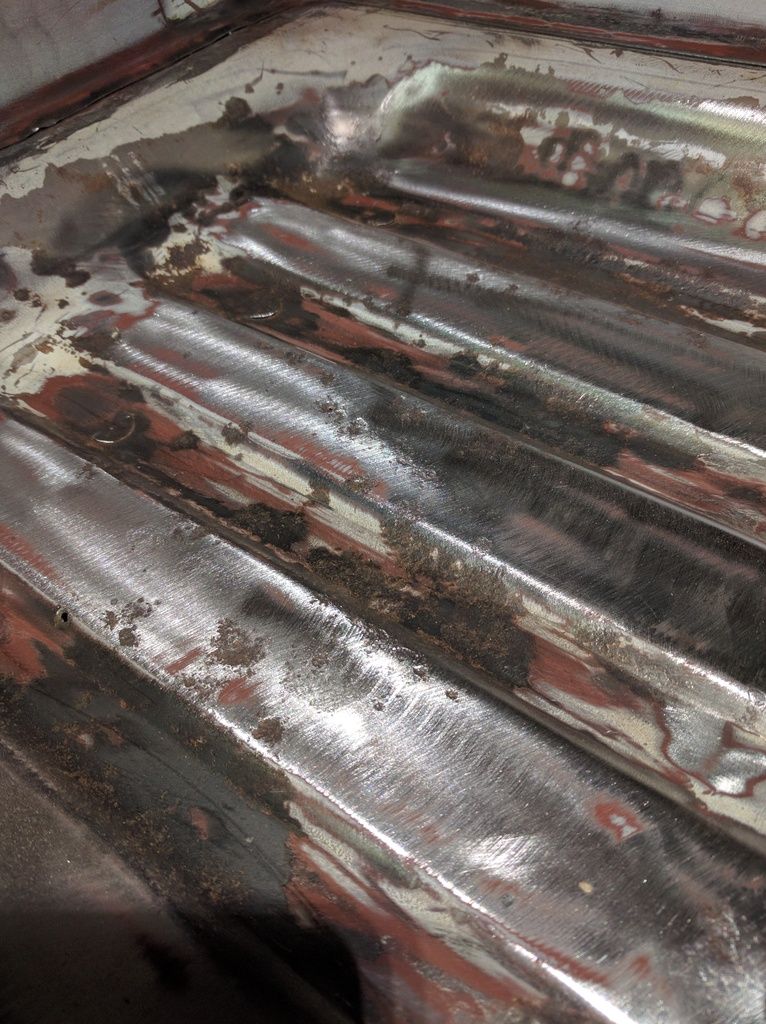
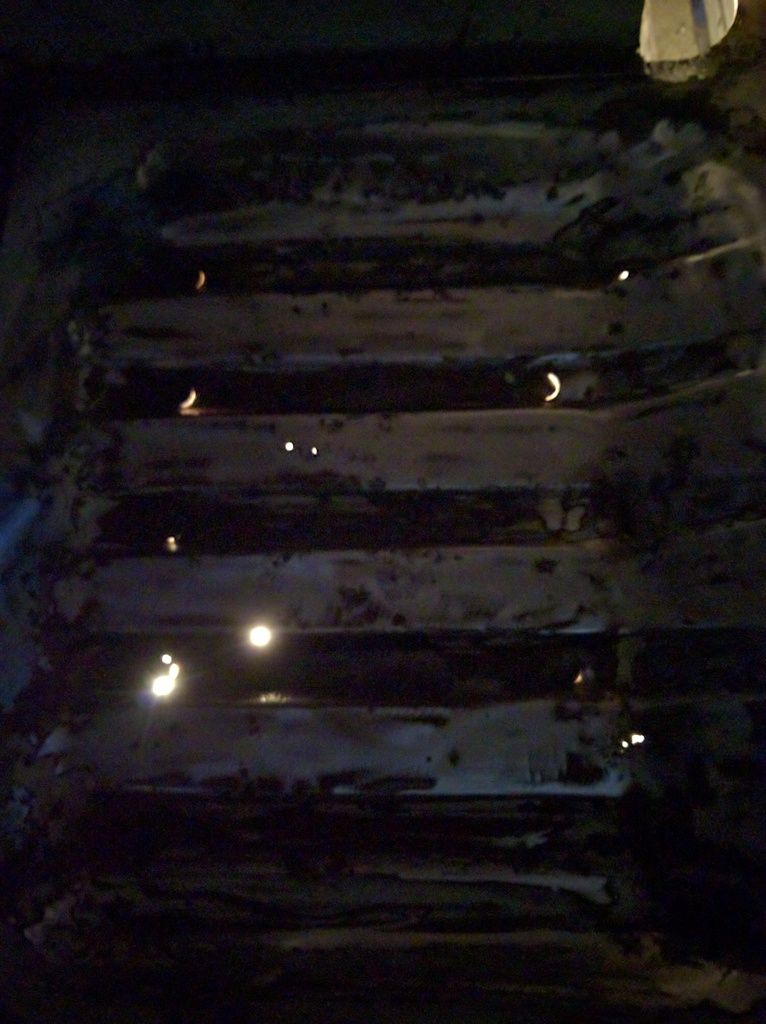
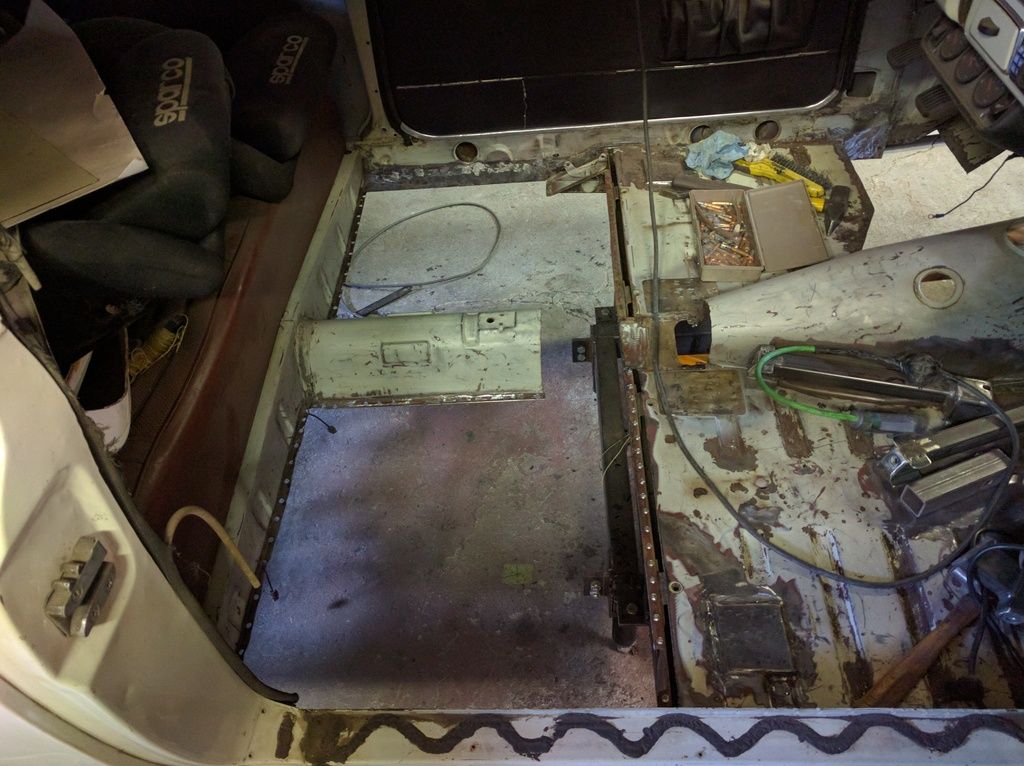
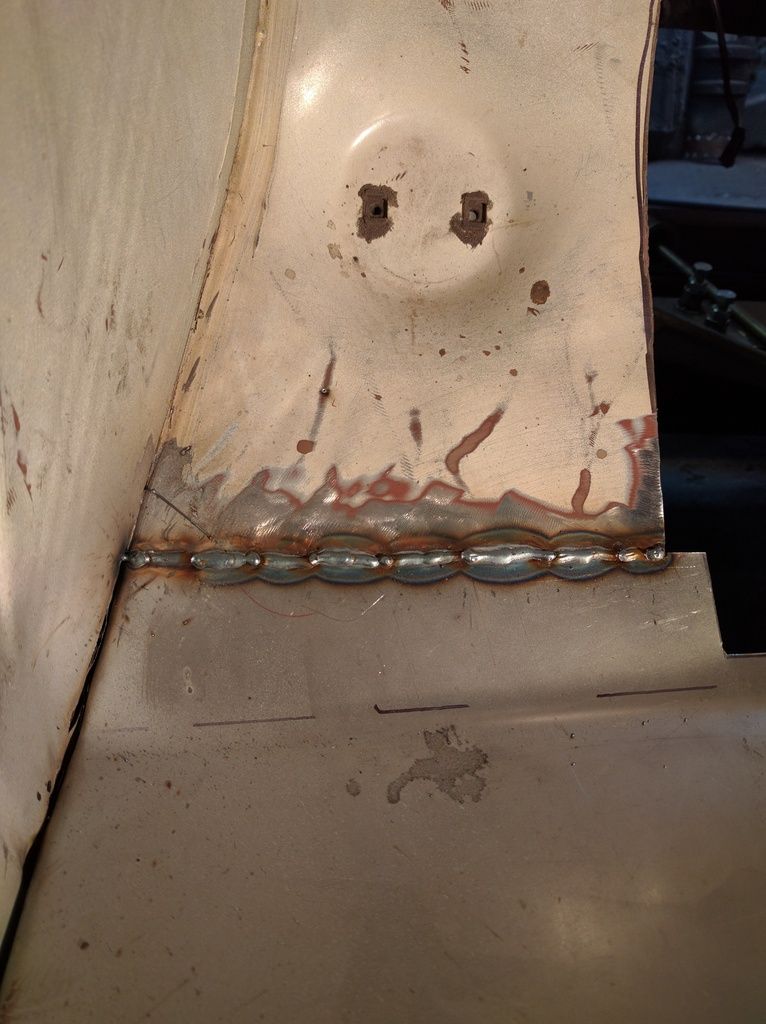
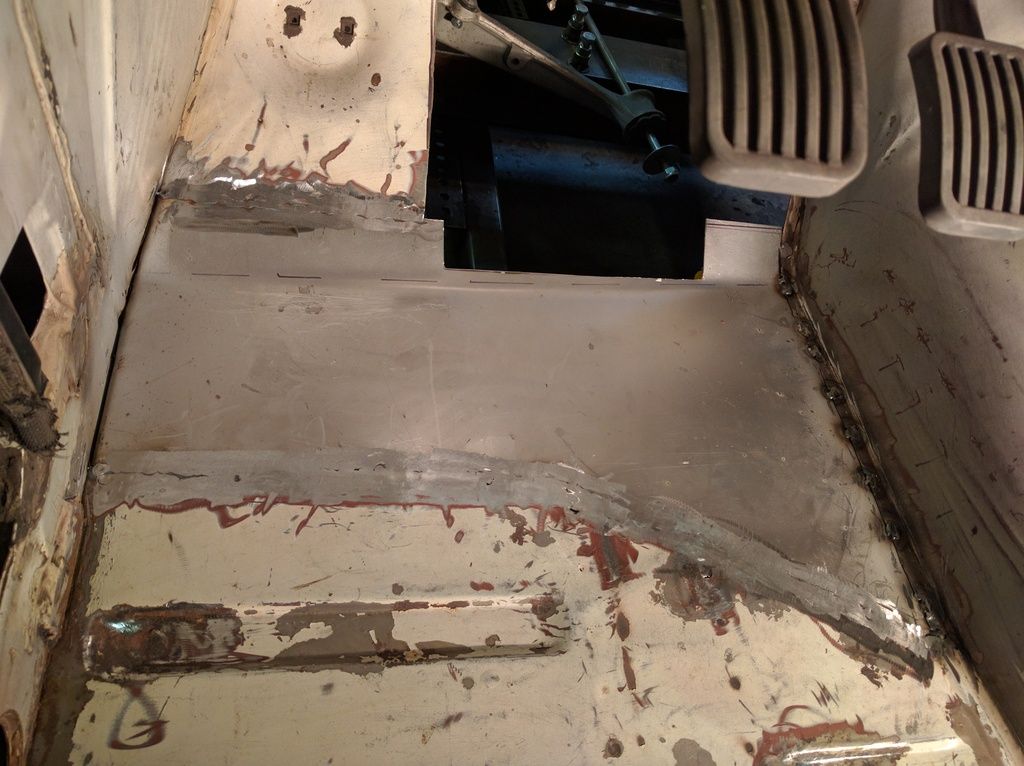
I simply plated the top of the other side - not much to look at - added some tricky rear brackets with various angles and pedestals and crap that you just have to do when working on a car. Note the condition of the rear foot well. That's the one I fixed 10 years ago to get the car on the road for the first time.

Fast forward one week.
Now I have to get that foot well area replaced. Sure it's OK for a driver, but no longer good enough for my car.
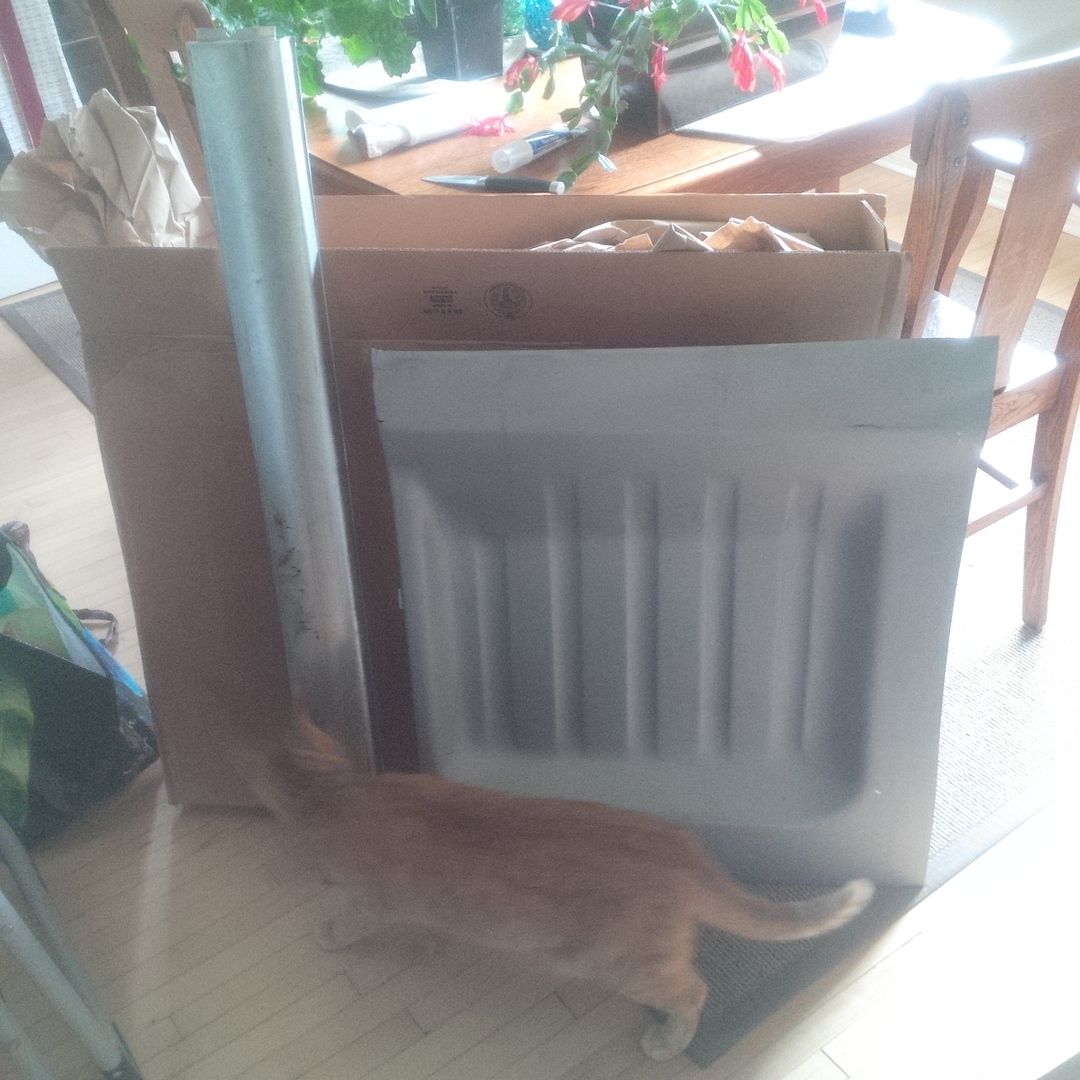
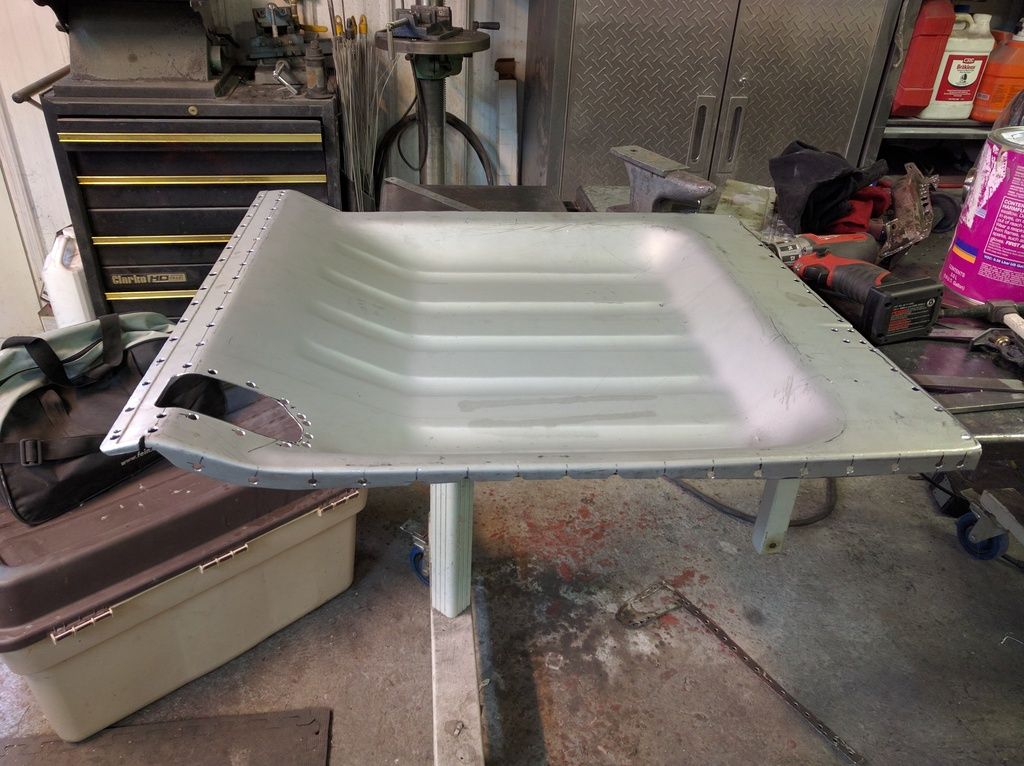
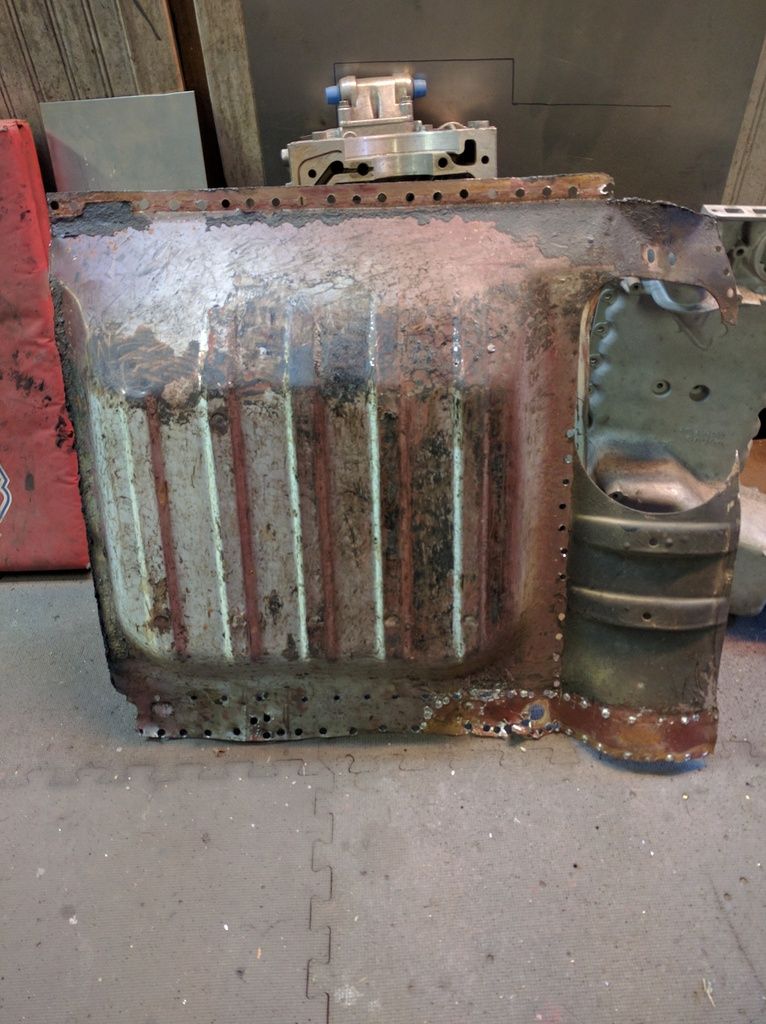
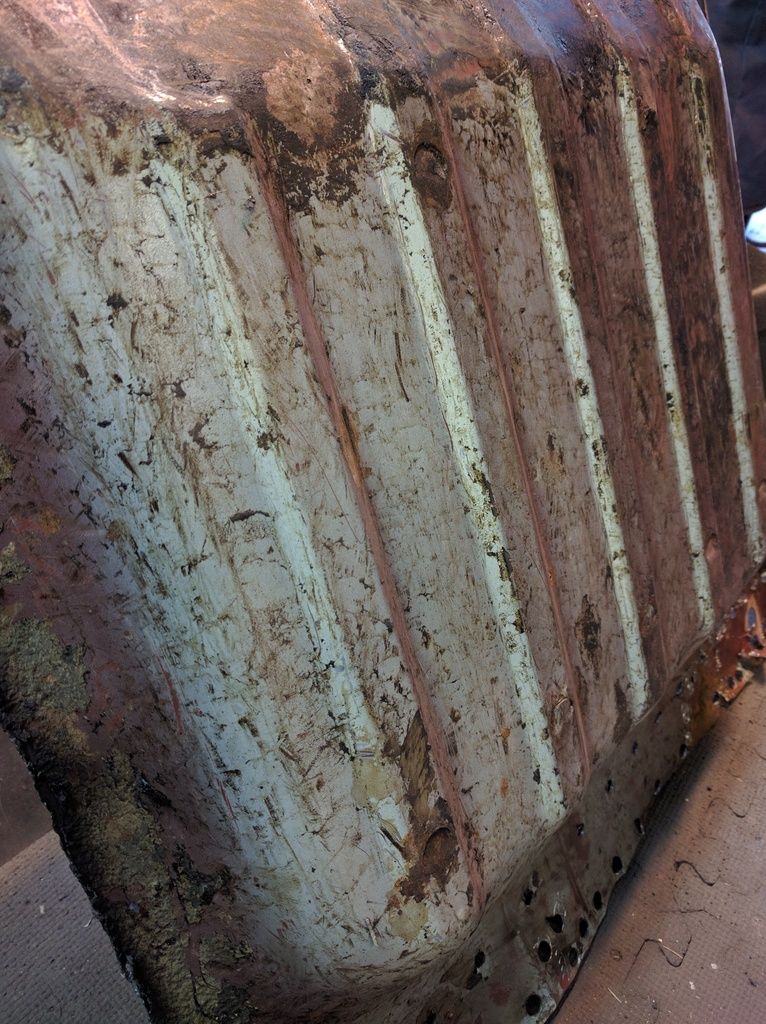
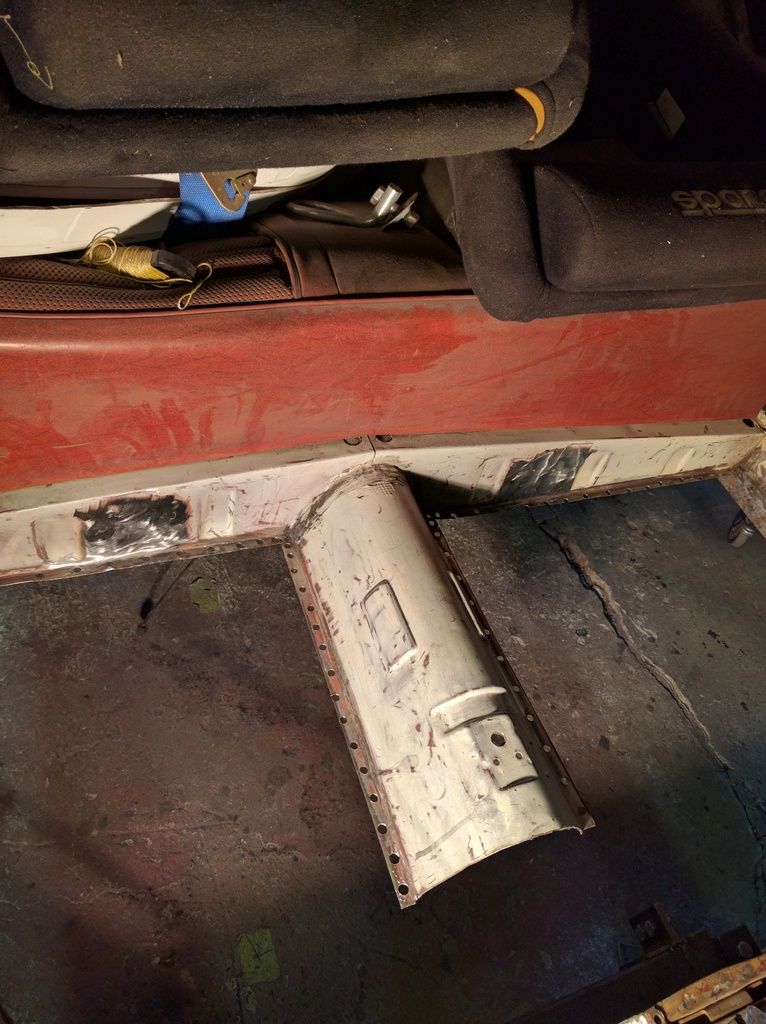
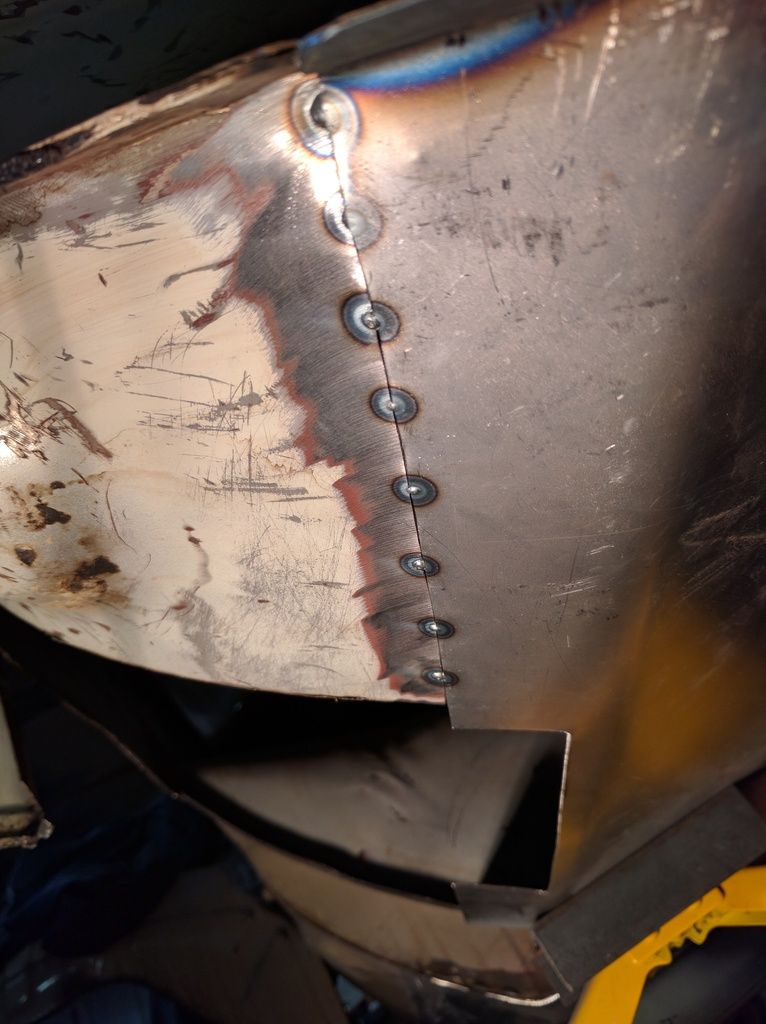
First start by looking at things and working out how the heck all this fits together. The floor pan is ONE gigantic pressing from the front to the rear cross member including the bottom of the trans tunnel. It's all ONE panel. So you've got to make some decisions on how it all comes out. I figured it was best to join the panel just on top of the front cross member and then take it all the way to the back where it originally went. This sounds great, but some finagling is required. I had to work out where I had to use the spot weld cutter to preserve a flange and where I could just drill (use cobalt or you won't get through the weld easily) - which is preferable to using the spot weld cutter. I figured it was OK to make a join at the bottom of the trans tunnel where it would not be noticeable and left the smallest area to seam weld.
The only problem was the transmission reinforcement loop...it is on top of the floor panel and the cross member. As it was one panel, I had to cut through various parts to get the parts of the old panel out so that the replacement looks flawless and is as strong as the original. So drill some holes.

Use the plasma to then cut out the panel and clean things up a bit. Surgical.

Remove various flanges and save parts to trace cut outs for the parking brake.

Here you can see the trans loop issue. It's released and the new panel can be fitted this week.

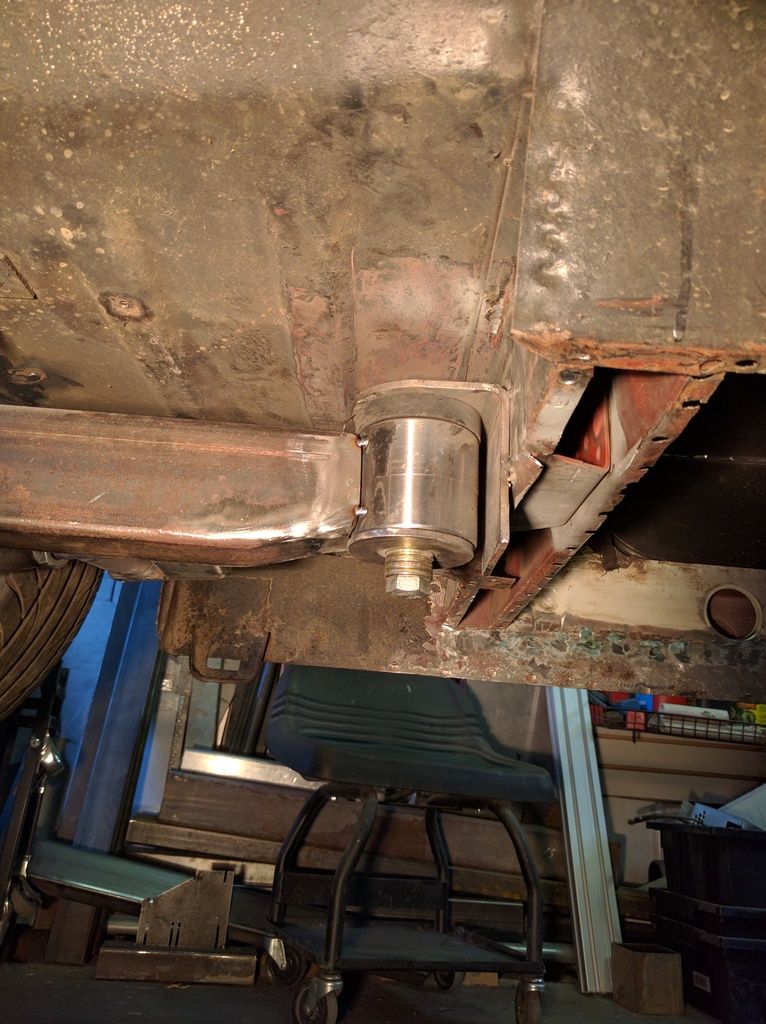
Nothing but fresh primer up under this box section. Happy to see that. Just have to clean up the flange and prime various areas (I will weld on that suspension bracket and reinforce it as I'm in there.

Now we're moving. I've got to get this front end tidied up in preparation for the frame installation. I think the trans tunnel has to come out to make room (at least the front "tight" section where it necks down sure does. I'd better get this done before going a whole lot further. So while three edges can be welded right away - that tunnel section will get tech screws for a bit.

